
When attendees register for an event, they receive a confirmation email with a ticket attached, provided that this notification is enabled in the Event Settings. Each ticket contains a QR code that can be scanned to manage their attendance on the day of the event, as it instantly updates the attendee’s check in status to Checked In.
How to Check Attendees in to an Event
Only members with access to manage the event will be able to check attendees in. You will need a device with a camera that has the ability to scan QR codes (mobile phone, iPad, etc.). Follow the steps below to use this feature:
-
Log in to your account through your club homepage, then click on Member Area on the top right under your club banner. Alternatively, click here to go directly to the ClubRunner login page.
-
Click Events in the main menu navigation, then click Cloud Events.
-
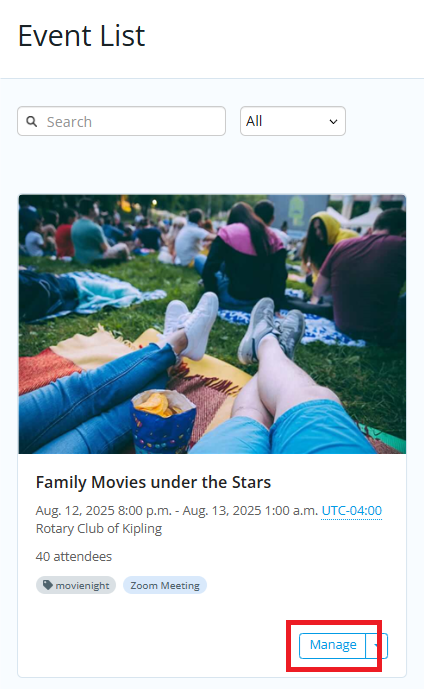
Click Manage on the event you would like to check attendees in for.
-
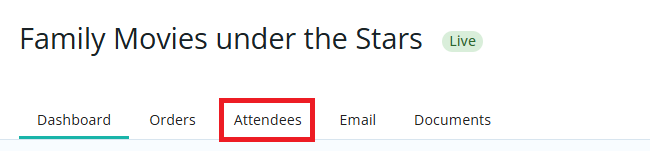
Click on the Attendees tab.
-
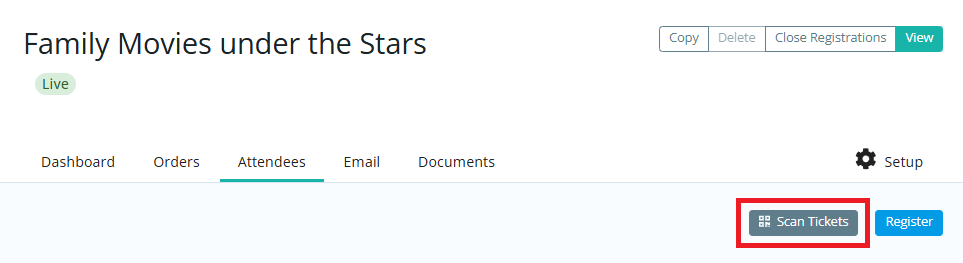
Click the Scan Tickets button near the top right-hand corner.
-
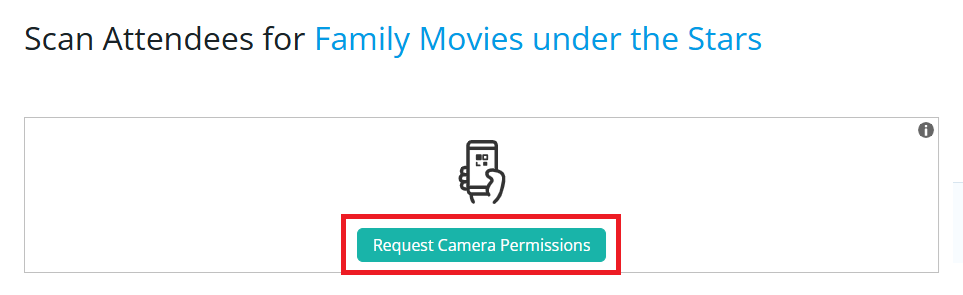
If prompted, click on the Request Camera Permissions button to give the page permission to use your device’s camera. You may then scan the QR code of the ticket by displaying the ticket on your phone or a printed copy to your device camera.
-
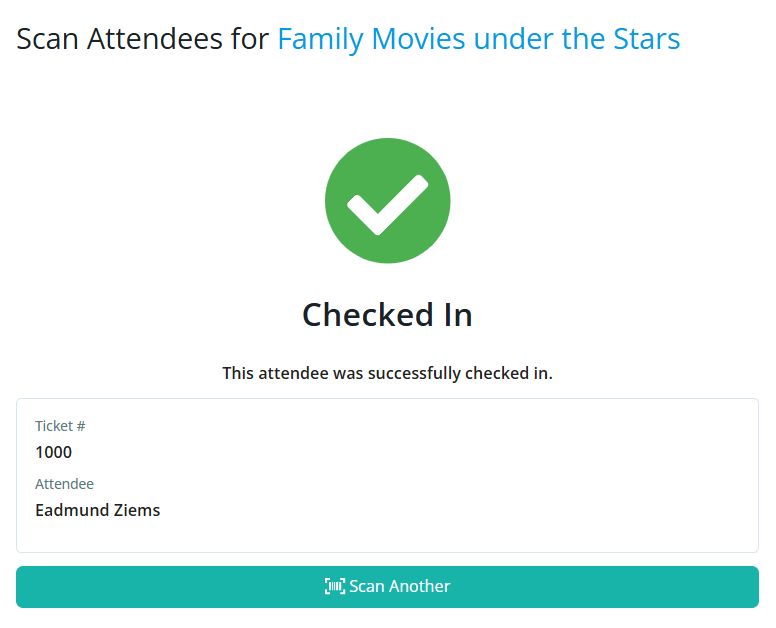
Once scanned, you will see a confirmation message displaying the attendee’s name, ticket number and confirmation of the Checked In status. You may click Scan Another to scan additional tickets.
If a ticket is scanned more than once, the system will display a message indicating that the attendee has already been checked in.