
Site pages are a convenient way to create multiple pages in a section of your website. They can be used to create a sort of subsite, with its own side navigation menu to include links, files, subpages and related site pages. If you want to add files to your site page menu, follow the directions below.
After logging into your website, click on the Website tab.
Next, click on the Website Content link.
You are now on the Getting Started page. On the left side of the page, click on the Pages link.
You may now select from the Site Pages link or the Site Pages Library link. The Site Pages link allows you to edit pages currently published on the homepage. The Site Page Library link allows you to view and edit all created site pages. Click on the appropriate option.
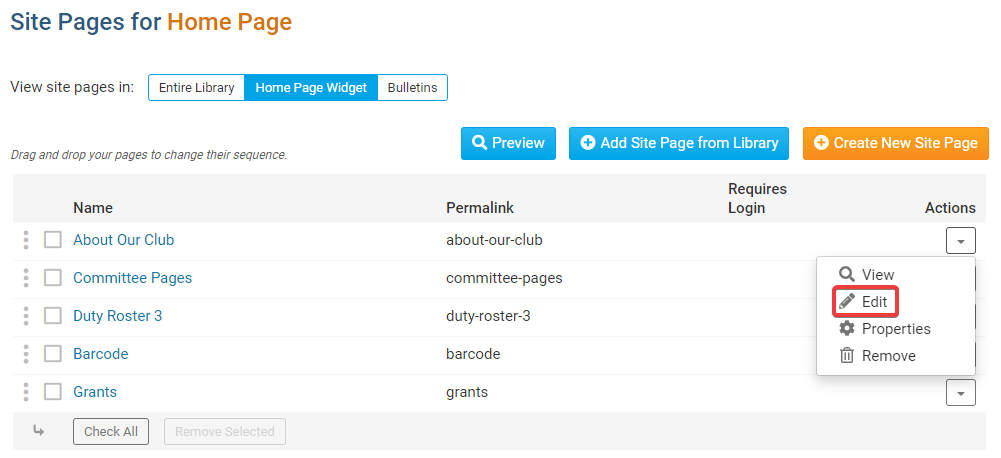
Regardless of the option you choose, the next few steps are essentially the same. You will be presented with a list of site pages. Choose the site page to which you wish to add a file, and click Edit under the Actions column.
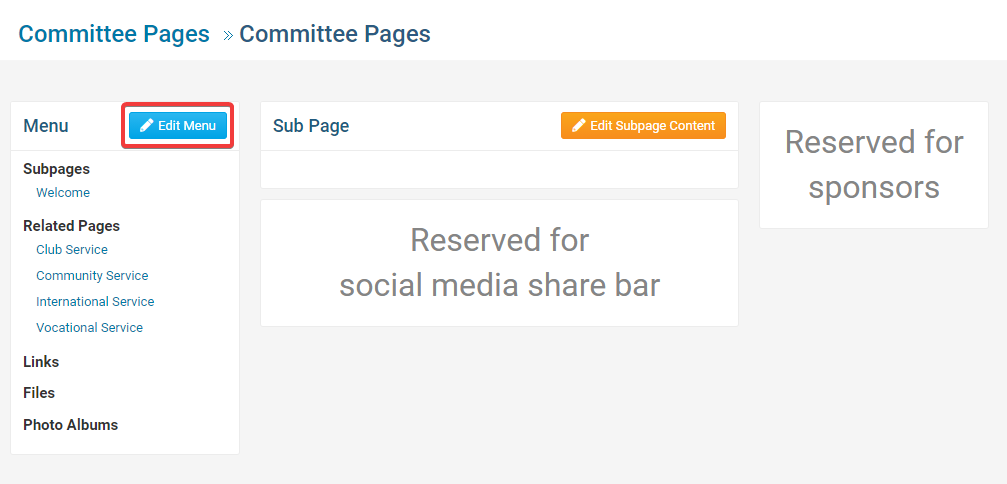
On the next screen, you are asked to define the characteristics of the Site Page. This includes editing the page's menu, where you can add files. To do this, click Edit Menu on the left side of the page.
This takes you to the Manage Links page. Here, you can add additional subpages, related pages, links and photo albums, as well as files. To add a file, click Add Link to the right of the Files section.
Note: The menu structure described below is simply a default structure, and recommended for ease of navigation. The structure is quite flexible, and the Add Link function can be used to add files to any of these categories.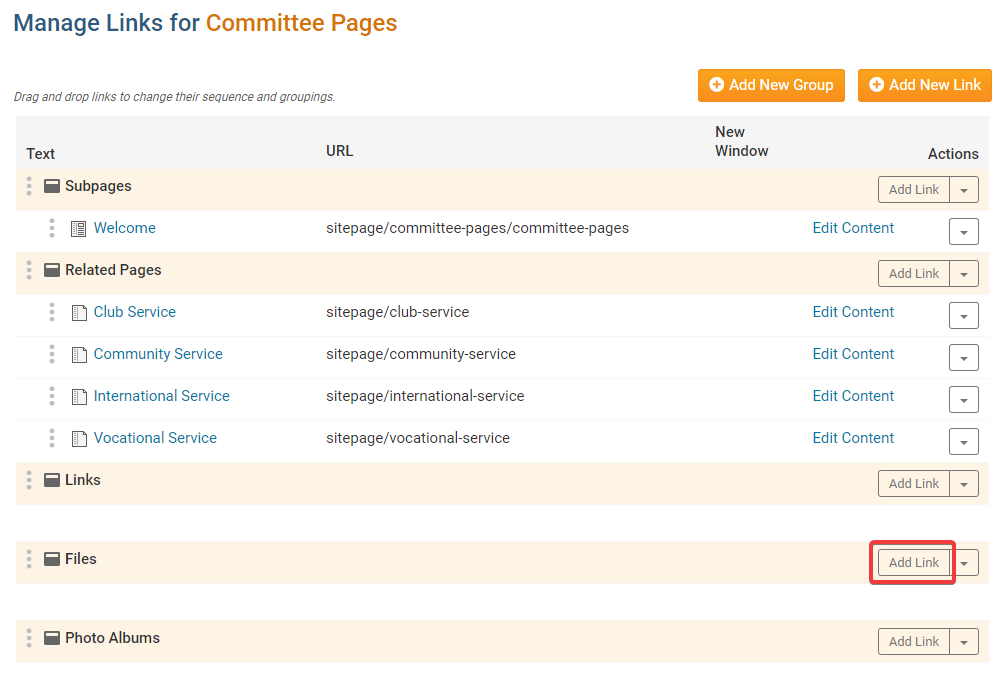
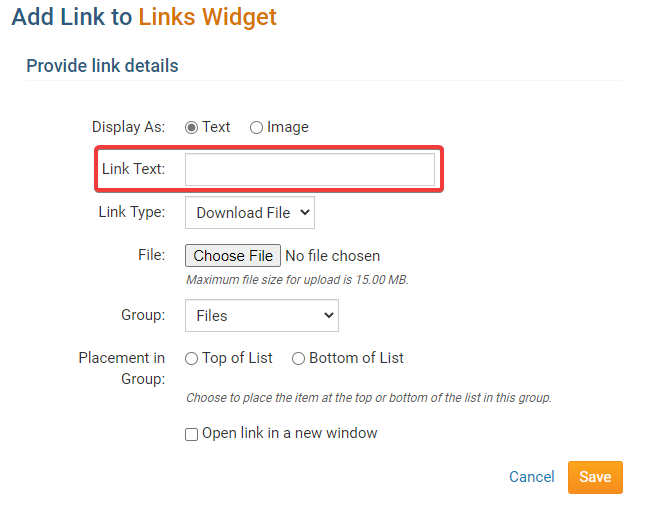
This brings you to the Add Link to Links Widget page. You must first decide if you want the file link to appear as text or an image, by clicking the appropriate button.
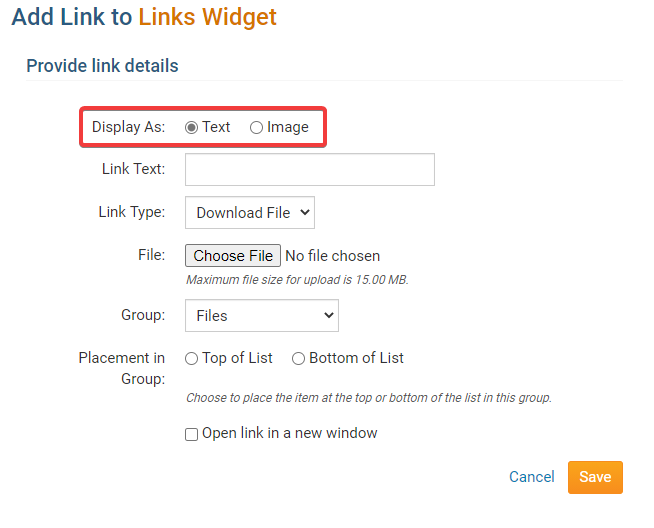
If you choose to display a text link, enter the link for the text in the Link Text field.
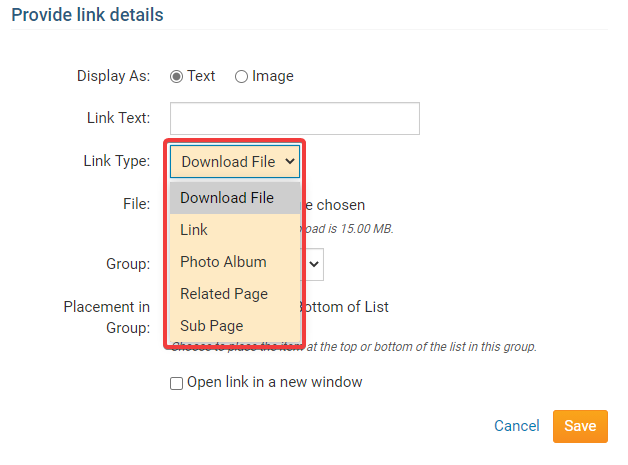
Now, select the Link Type using the drop down menu. At this point, it is important to set the link type as a Download File.
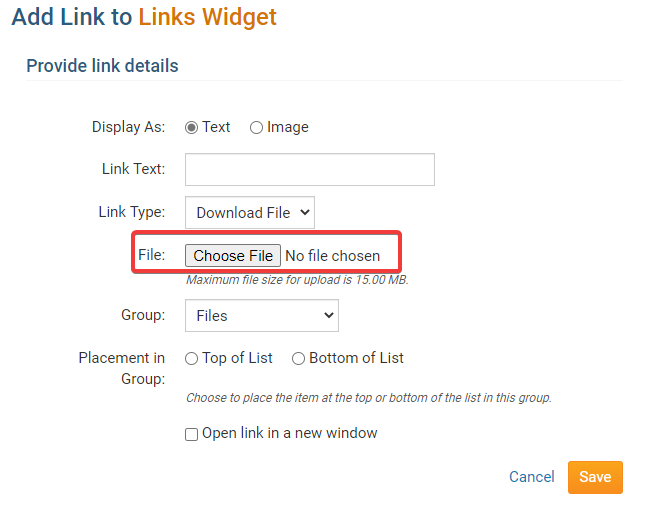
Now, click Choose File to upload your desired file. This file should be less than 10 MB in size. You will be prompted to select a file from your hard drive or local network.
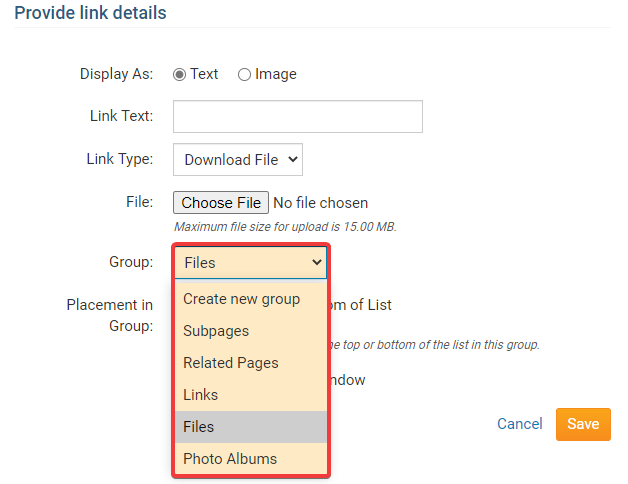
Once your file is uploaded, assign the file to a group using the Group drop down menu.
Now, select whether you wish to add the file link at the down of your site page menu, or the bottom.
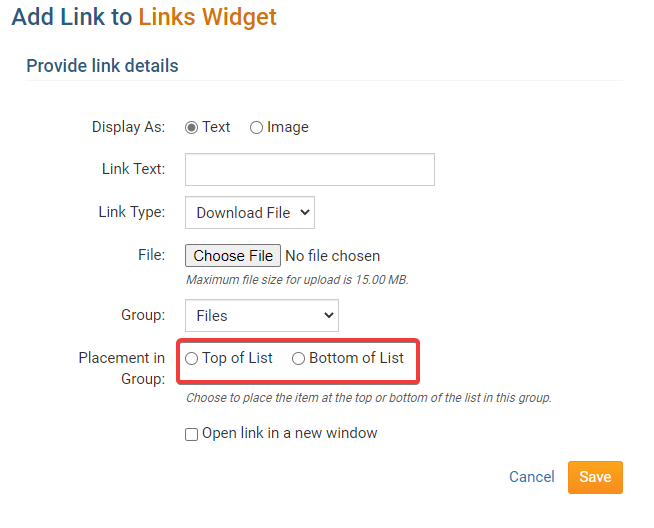
When you're done, click Save.