
The Website Logos are used on the name tags in MyEventRunner and on the eDirectory Reports. To learn how to change them please follow the steps below:
On the District website click Member Login near the top right. Enter your login information and login to access the Member Area.
Within the blue menu bar click on the Website tab.
Click on Settings in the gray, secondary menu bar.
Click on Upload Logos, under the Graphics heading.

This takes you to the Update District Logo page. Click Load from Image Library to select a new image.

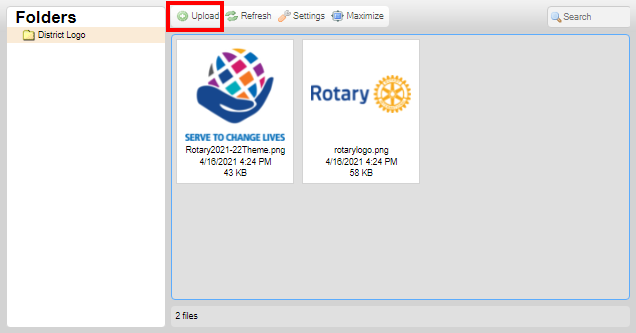
Double click on a logo to select it. To upload a new logo from your computer click on the Upload button and select the logo from your computer. Once it is done uploading, double click on the logo to select it.
After the logo gets selected, it will take you back to Update District Logo page which will display the new logo.