
As part of invoicing through ClubRunner you are able to keep a list of products that can be easily added to invoices when you create them individually or via a batch order.
-
To begin, log in to your account through your club homepage, then click on Member Area on the top right under your club banner. Alternatively, click here to go directly to the ClubRunner login page.
-
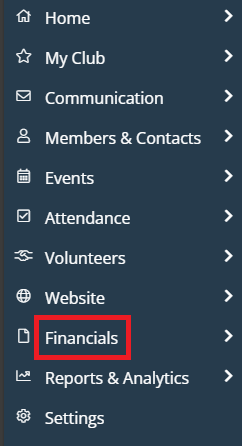
Once logged in, click on Financials in the left-hand side menu.
-
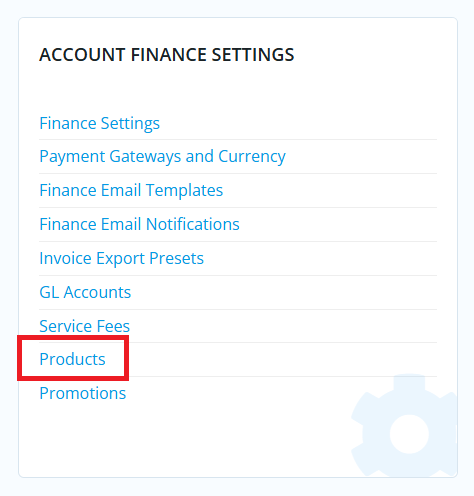
In the Account Finance Settings section, click Products. On the following page you are able to add and manage your products.
Create / Add a Product
-
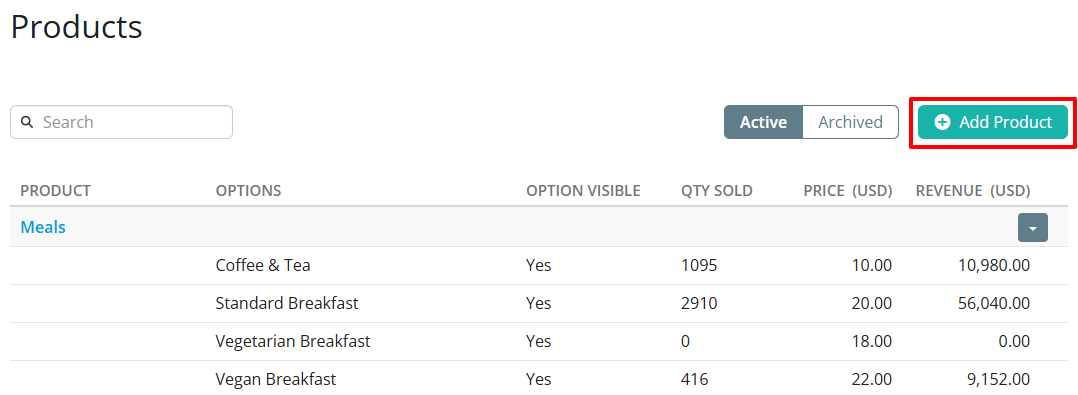
On the Products page, click the Add Product button to create a new product.
-
The "Add Product" dialog will load on the screen, which is where you will enter all of the information for the new product. Please note that any fields with an asterisk are required.
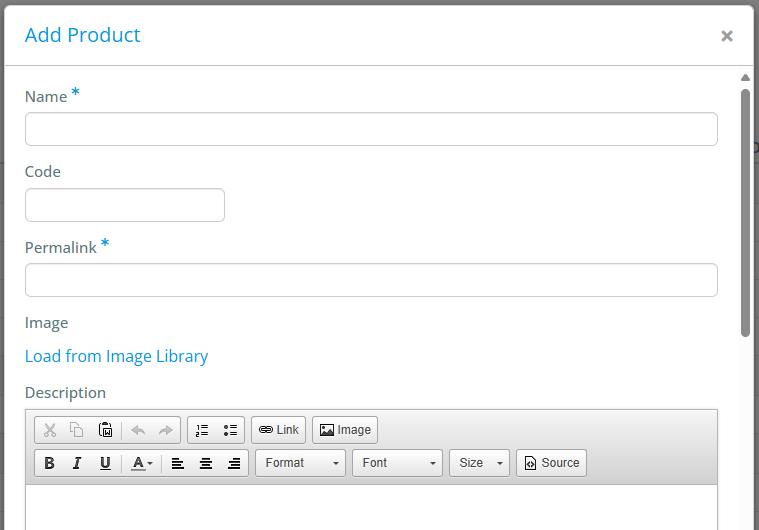
The following is a list of fields you can enter information in for the product:
-
Name: The name of the product.
-
Code: An identification code for the product, such as a SKU.
-
Permalink: This is automatically generated based on what has been entered into the "Name" field. The permalink is used as part of the URL for the page on your ClubRunner website.
-
Image: An image for the product.
-
Description: A brief description of the product.
-
Full Description: A full more in-depth decription of the product.
-
Minimum Products: The minimum number of products a registrant must purchase per registration.
-
Maximum Products: The maximum number of products a registrant can purchase per registration.
-
Options: A list of options available to be selected for the product. See the next step for more details.
-
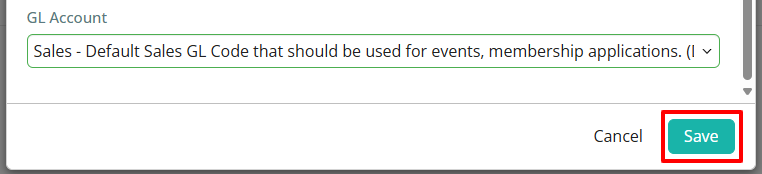
GL Account: Select which GL account the product should be tied to.
-
-
For the "Options" section of adding a product, you are prompted to set the specific options that are available. For example, you can set up a "Meals" product with different meal offerings that are available, as shown below.
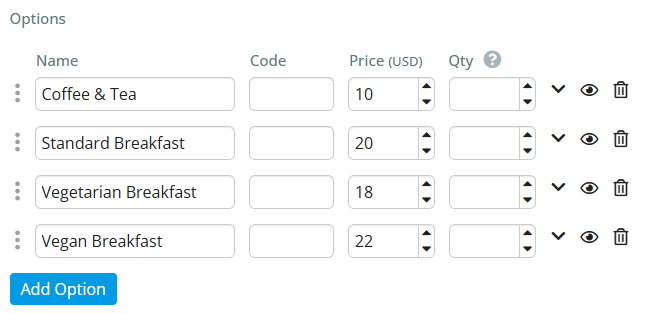
There are numerous adjustments that can be set for each option as outlined below:
-
Three vertical dots: Click and hold on these three dots and you are able to drag to adjust the option order.
-
Down arrow: This section allows you to set specific registration limits for the option and also enable a buyer notification.
-
Eye: Set the option to be shown or hidden.
-
Trash can: Delete the option.
Clicking the Add Option button allows you to keep adding more options as needed.
-
-
Once you have all product details and options set, you can complete the product addition process by clicking Save in the bottom right-hand corner of the page.
Manage Products
-
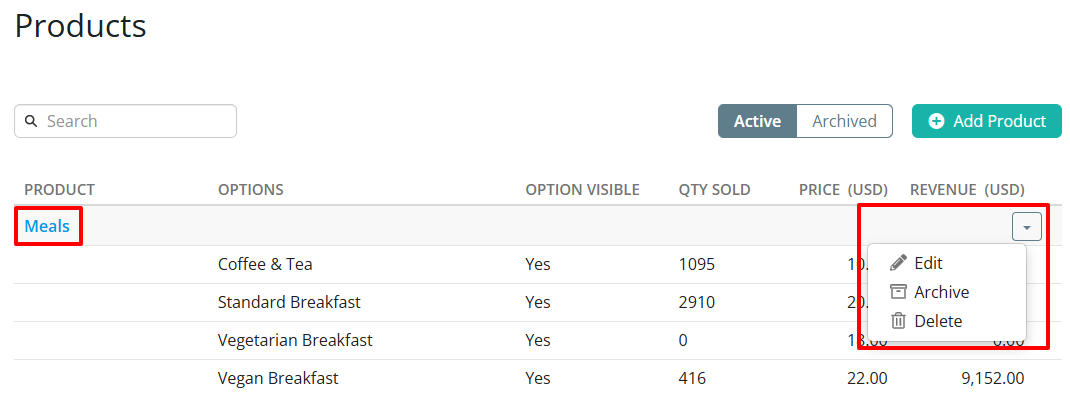
To manage already-created products, you can either click the name of the product to open the editing dialog box, or select an option in the drop-down menu on the right as shown below. You can archive or delete products from that drop-down.
-
The product editing dialog is the same as what you'd see when adding new products (click to view that process). When you've finished changing the details of the product, click the Save button to update the product.