Bulletins are newsletters that can be sent to your members, other users, friends, and online subscribers.
Click here to jump to Sending a Bulletin
Creating a Bulletin
-
You will first need to log in to your ClubRunner account. You can do this from your club home page, or using our universal login page here: https://site.clubrunner.ca/login
-
Once inside of the account, look in the left-hand side menu and click Communication, then select Bulletin.
-
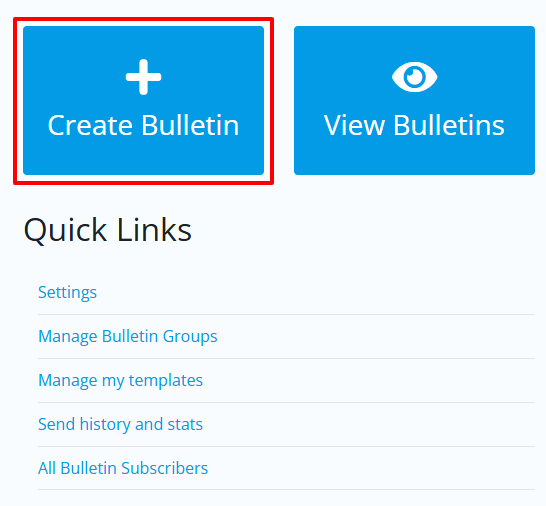
To create a new bulletin, click the Create Bulletin button on the right side of the page.
-
You will now start the process of creating a bulletin by selecting a template to build from. There are options for preset designed templates, blank templates, and you can also save ones you create yourself for future use. Click on the template you want to use and it will show as "Selected". Click the Preview button to see what the bulletin would look like to recipients.
Click Next in the top-right corner to proceed using the selected template.

-
You will now add content to your bulletin using the available editing tools, as well as various settings in the bulletin properties.
You'll see below the two main sections of the bulletin editor, the content display on the left, and the editing tools on the right.
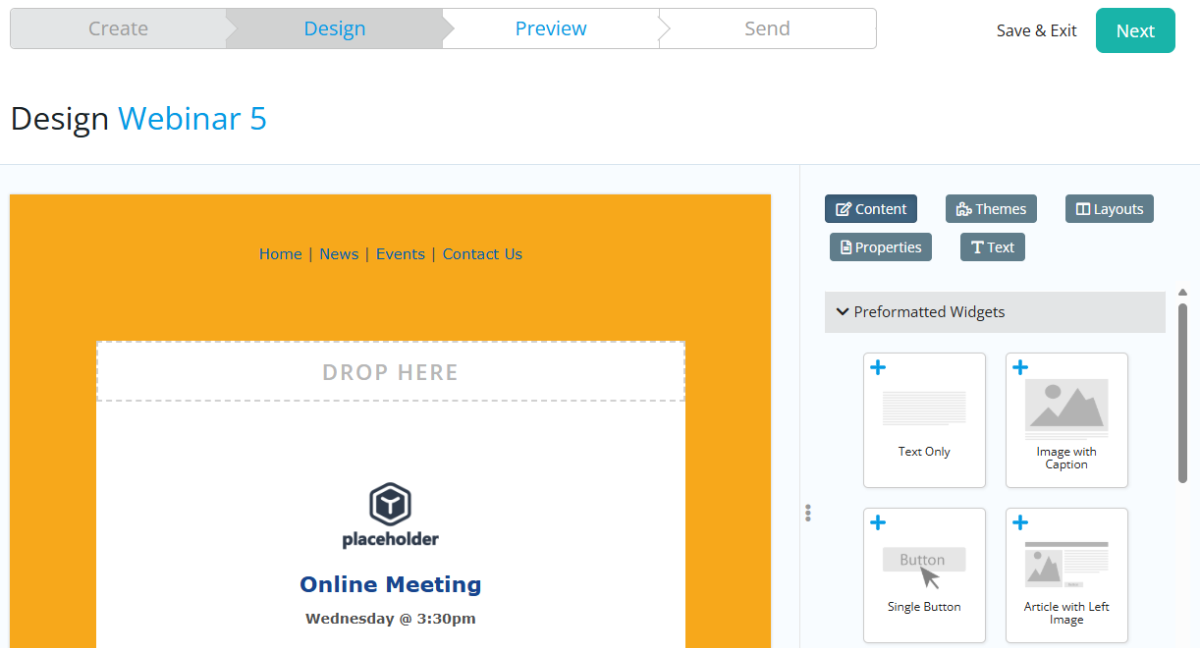
The options you have available for editing are as follows:
-
Content: These are the main widgets that you'll use to add content to your bulletin. To add a specific widget, you click its box and hold, then drag it to an open space (labelled "Drop Here") on the left-hand side in your bulletin. There are many options available for the various types of content you can add to the bulletin, including text, images, link buttons, and more. There are also widgets that will display dynamic content based on information in your club, such as meeting information, member lists, events, photo albums, and more.
-
Themes: Select any of the available themes to reflect your preferred style, including the colors, fonts, and overall look and feel of your bulletin.
-
Layouts: This defines the bulletin layout. There are various different layouts to choose from. These options were set at the bulletin creation process, however they can be changed at any time.
-
Properties: Here you set the various properties of your bulletin, such as name, bulletin date, email subject, access level, and more.
-
Text: You can create a plain text version of your bulletin for email clients that cannot render HTML emails.
When you've completed adding all content and setting the properties for your bulletin, click Next in the top-right corner to proceed. You can always come back and edit the bulletin as needed.
-
-
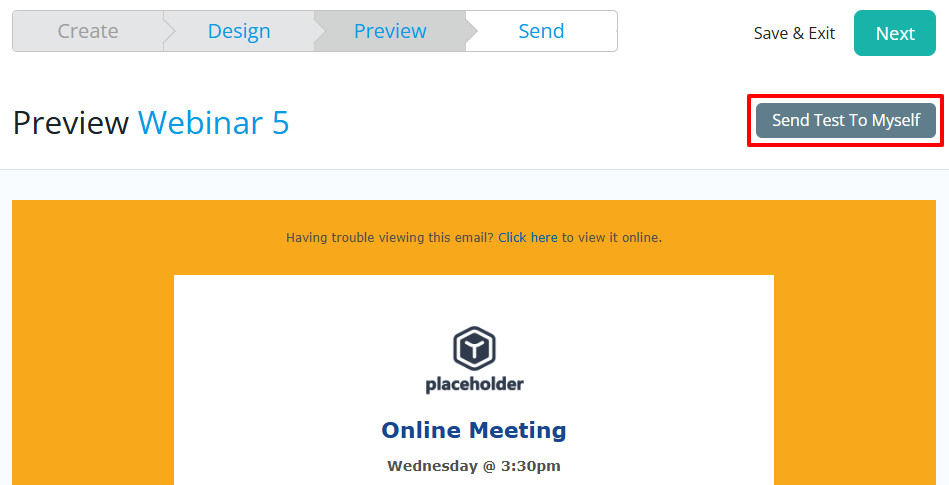
You will now be presented with a preview of the bulletin for review before you send it. Click on the button Send Test To Myself if you'd like to receive a test email so you can preview it that way. If you want to make any changes you can always go back to the previous step as needed.
Click Next when ready to proceed to sending your bulletin.
Sending a Bulletin
After following the steps above to create your bulletin, you're ready to send the email to your members.
-
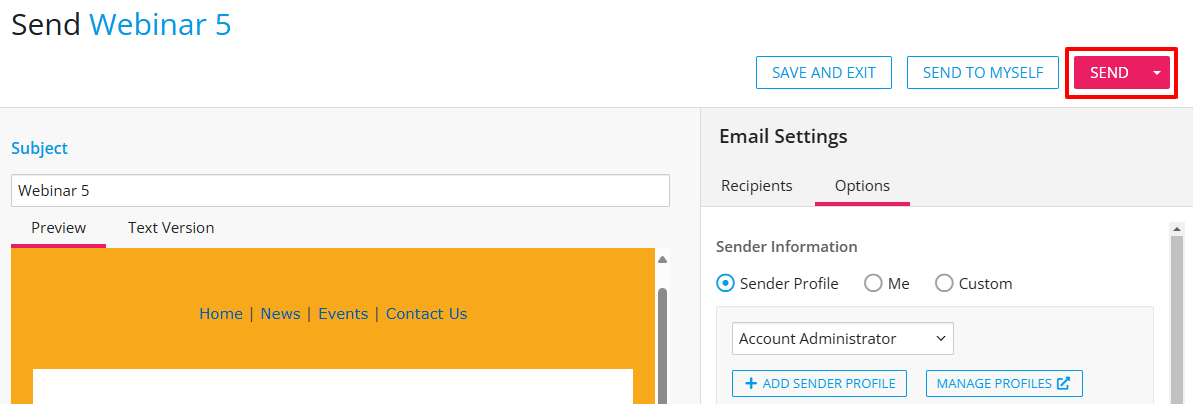
You first need to set the subject for the bulletin email, which is shown on the left above the bulletin preview.
-
Next you'll set the recipients who should receive the bulletin email. There are three options available to customize who will receive the email. Click the respective button in each section to select members to include or exclude as needed.
-
Smart Lists: Smart lists add groups of recipients based on specific criteria. Once you’ve selected a Smart List, the list of members will appear. If you hover over the list, you will see the options to Manage Recipients, Edit Smart List, and Remove.

-
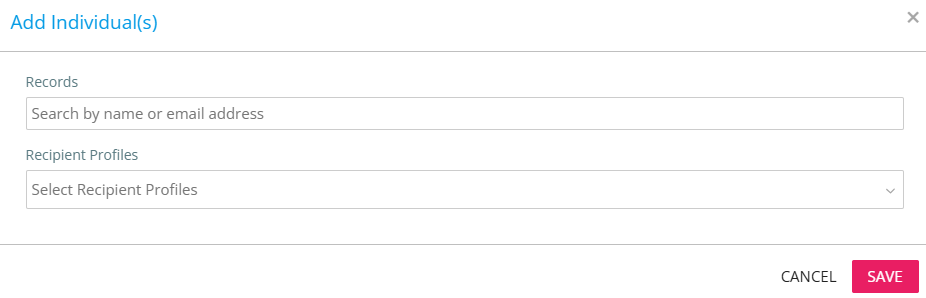
Individuals: You can select individual recipients of emails instead of a whole list of members. You can search for a specific person's name or email address in the Records field. You can also edit the Recipient field here as well.
-
Exclusion Lists: These are the same as smart lists, except they allow you to exclude specific group of people from receiving the bulletin email.
-
-
With the recipients set, the final step before sending the bulletin is to set the options for the outgoing bulletin email.
The following options are available:
-
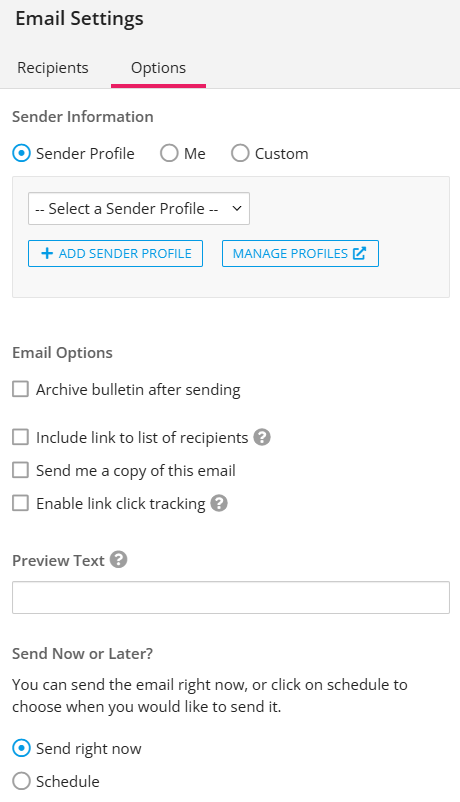
Sender Information: Here you set the email to be sent out from a specific sender profile, choose to send it from yourself, or input a custom name and email. This adjusts who recipients see the email as being sent from.
-
Archive bulletin after sending: The bulletin will be automatically archived after it's sent.
-
Include a link to list of recipients: A link to view the list of recipients will be included in the footer of the email.
-
Send me a copy of this email: You'll receive a copy of the bulletin even if you're not included as a recipient.
-
Enable link click tracking: When enabled, the total number each link is clicked will be recorded. This will be viewable on the email statistics page.
-
Preview Text: A text snippet that may be displayed in the recipient's inbox after the subject line.
-
Send Now or Later: This allows you to choose to send the bulletin email now, or schedule it for a later date and time.
-
-
When everything is set and you're ready to send the bulletin, click the Send button in the top-right corner. If this button is unclickable, hover over it to see what remains to be done before you can send the bulletin.