Sender profiles can be used to send emails in ClubRunner using specific email addresses as the “from” email address appearing in the recipient’s inbox. You can set up multiple sender profiles and choose a default sender for club communications, and can also set a different “Reply to” addresses. As an example, an email may be sent with the club president’s name but all replies will get directed to the club secretary or membership chair.
To set up sender profiles, follow these steps:
-
Log in to your account through your club homepage, then click on Member Area on the top right under your club banner. Alternatively, click here to go directly to the ClubRunner login page.
-
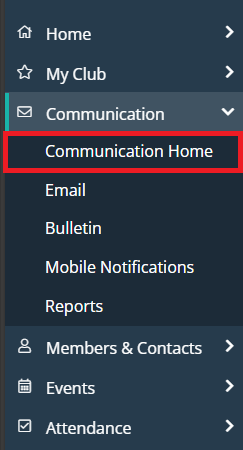
Click Communication in the left-hand menu, then click Communication Home.
-
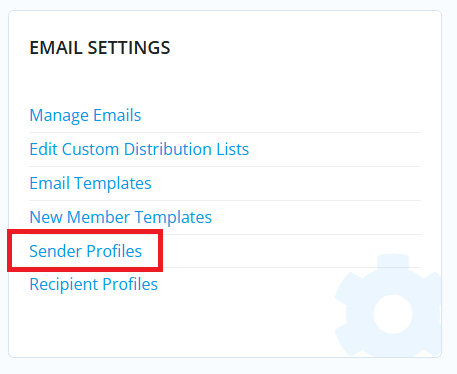
Click Sender Profiles in the Settings section.
-
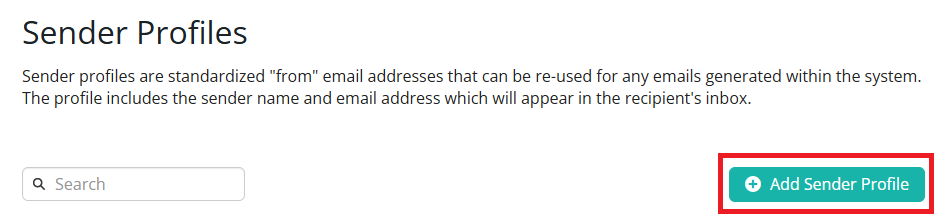
Click the drop-down arrow icon to the right-hand side of any sender profile, then click View. Next, click the Edit button in the Sender Profile Details section to edit this sender profile.

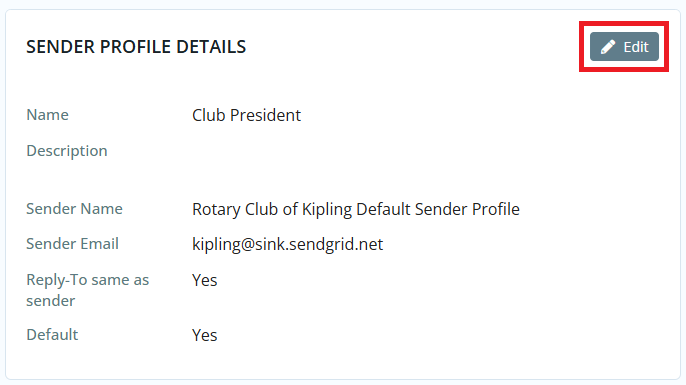
You may also click Add Sender Profile to create a new profile to add to the existing list.
-
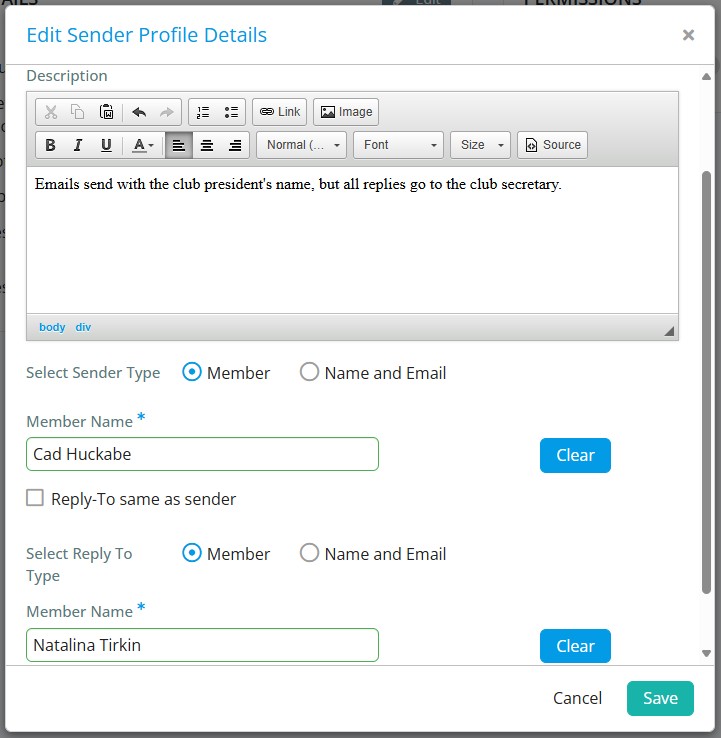
You can update the information here. You may choose to make the reply-to a different person than the sender. From our example, you may wish to make emails come from the club president, but when the recipient replies it will go to the club secretary.
-
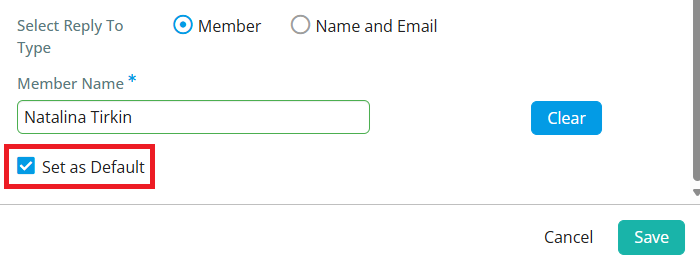
If you check “Set as Default” this sender profile becomes the default sender for all triggered emails that do not have a specific sender profile set.
-
Click Save to save your changes.
-
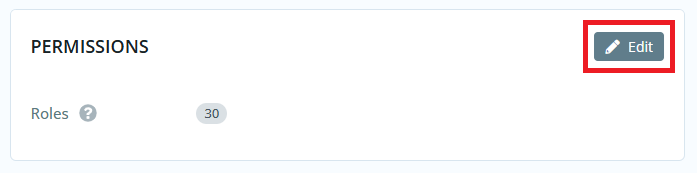
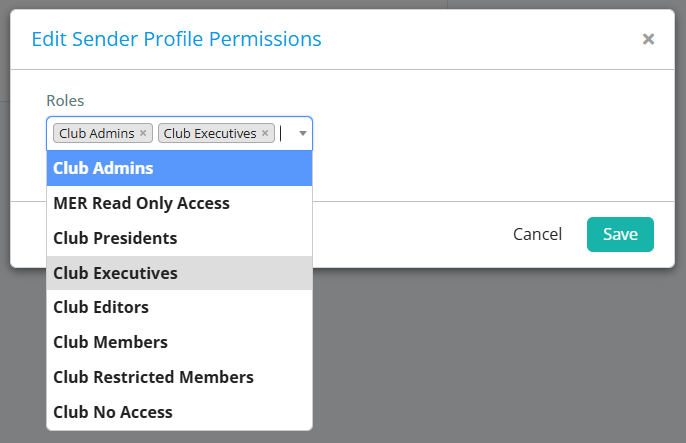
You may click Edit in the Permissions section to select which member roles will be able to use this sender profile. Click Save when finished.
-
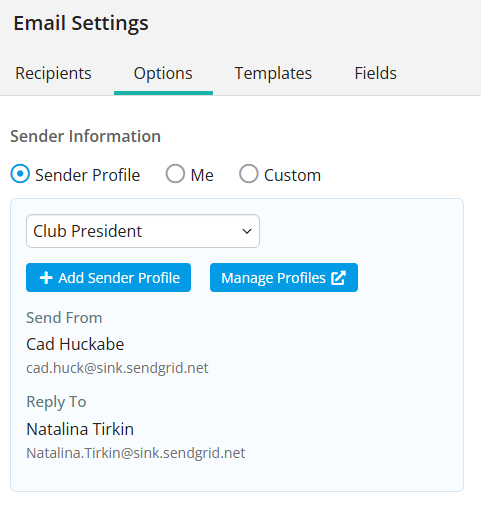
You’ll now be able to select these sender profiles when sending out emails.