To add a live Twitter feed to your website, you will need to install the third party tool Twitter Publish. Twitter Publish provides users with website-friendly embed code, so users can easily implement it using the editor.
To begin, you will need to visit Twitter Publish by clicking on this link, or you can copy and paste this link directly to your internet browser: https://publish.twitter.com/
1. In the textbox, enter your Club's Twitter URL or website address.

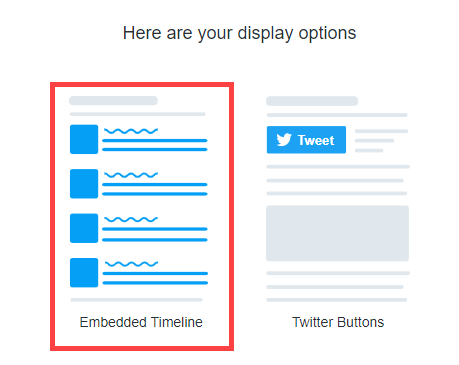
2. Below, choose the style and type of display option for the Twitter embed code. For this guide, we will choose the Embedded Timeline to display the Twitter posts and timeline.
3. After choosing the style of embed option type, click the blue Copy Code button to copy the HTML embed code.
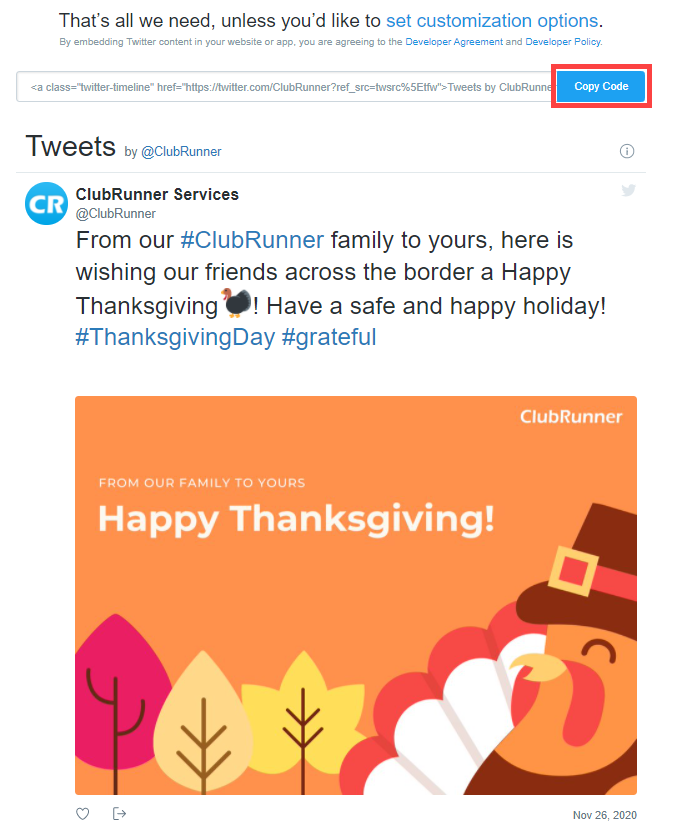
4. On the Twitter Publish website, you will receive a confirmation the embed code has been copied to your clipboard.

To paste the Twitter embed code in ClubRunner:
5. Navigate to your website then click Member Login at the top right.
6. After logging in click the Member Area link in the top right of the organization home page.
7. Inside the member area click Website in the top blue bar.
8. Next, choose where to add the Twitter Embed Code and Timeline.
For the Club Home Page: click Home Page Designer in the grey bar below.
For a new Custom page: in the grey bar below click, Create New Page in the grey bar below. Then, in the Select Template page, select a template, and click the orange Next button in the top right of the Template library.
For an existing Custom page: click Custom Page Library in the grey bar below, then while viewing the library in 'Grid' view, hover over the existing custom page and click Open to edit the page.
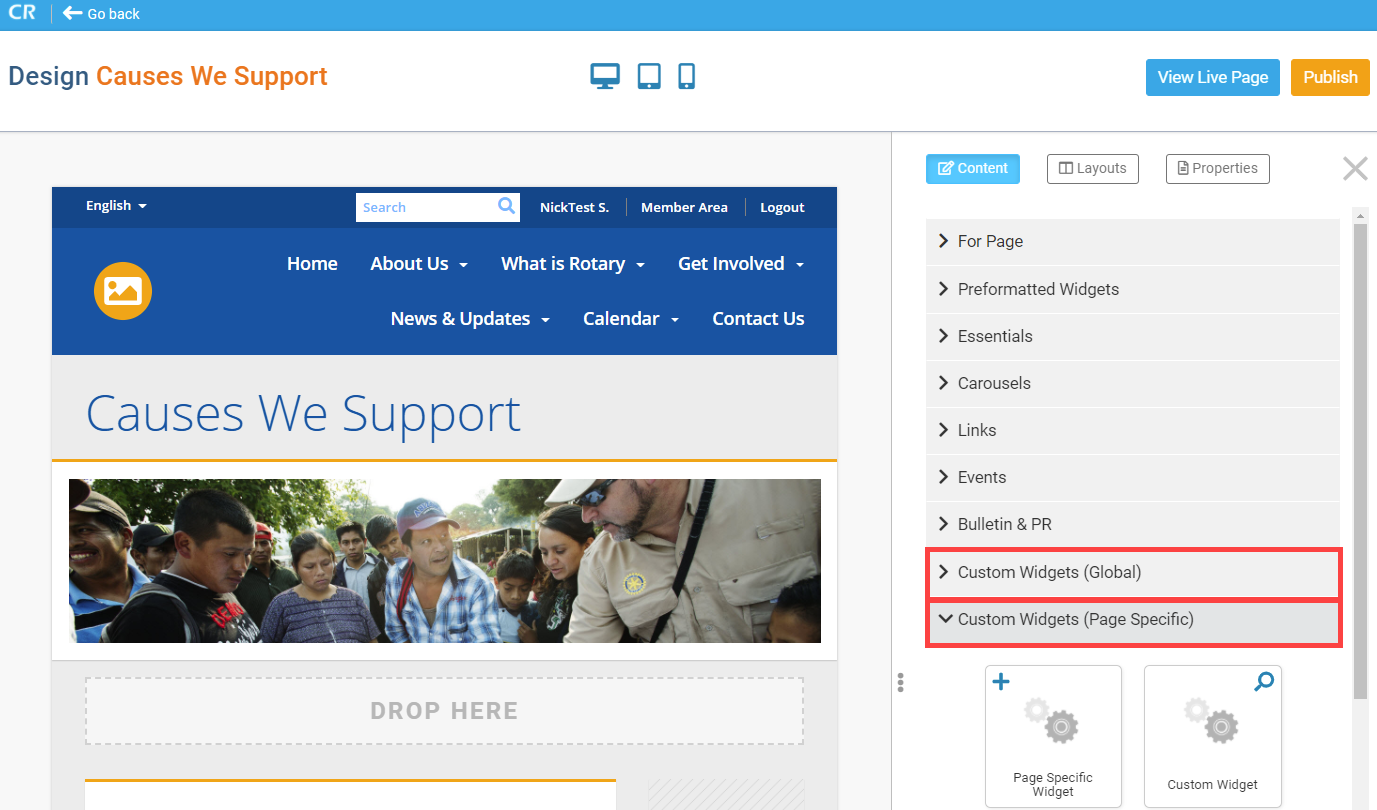
9. Once the designer for the page is selected in step 4, open the Custom Widget (Global) or Custom Widget (Page Specific) widget grouping in the Content section of the designer.
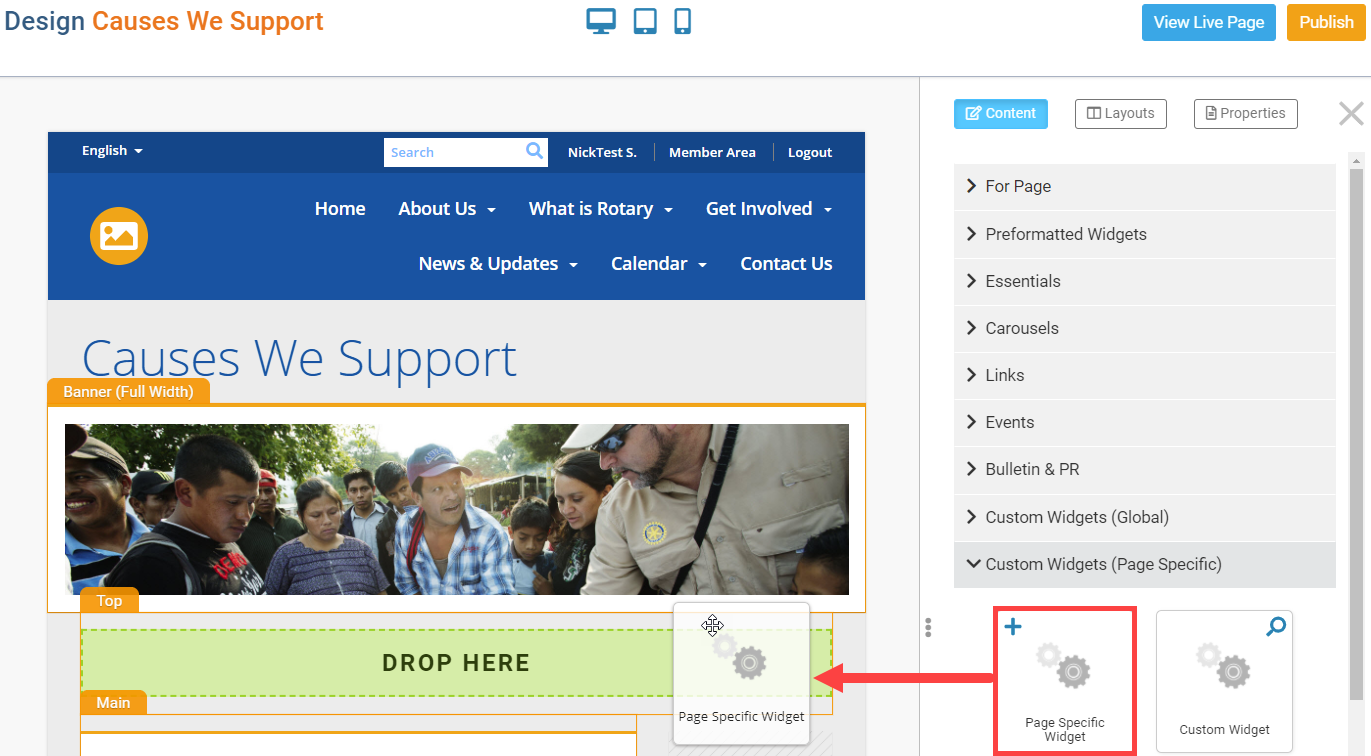
10. Click-and-drag a Custom Widget onto the page (the icon with the "plus" sign), above or below any other widget on the page. You will see a green Drop Here box, denoting where the widget will be entered onto the page.
11. With the widget now on webpage, hover over the widget and click the Out-bound Arrow icon in the top-right of the widget.
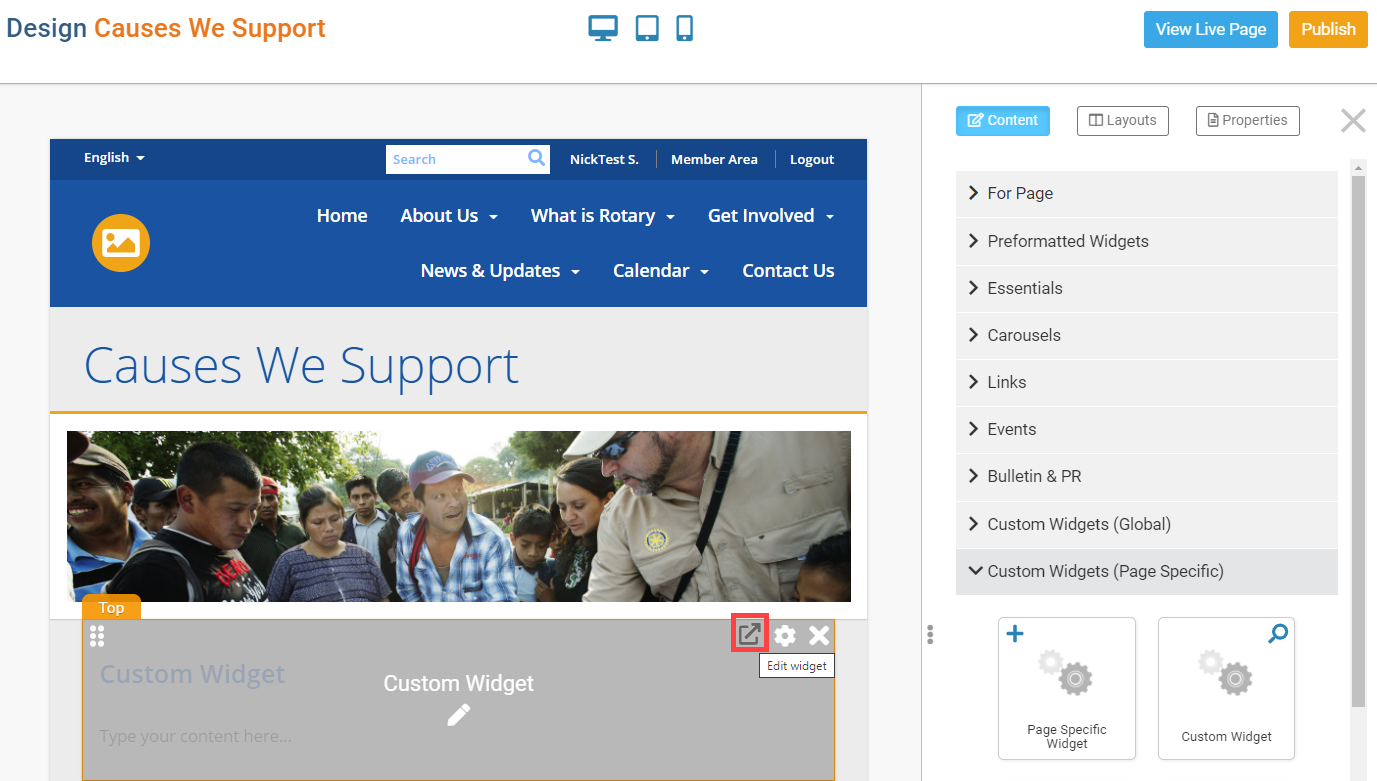
- The Gear icon - Open the Widget Properties and display options dialog.
- The X icon - Remove the widget from the page. A copy of the widget is stored in the widget grouping it was used from.
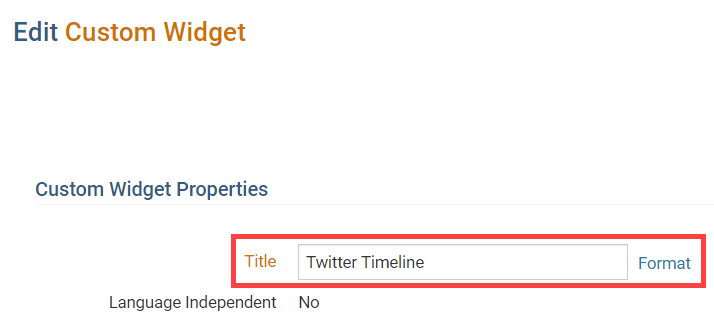
12. On the Edit Custom Widget page, enter a new title for the widget. This title & widget will appear in the Custom Widget group with this title.
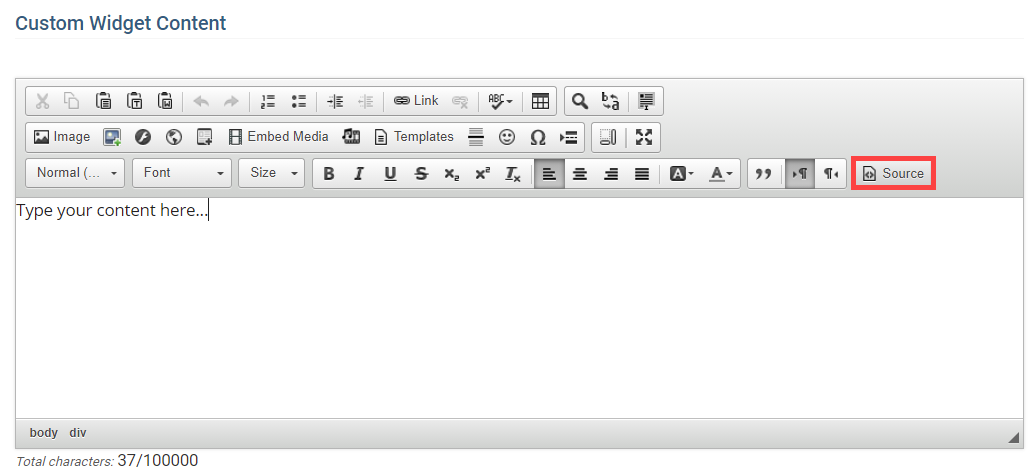
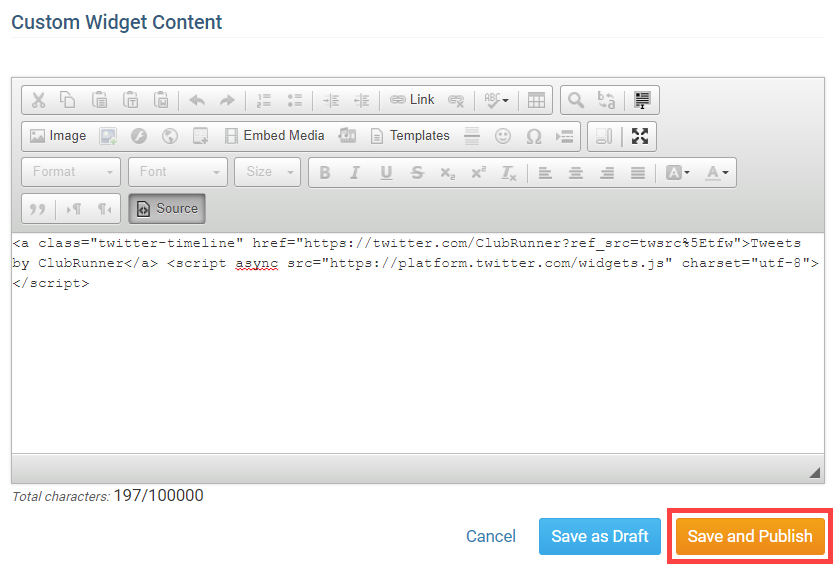
13. Scroll down to the Custom Widget Content textbox and click the Source editor tool.
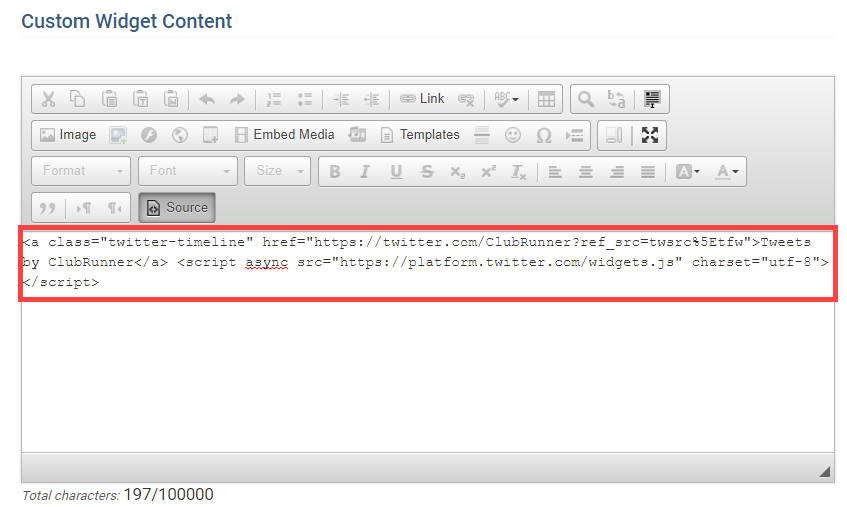
14. In the source editor mode for the Custom Widget Content, Paste the embed code, copied from Step 3.
15. Once complete, click the orange Save and Publish button in the bottom right of the page.
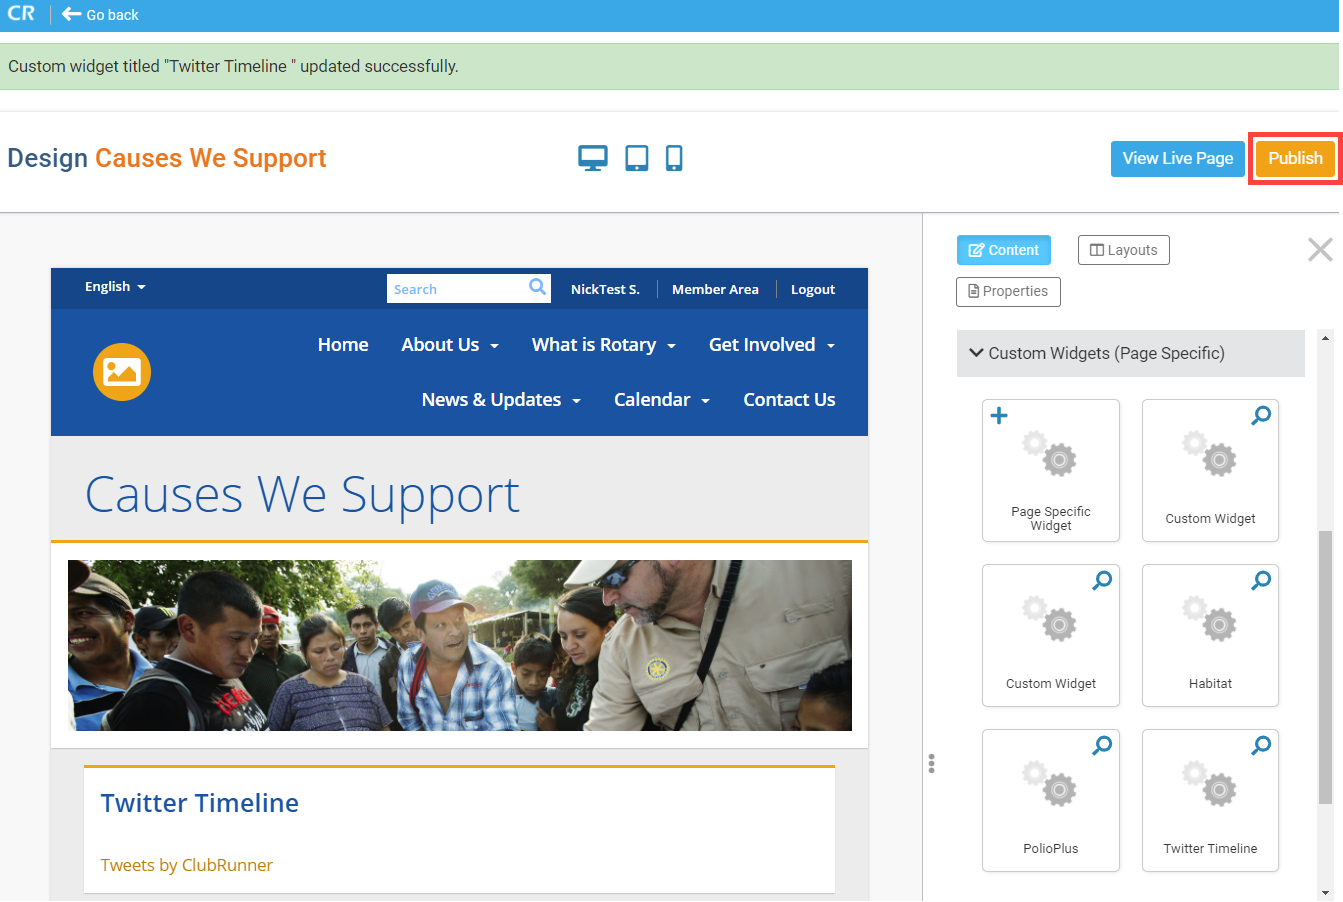
16. After returning to the Page Designer, click the orange Publish button at the top-right of the designer to publish the changes.
17. To view the embedded code on the live page, click the blue View Live Page button in the top-right of the Page Designer.
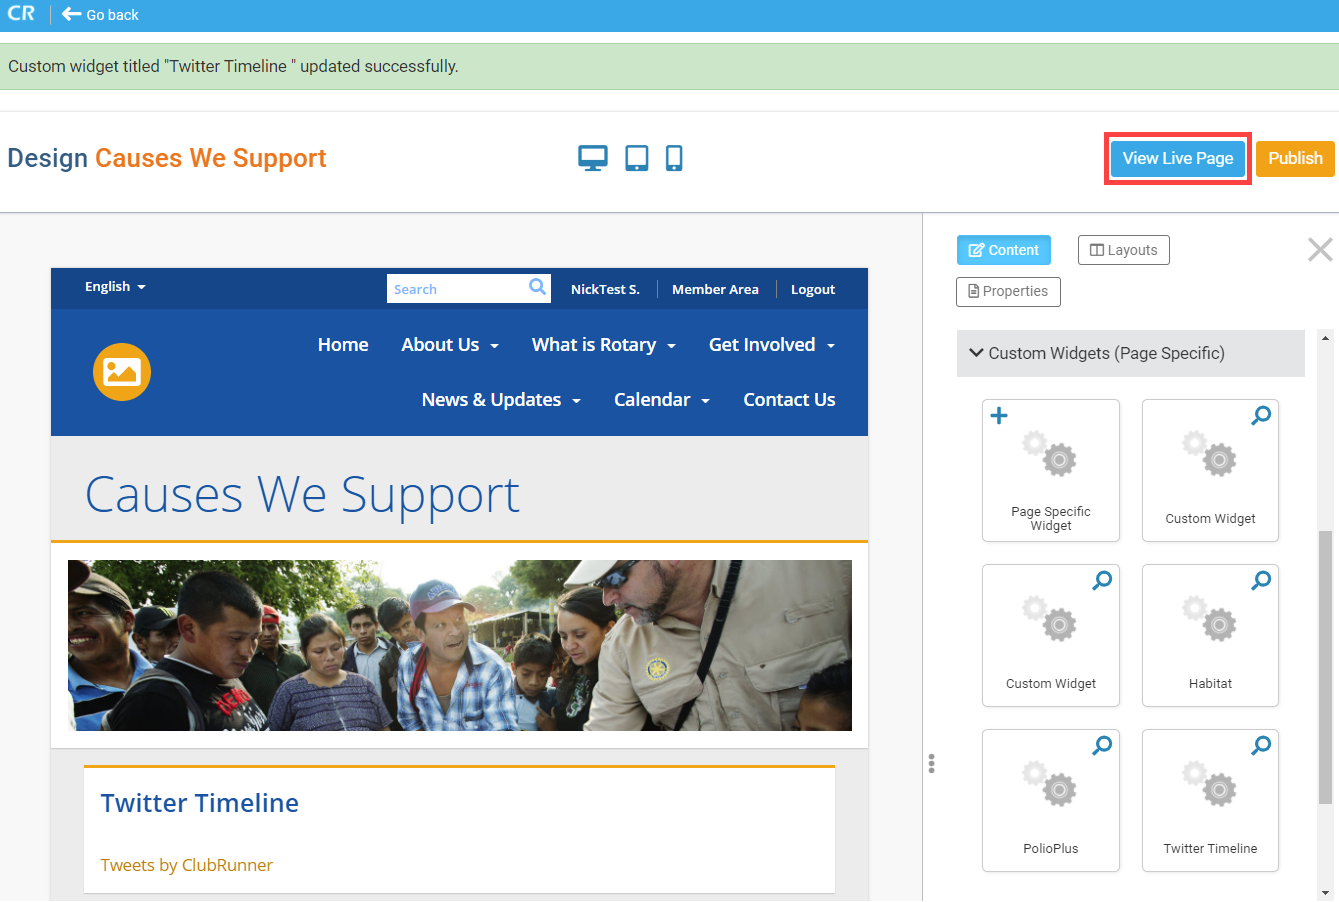
On the following page you will find the embedded code will display tweets and posts from the timeline of your Twitter account. This widget will auto-update, meaning if you update posts on your Twitter account this widget will also automatically update with those new posts.