To embed an Instagram post to your website you will need an Instagram account to login, then copy the posts embed code. When logged into Instagram, you can use the Embed post options to copy the embed code, which you can then paste into a custom widget on your ClubRunner website.
To begin, first login to your Instagram account then open the post on the Instagram profile to embed onto the website.
1. On the Instagram profile, click the post to embed on the website.

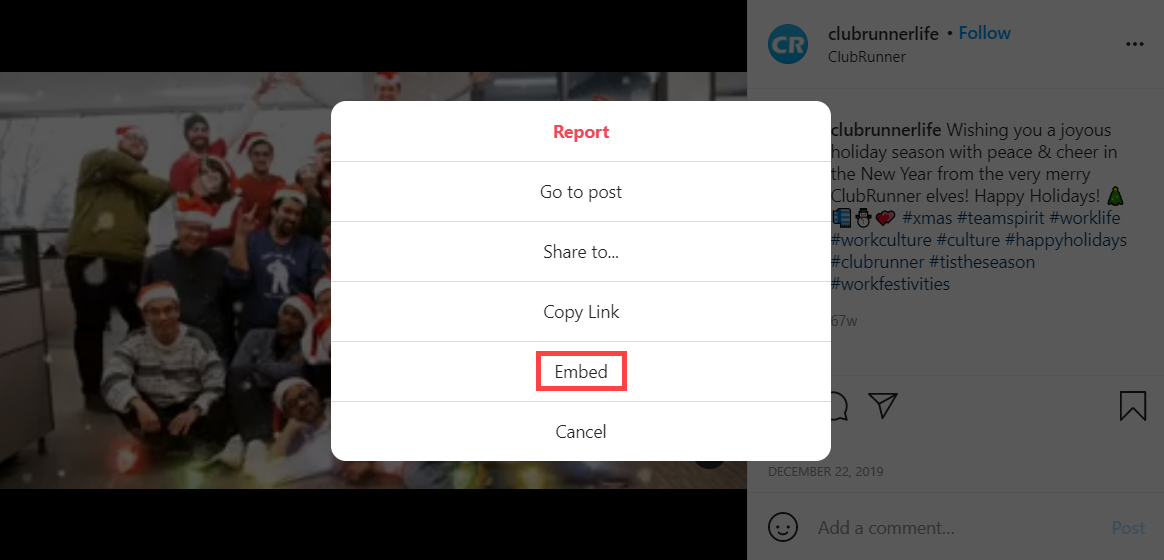
2. In the post dialog, click the three horizontal dots in the top-right of the post.

3. In the list of post options, click Embed.
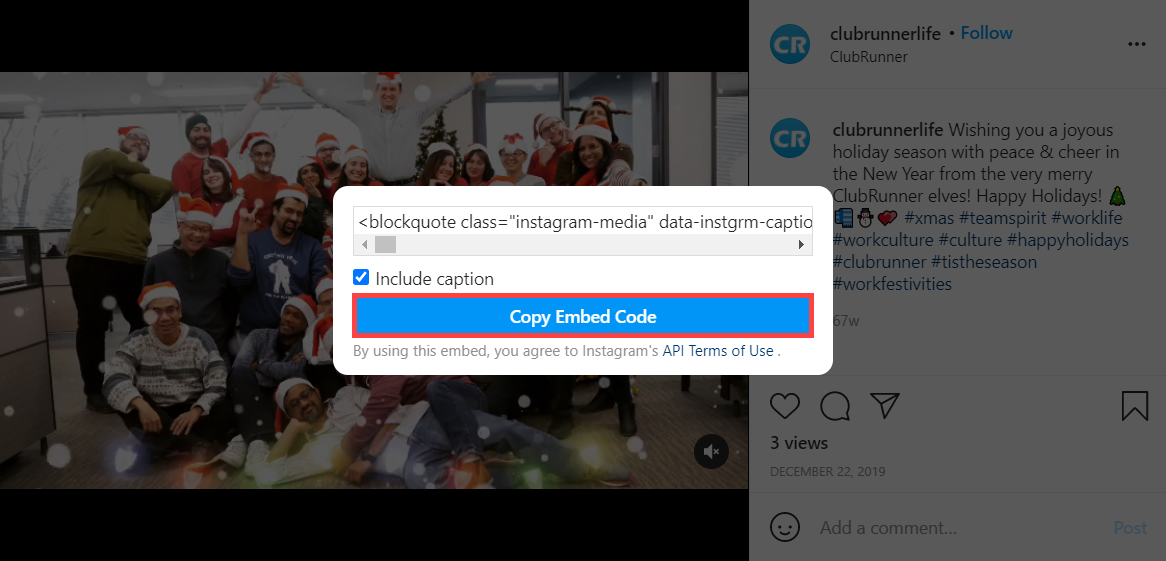
4. In the embed dialog, click Copy Embed Code. The embed HTML code is now saved to your device's clipboard (temporary cache).
To paste the Instagram embed code in ClubRunner:
5. Navigate to your website then click Member Login at the top right.
6. After logging in click the Member Area link in the top right of the organization home page.
7. Inside the member area click Website in the top blue bar.
8. Next, choose where to add the Instagram Post Embed Code.
For the Club Home Page: click Home Page Designer in the grey bar below.
For a new Custom page: in the grey bar below click, Create New Page in the grey bar below. Then, in the Select Template page, select a template, and click the orange Next button in the top right of the Template library.
For an existing Custom page: click Custom Page Library in the grey bar below, then while viewing the library in 'Grid' view, hover over the existing custom page and click Open to edit the page.
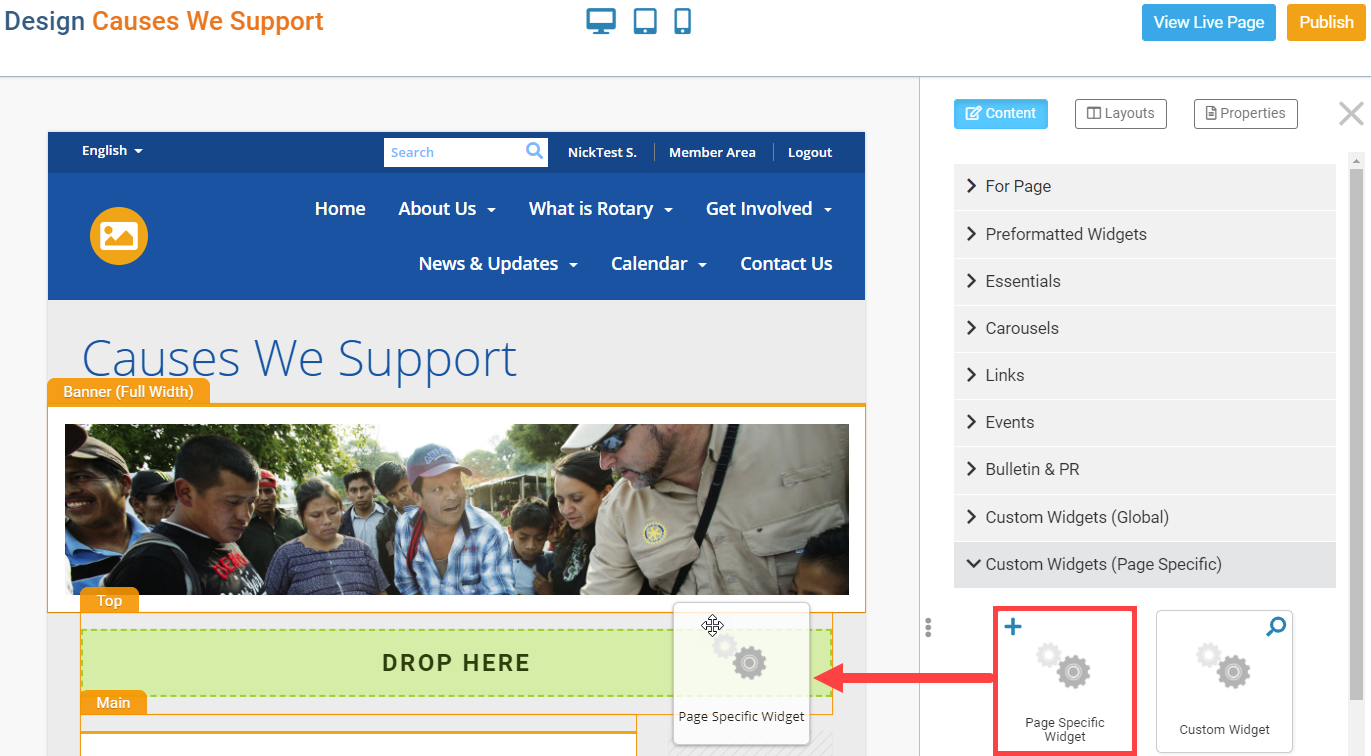
9. Once the designer for the page is opened, click the Custom Widget (Global) or Custom Widget (Page Specific) widget groupings in the Content section of the designer.
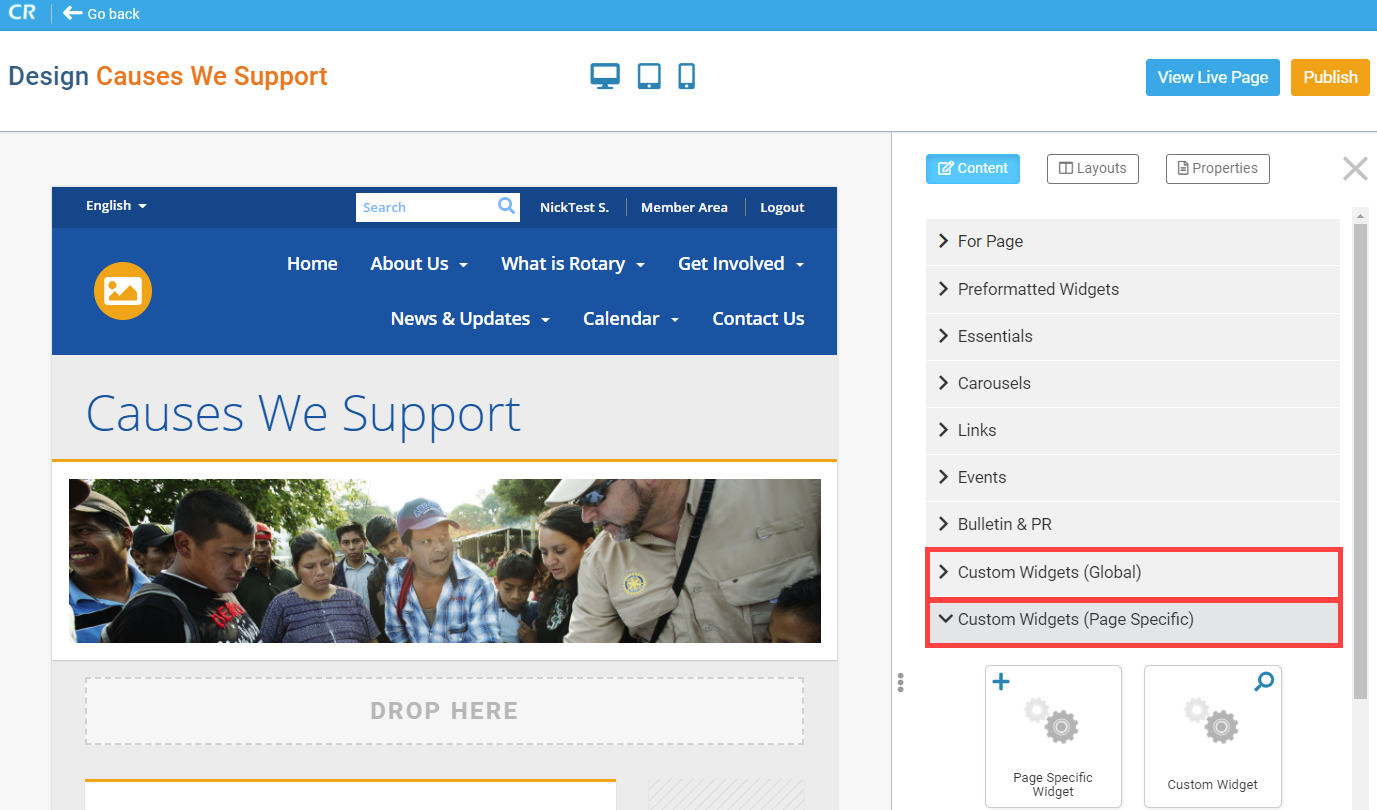
10. Click-and-drag a Custom Widget onto the page (the icon with the "plus" sign), above or below any other widget on the page. You will see a green Drop Here box denoting where the widget will be entered onto the page.
11. With the widget now on webpage, hover over the widget and click the Out-bound Arrow icon in the top-right of the widget.
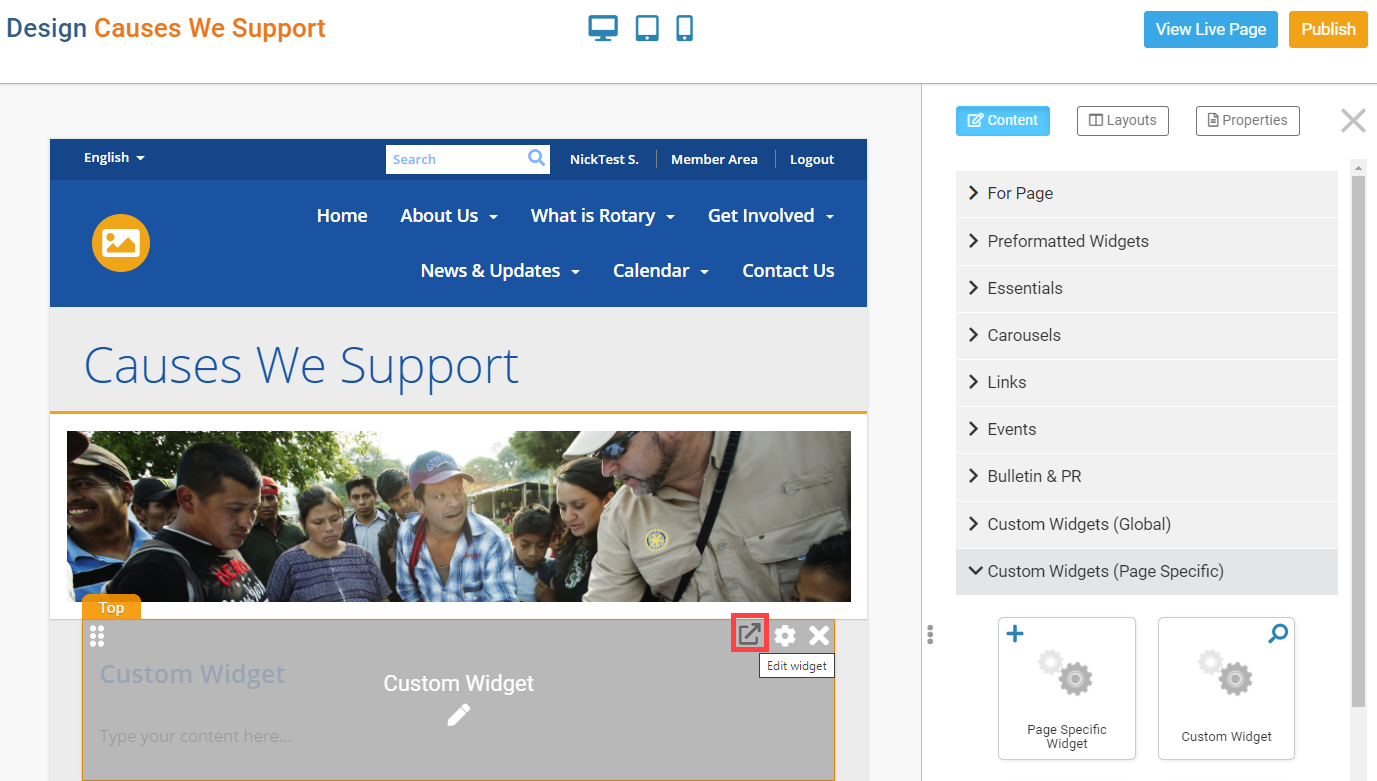
- The Gear icon - Open the Widget Properties and display options dialog.
- The X icon - Remove the widget from the page. A copy of the widget is stored in the widget grouping it was used from.
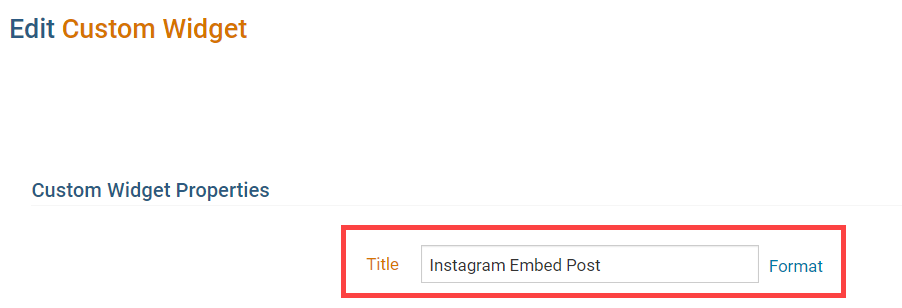
12. On the Edit Custom Widget page, enter a new title for the widget. This title & widget will appear in the Custom Widget group with this title.
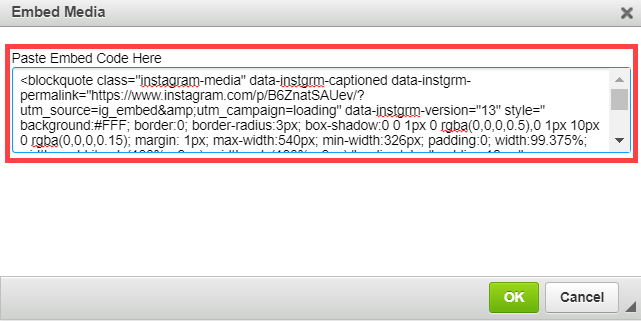
13. Scroll down to the Custom Widget Content textbox. Don't paste directly in here - instead and click the Embed Media editor tool.
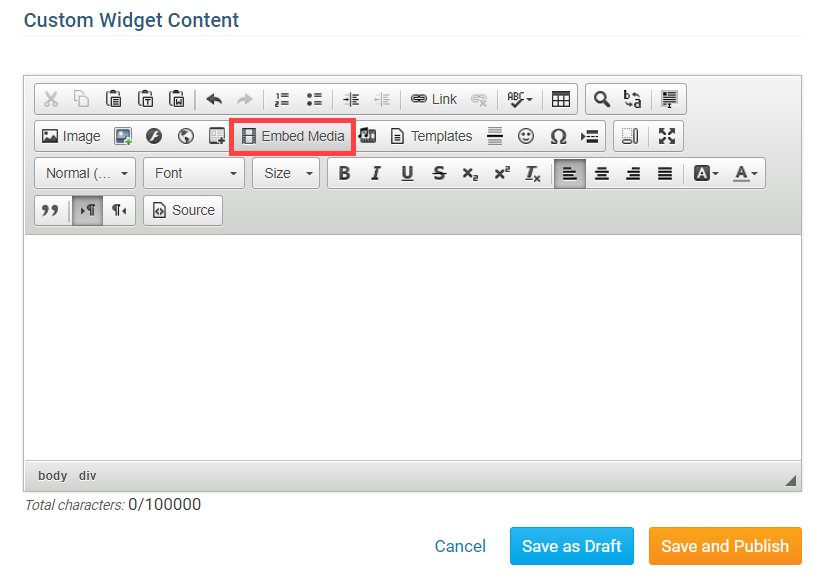
14. In the Embed Media dialog, paste the Instagram embed code that was copied from step 4.
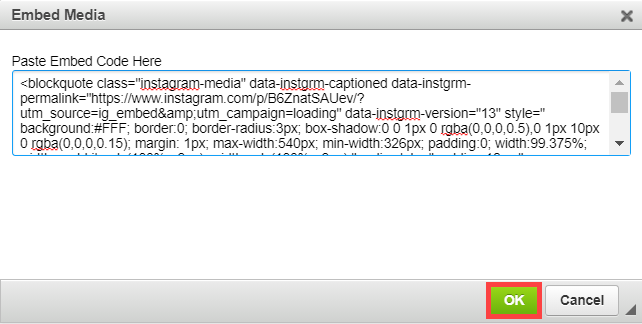
15. Click the green Ok to save the embed code into the custom widget
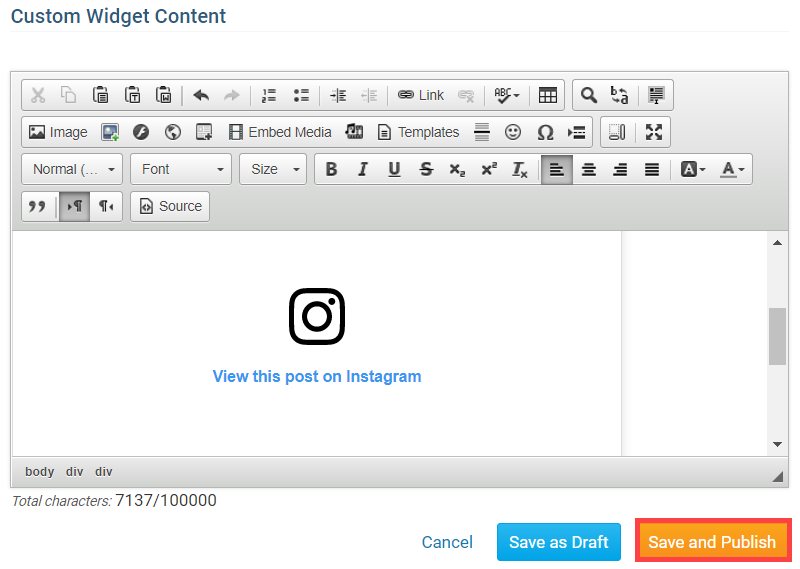
16. In the Edit Custom Widget page, click the orange Save and Publish button in the bottom-right of the page.
17. Returning to the Page Designer, click the orange Publish button at the top-right of the designer.
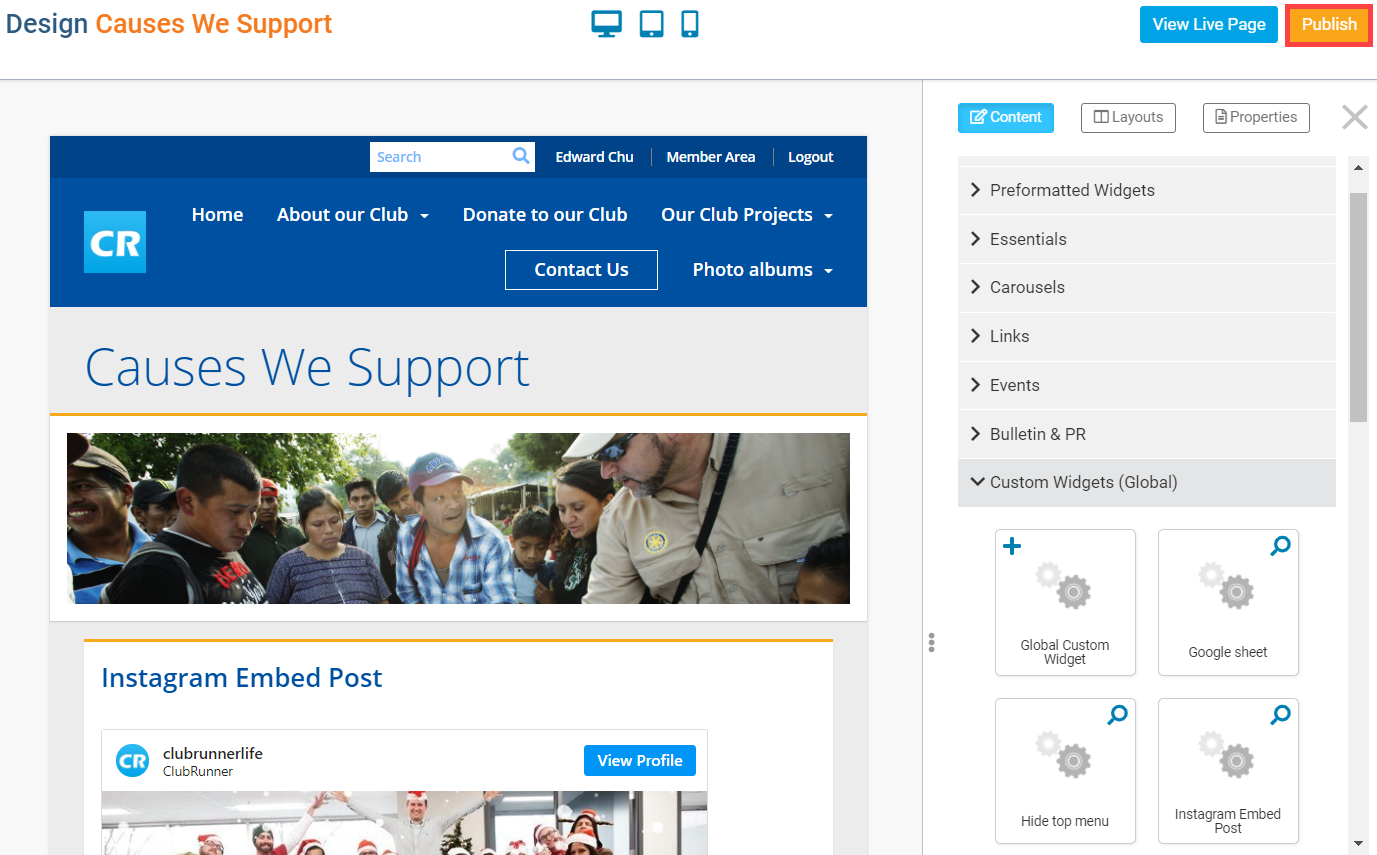
18. To view the embedded code on the live page, click the blue View Live Page button in the top-right of the Page Designer.
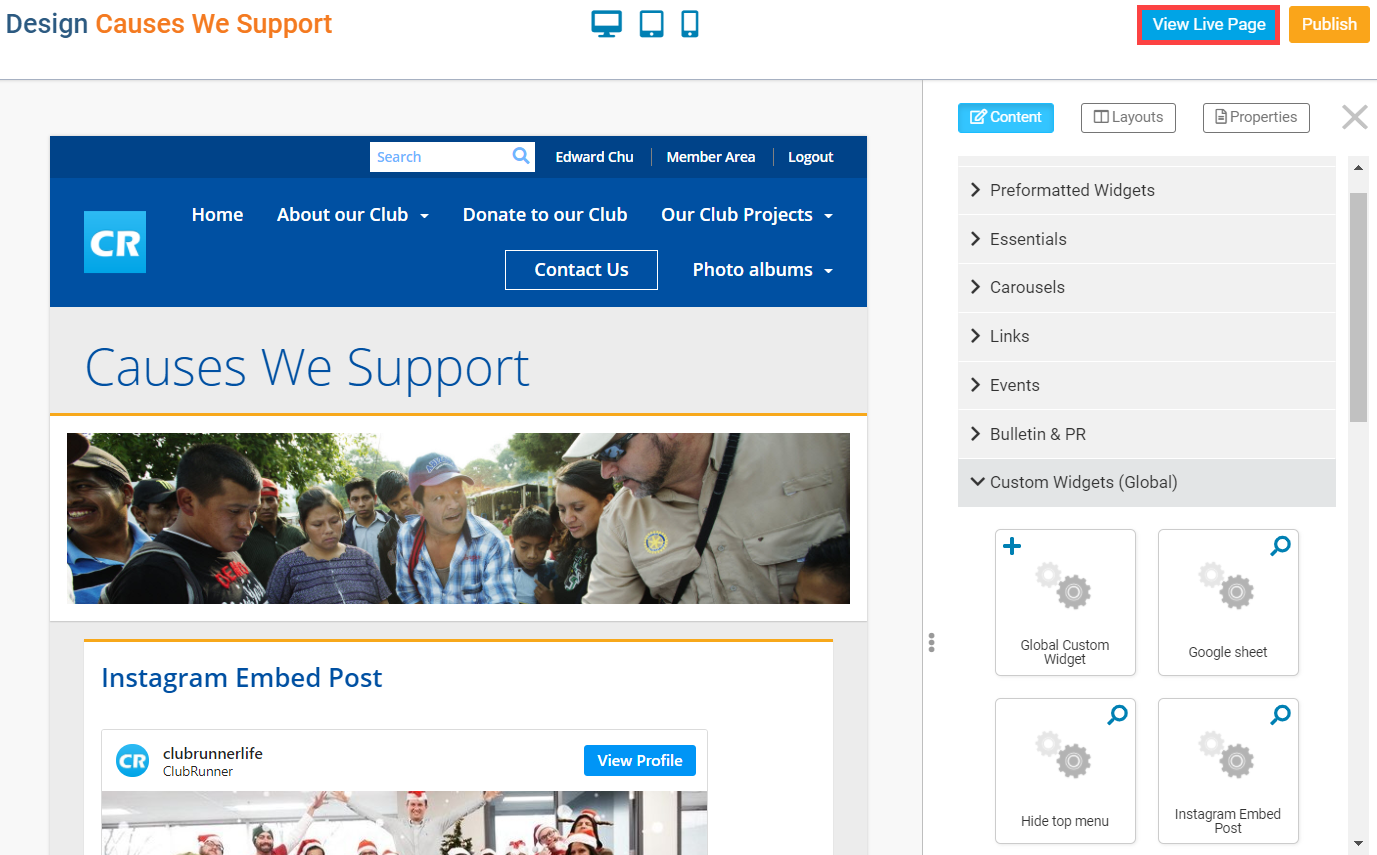
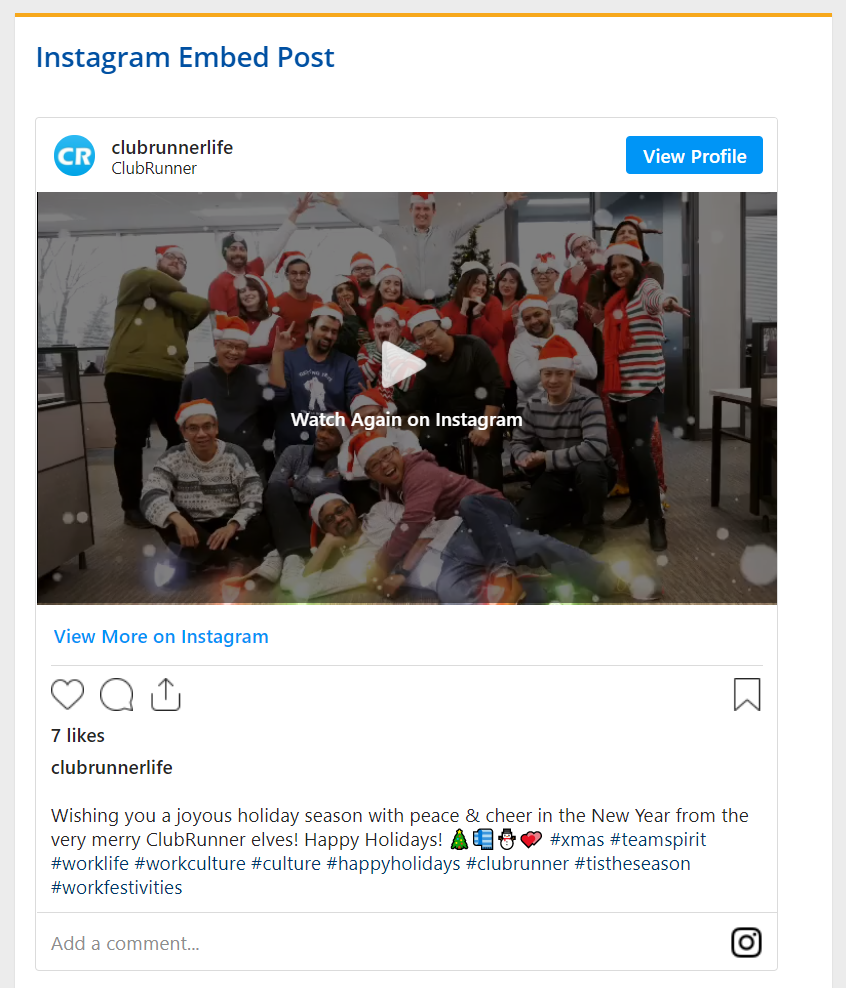
On the following page you will find the embedded code will display the Instagram post and comments made to the post. You can hide the comments by unchecking the Include Comments checkbox, in step 4 - copying the Instagram post embed code. This widget will auto-update, meaning if the post receives comments, the widget will update to display those comments in the post.