
You can change, edit, or add to the menu bar located on your club site. The navigation menu supports unlimited drop-downs allowing you to organize the structure to suit your needs. Each menu item can point to a site page, custom page, built-in page, to an external website, or file.
Navigation:
Accessing the Home Page Menu
Adding or Editing a Menu Item
Creating Folders and Organizing the Navigation Menu
Accessing the Home Page Menu
-
To begin, log in to your account through your club homepage, then click on Member Area on the top right-hand corner under your club banner. Alternatively, click here to go directly to the ClubRunner login page.
-
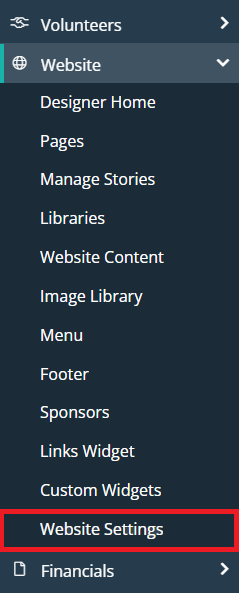
On the left-hand menu, click the arrow to the right-hand side of Website, then click on Website Settings.
-
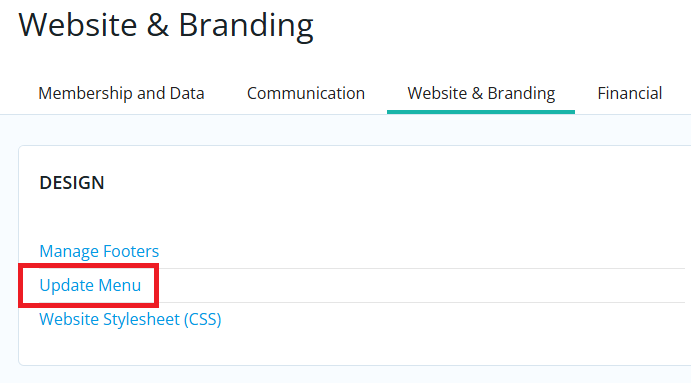
In the Design section, click Update Menu.
-
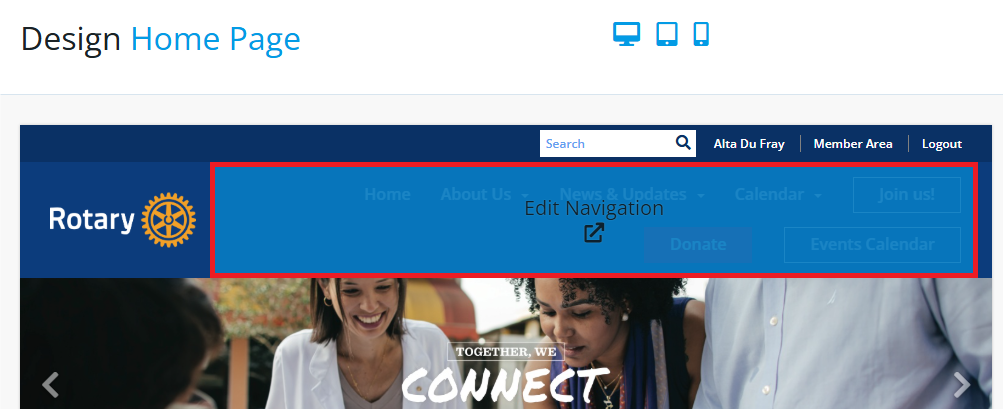
You will see a list of menu items comprising your homepage's current navigation menu. You may also access this page while editing any custom page by hovering your cursor over the menu in the website editor, then clicking Edit Navigation.
Adding or Editing a Menu Item
-
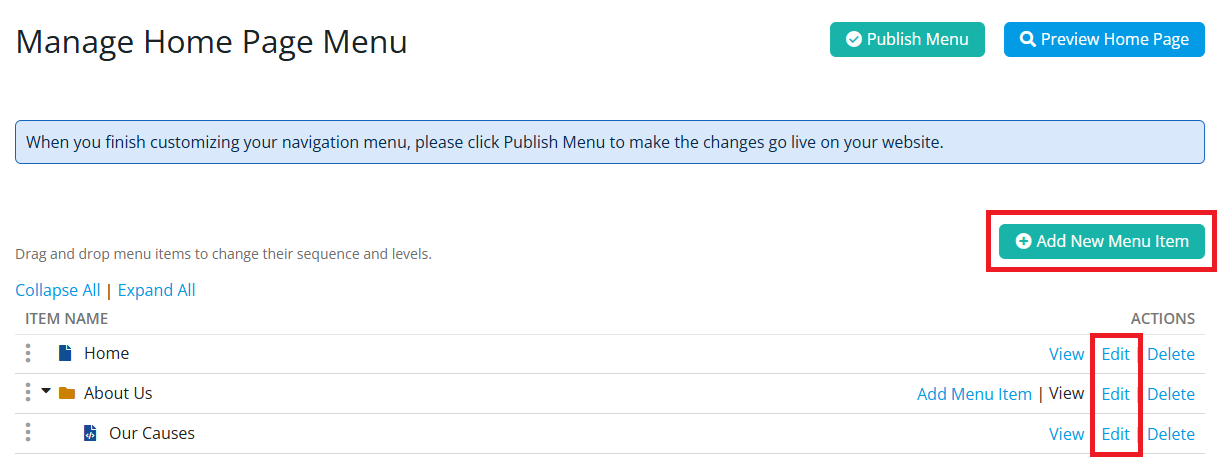
To add a new menu item, click the Add New Menu Item button. To edit an existing menu item, click on the Edit link on the same line as the menu item you would like to edit.
-
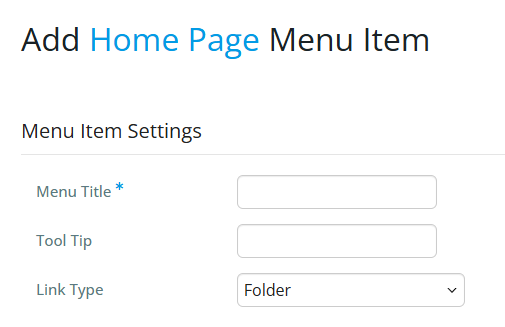
There will be a few fields which need to be filled in:
-
Menu Title - The name of the menu item. This will be displayed on your menu on your website.
-
Tool Tip (optional) - This appears if the person hovers over top of the menu's title on the website.
-
Link type - This is the type of link the menu will open. The following link types are available:
-
Built-in Page: Built-in pages are system-created pages that update automatically.
-
Custom Page: This allows you to link to a custom page you have created within the website.
-
Custom URL: Allows you to enter in any URL or website address which will redirect visitors to that site. Be sure to include the https:// in front of the website address. Target lets you specify whether to open that link in the same window or a new one.
-
Document: Allows you to select a file for download from the club's documents area.
- Donation Campaign: Links to a specific donation campaign for your club if you have donations enabled.
-
Event: Displays a drop-down list of active events from Event Planner, MyEventRunner and Cloud Events.
-
Folder: You can store additional sub-menus in this folder.
- Form: Link to a page for a form created using the Form Designer.
-
Home Page Download File: Allows you to select a file for download from the Download Files area.
-
Photo Album: This activates a drop-down menu in which you may select a link to a photo album to display on the homepage menu.
-
Public Signup Lists: Displays a drop-down list for a volunteer signup list.
-
Site Page: This allows you to link to a site page you have created within the website.
-
Speaker: Displays a drop-down list of Speakers which you can select.
-
Story: This activates a drop-down menu in which you may select a link to an existing story to display.
-
-
-
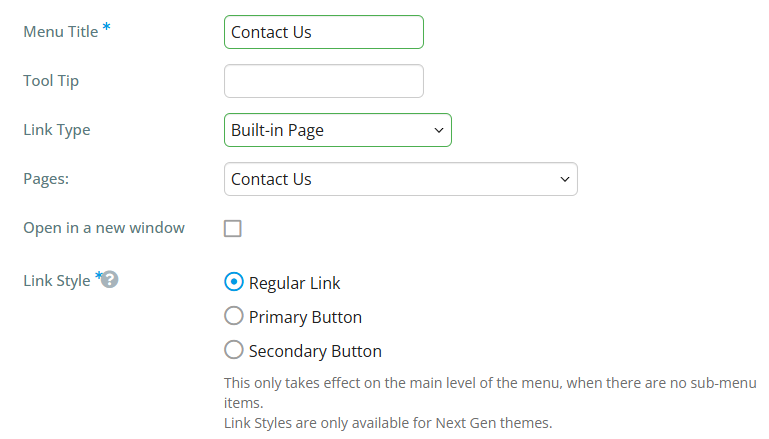
After you select the link, it will give you a few other options.
-
Open in new window: When the user clicks on the link, it opens in a new tab or window. This is normally checked if the link is leaving the website.
-
Link Style:
-
Regular Link: The menu item looks like the default links on the menu.
-
Primary Button: Makes the menu item a button, which is colored as the primary color of the theme.
-
Secondary Button: Makes the menu item a button, which is colored white with the secondary color of the theme as an outline.
-
-
-
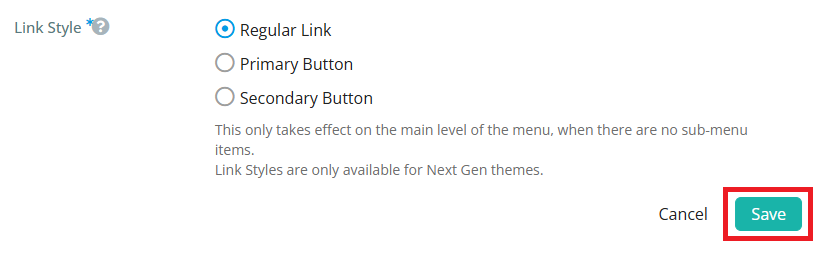
Click Save to save the changes, or Cancel to cancel the changes.
-
After adding, removing, or editing any menu items, click on the Publish Menu button near the top right-hand corner of the page to update the website with the changes.

Creating Folders and Organizing the Navigation Menu
To organize the club's navigation menu item into drop-down folders, add a Folder type to the list of items, then drag-and-drop other navigation menu items into the new folder.
-
To begin, click the Add New Menu Item button on the page.

-
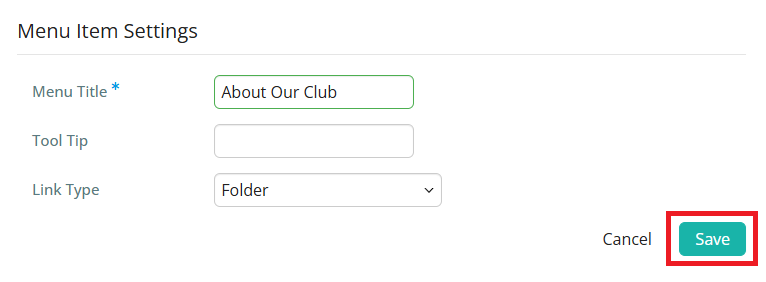
On the Add New Menu Item page, enter the title of the Folder, then choose the Link Type Folder and click the orange Save button to save the Folder to the navigation menu.
-
After saving the folder, drag-and-drop the three-dot grab points on one of the navigation menu items and drop it into the folder.
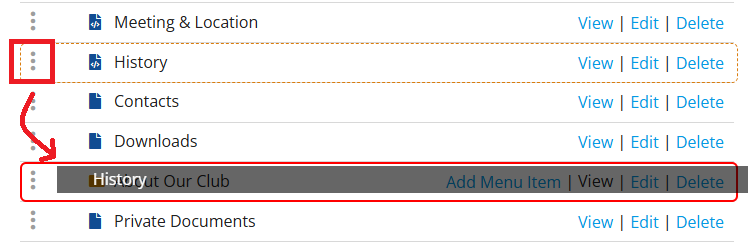
-
The navigation menu item will move into the folder. You may also use the three-dot grab points to reorganize the order of items in the navigation menu.

-
Click the orange Publish Menu button in the top right-hand corner of the page to save the changes.