ClubRunner's financials section allows you to create batch orders which will generate multiple invoices at a time so you don't have to generate them individually. You can use the batch system to invoice clubs for their dues, or generate invoices for specific members or contacts.
-
To begin, log in to your account through your district homepage, then click on Member Area on the top right-hand corner. Alternatively, click here to go directly to the ClubRunner login page.
-
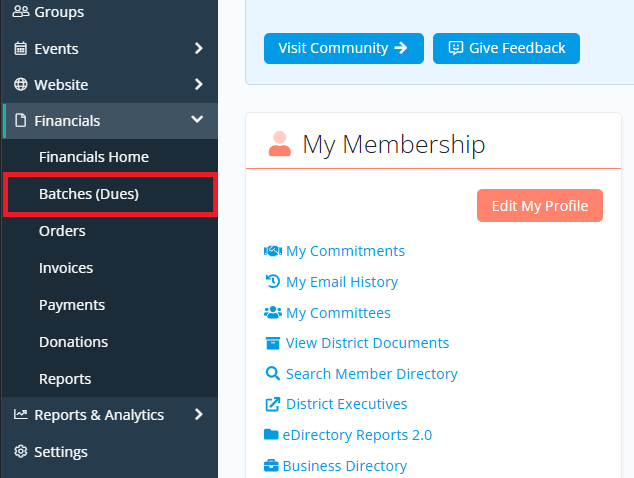
Once inside the members area, click the arrow next to Financials in the left-hand navigation menu, then click Batches (Dues).
-
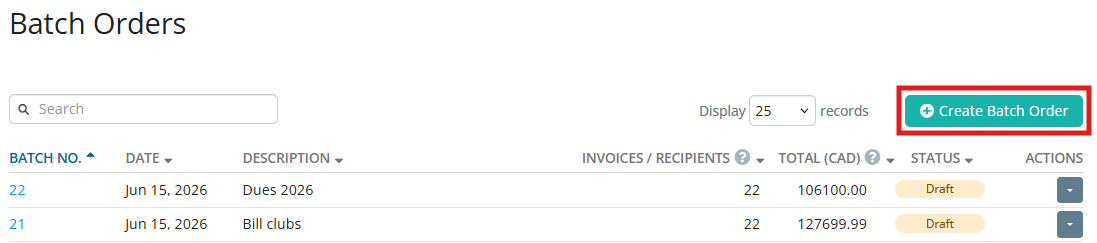
Here you'll see a list of already-created batch orders, if any. To start the batch creation process, click the Create Batch Order button.
-
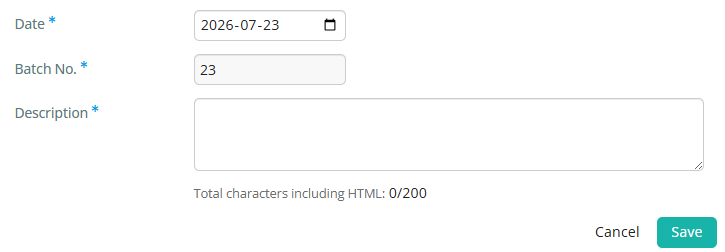
Set the date and description of the new batch order, then click the Save button to proceed. The batch number is automatically assigned. The description is only viewed from the list of batch orders and will not appear on any orders or invoices generated by the batch.
-
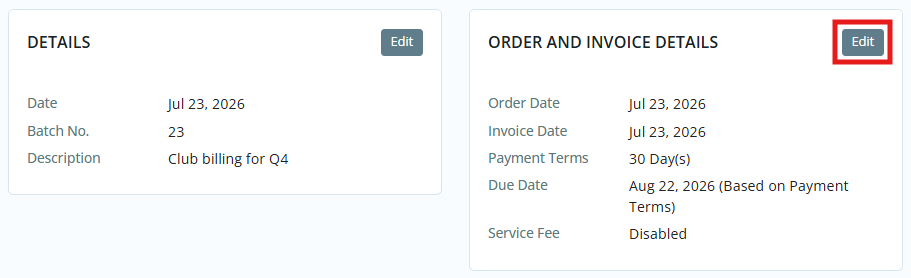
Now you'll be on the setup screen for the batch order. You can adjust the order date, invoice date, and payment due date by clicking the Edit button under the Order and Invoice Details section. You may also add a service fee to help offset the cost of the transaction from the payment processor. Click Save to apply your changes.
-
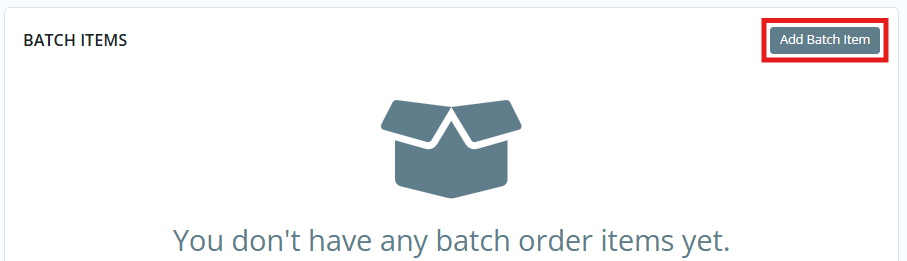
Next you'll add items to your batch order. Under the Batch Items section click the Add Batch Item button.
-
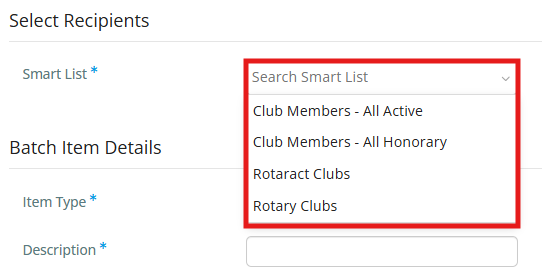
When you click in to add your first batch item, the Select Recipients Smart List drop-down menu will appear. This is prompting you to select a group of recipients to load into the batch item. On the district you may create orders to bill clubs or specific members. Select the appropriate group based on your needs and you'll see that these recipients get listed further down under the Recipients section of the page.
-
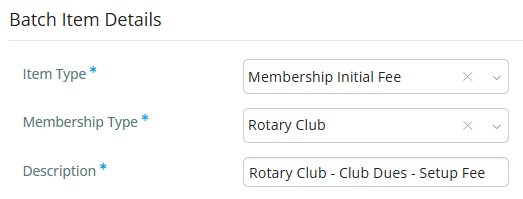
Next you'll set the Batch Item Details by first selecting an item type. You can search the boxes in this section by typing into the box or alternatively select an option in the drop-down menus. The available items and options will dynamically change based on your selections. Complete each item to proceed to the next step.
-
The next step is to set the default price and quantity for this batch item. Please note that quantity is not always open to be set, depending on selections in earlier steps.
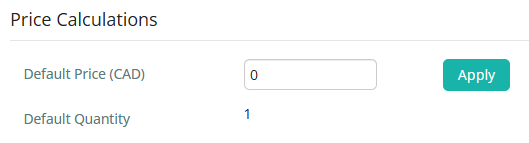
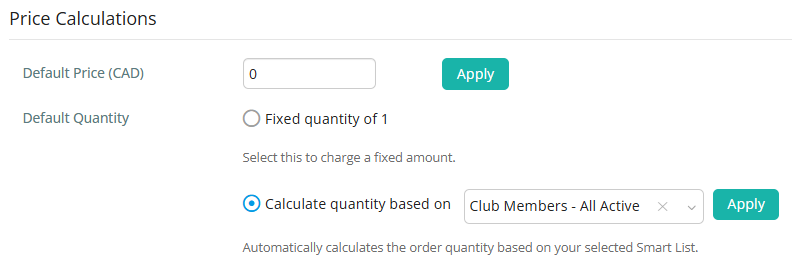
If billing clubs rather than members or contacts, you will see options to apply a fixed quantity to the selected recipients, or to calculate the quantity based on a selected smart list such as All Active or All Honorary members. You can use this to quickly generate totals to bill clubs based on their current membership.
The default price and qualtity can be applied to multiple recipients at once. To do this you'll first want to select the recipients who you want to apply the specific price and quantity to from the Recipients list. You can check or uncheck each recipient that was populated from the initial step of this process (they are all checked by default). 25 recipients are shown at one time, so you may need to navigate through numerous list pages here.
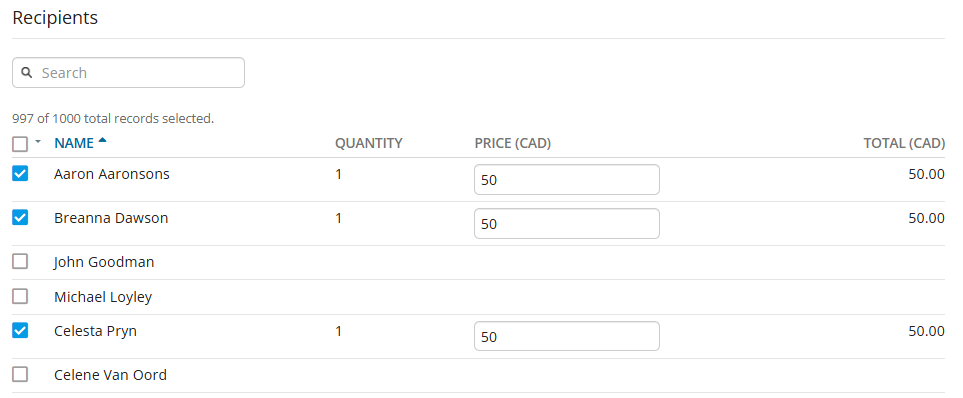
With the proper recipients selected, click the Apply button for the default price and/or the default quantity sections. You'll be prompted to confirm the action, and it notes that this will apply the price/quantity to all selected recipients. You can repeat this process with different recipients selected to set different prices and quantities as needed.
You will also notice that by selecting a recipient you can manually enter the price and quantity, so you have full control over each recipient individually.
-
Once all of the recipients have the proper price and quantity set, you're ready to save the batch order item. To do this, click the Save button in the bottom right-hand corner of the page. You may be prompted to further confirm this action depending on the specific setup of the batch order item.

-
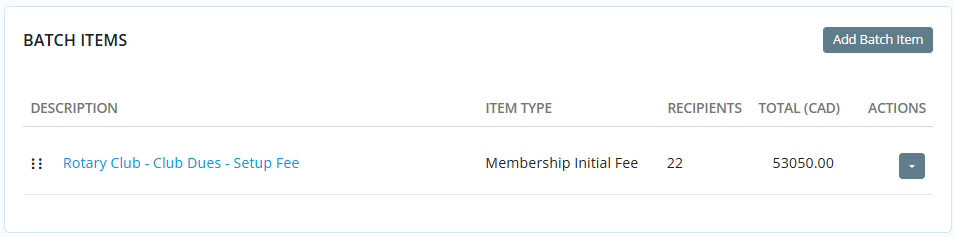
You will now see this item added to your batch order. You can add additional batch items by repeating the same process.
-
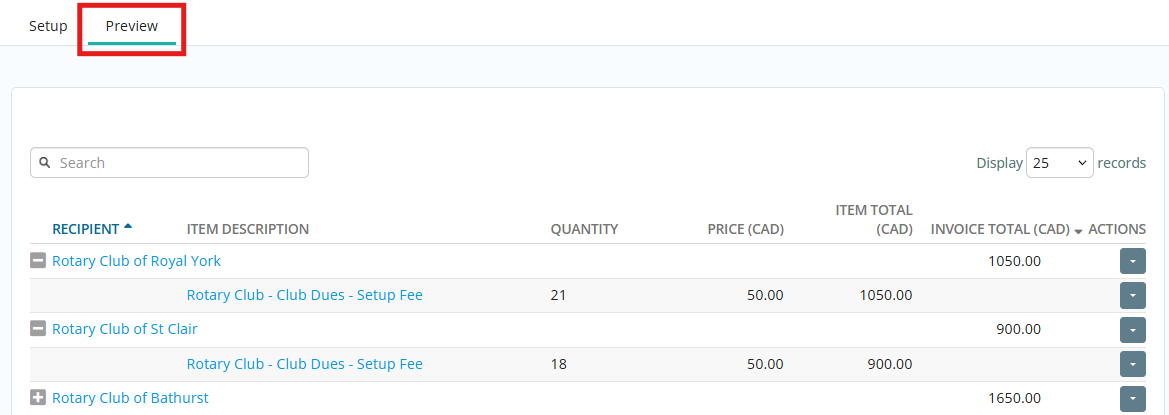
You can click the Preview tab when viewing the batch order to get a preview of the batch order recipients and what they will each receive an invoice for.
-
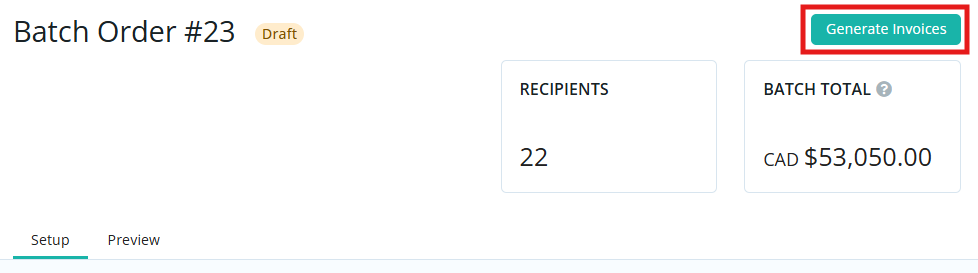
To finalize the batch order and generate the invoices, click the Generate Invoices button in the top right corner of the batch order page.
-
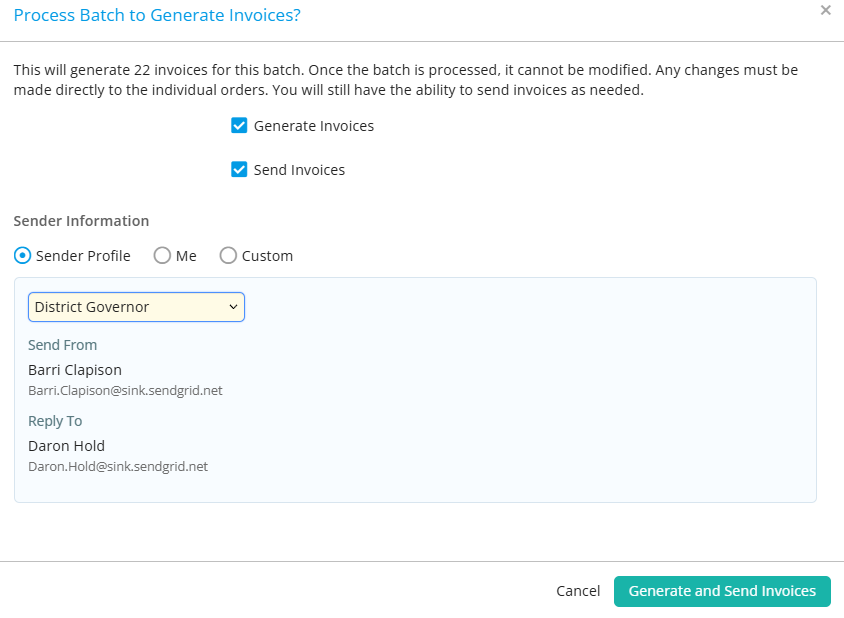
You will be prompted to confirm the invoice generation, and can select to send them to recipients as well if you want. If sending the invoices, you will be prompted to select the sender information, and can either choose a sender profile, your sender information, or input a custom sender. When billing clubs, the invoices will be sent to the member set as the billing contact for the club.
-
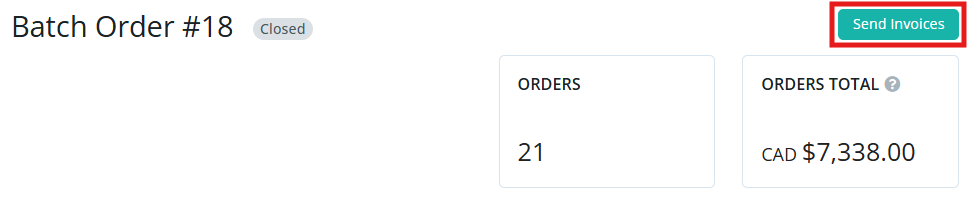
If you choose to not sent the invoices you can always click the Send Invoices button from the batch order to send them any time.