You may create a custom email template for sending members invitations to sign up for volunteer tasks. This support article will show you how to create new email templates and edit your notification settings for volunteer lists.
-
To begin, log in to your account through your club homepage, then click on Member Area in the top right-hand corner. Alternatively, click here to go directly to the ClubRunner login page.
-
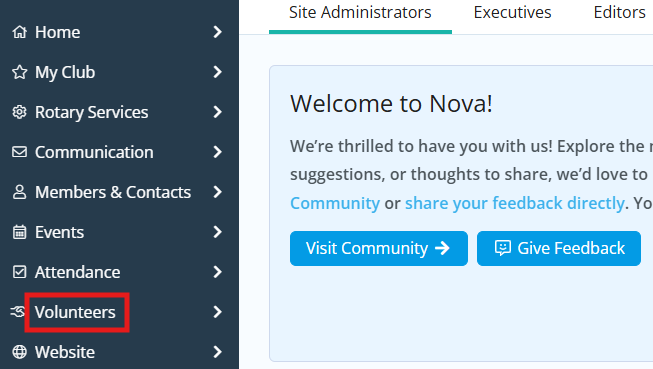
Click Volunteers in the left-hand navigation menu to navigate to Volunteers Home.
-
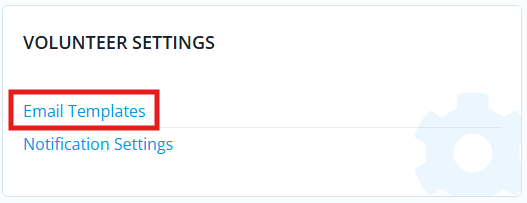
Next, click Email Templates in the Volunteer Settings section.
-
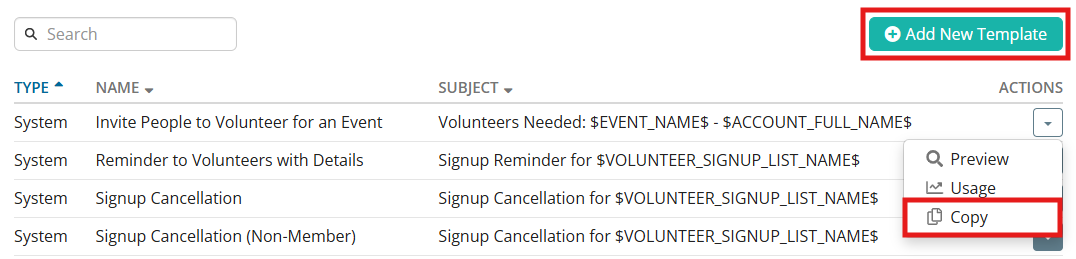
On the following page you will see system templates for various automated confirmation emails for the club. You can preview these templates within this screen, but you cannot change them. To create a new template, click the Add New Template button in the top right-hand corner. You may also use the drop-down menu to start from a copy of an existing template, if you wish.
-
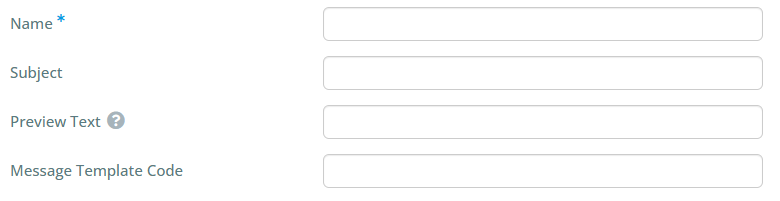
Now enter the details of the new template. The name is required to identify the template in the system, and you may optionally add the subject line and preview text that will appear in the received email. The Message Template Code is for advanced functions and may be ignored in most circumstances.
-
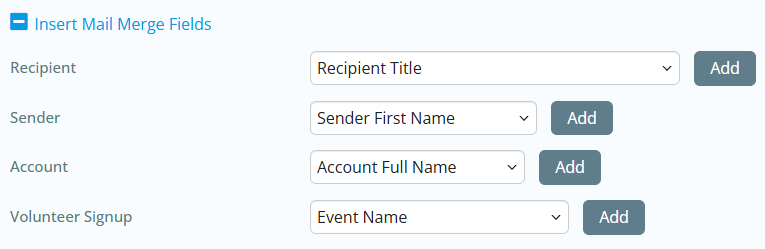
Below you'll see the Insert Mail Merge Fields section. Mail merge fields act as place holders for dynamic information. For example, "Recipient First Name" will display as $FIRST_NAME$ in the content of the email, but when the email is sent it will be replaced with the appropriate name of the recipient. There are a number of useful mail merge fields available to use when building out your template content.
-
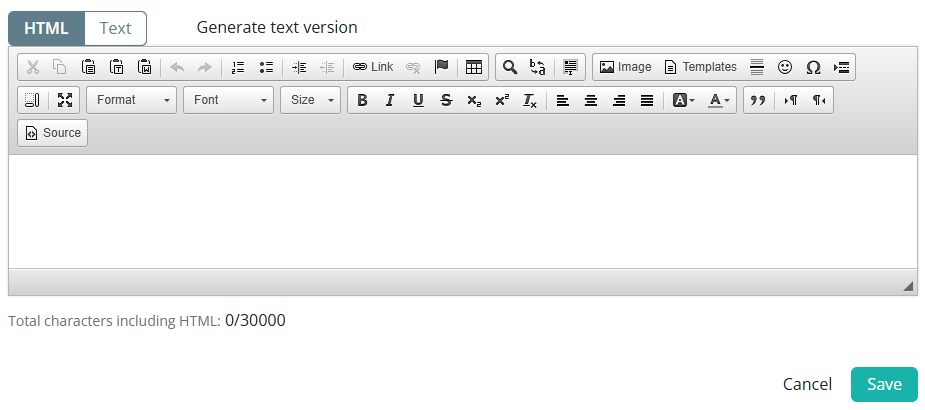
Scroll down until you get to the editor, where you can start to create your message content. Use the available tools in the editor to build the content, and you may click the Add buttons above the editor to insert appropriate mail merge fields as you wish.
-
Click Save when you've finished creating your content.
-
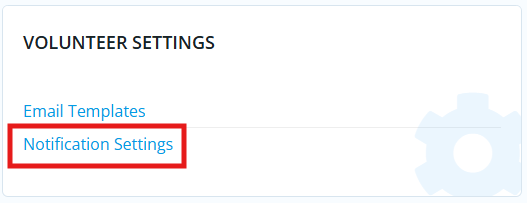
To set your new template as the default template for volunteer communications, navigate back to Volunteers Home and click the Notification Settings link in the Volunteer Settings section.
-
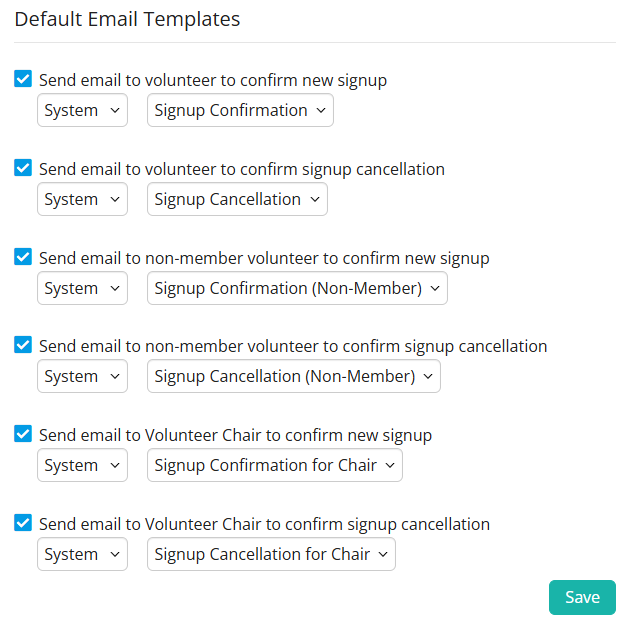
On the following page you may click the first drop-down in each listing to select whether to use a system-generated or custom template, then select the desired template in the second drop-down. You may also click the checkboxes to the left-hand side of each option to disable or enable the notification email altogether. Make sure to click Save to save your changes.