In ClubRunner you have the ability to choose how attendance for particular members should be recorded in the overall count of a meeting, as well as how makeups may be applied.
This support article will show you how to edit the various settings for the Attendance module.
Any changes made to these rules apply only to Open Meetings.
-
Log in to your account through your club homepage, then click on Member Area on the top right-hand corner under your club banner. Alternatively, click here to go directly to the ClubRunner login page.
-
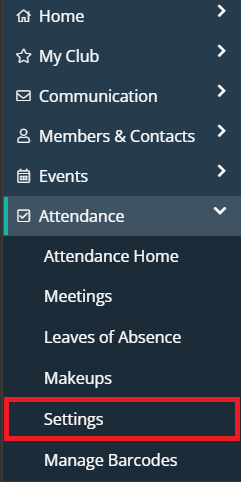
In the left-hand menu navigation, click the arrow beside Attendance and then click Settings.
-
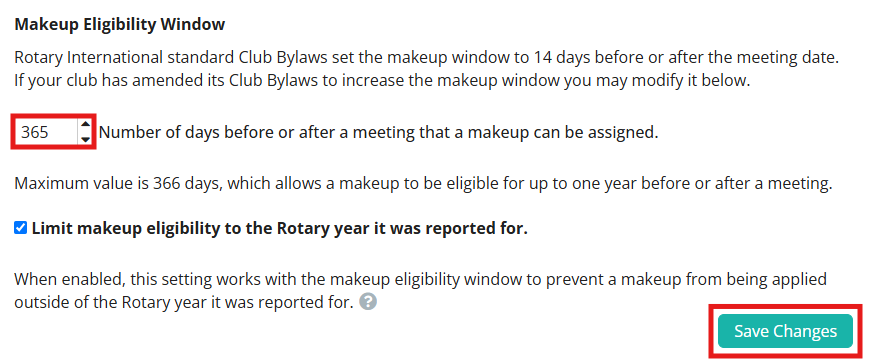
The first option you'll see is to edit the Makeup Eligibility Window. This allows the club to set how many days before and after a meeting that a makeup can be assigned. If a makeup was done outside of this range, then it would not be able to be applied to meetings in the range.
You can change the number of days before or after the meeting date to allow makeups. If you click the checkbox option "Limit makeup eligibility to the Rotary year it was reported for" then the makeups will only be valid for the current Rotary year. Click Save Changes when finished.
 Note
NoteRotary International standard Club Bylaws set the makeup window to 14 days before or after the meeting date. If your club has amended its Club Bylaws to increase the makeup window you may modify it.
-
Below, you have the option to edit your club's attendance rules for Active, Honorary, and Exempted/Excused members, as well as members on Leaves of Absence. To modify the attendance rules for each type, click Edit in the right-hand Actions column.

-
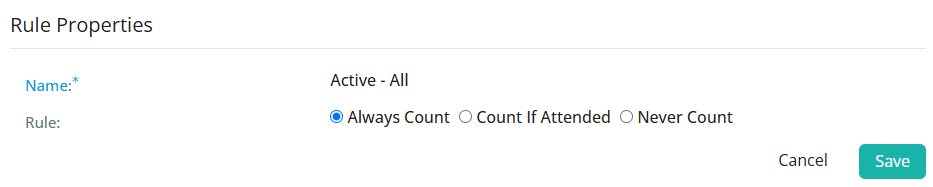
On the following page, choose from one of the following options and click Save.
-
Always Count - These members will always show and be counted for attendance.
-
Count if Attended - These members will show on the attended list but will not affect membership totals if a meeting is missed.
-
Never Count - These members are not part of attendance or counted for attendance.
-
-
To restore the rules settings to their default options, click Restore Defaults under the Actions column.
-
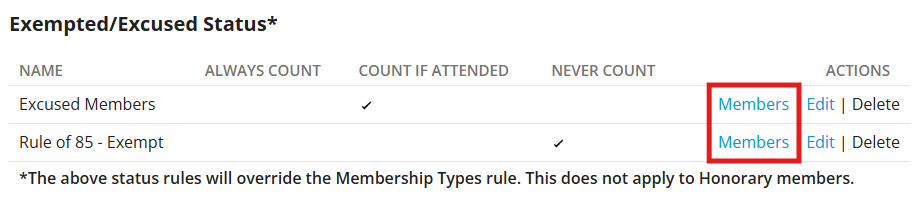
The Exempted/Excused Status section has additional options, and can be used to create a curated list of members with specialized attendance rules. To assign members to a rule, click on the Members link next to the given rule.
-
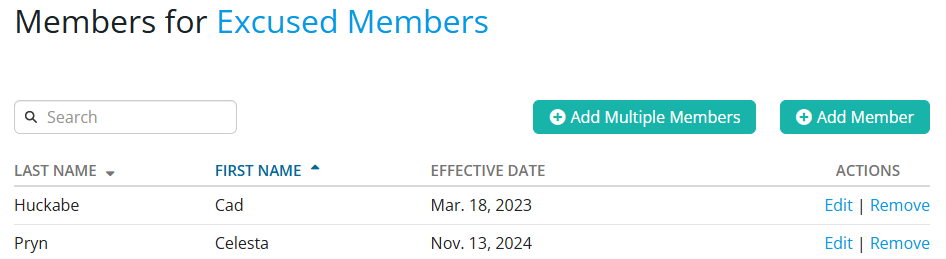
Click the Add Member button if you wish to assign a single member to a given rule, or Add Multiple Members if you wish to add more than one.
-
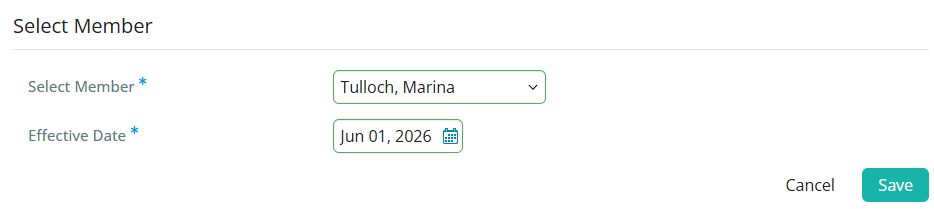
Select the member(s) to whom you wish the setting to apply to using the dropdown menu, and then select the date on which the excuse or exemption is in force. Click Save when finished.