
When you need to upload a PDF, text, Word or other files to your site so your members or guests can access it, you can put it into your Club Documents. Below are the steps on how to manage documents in ClubRunner.
- You will need Access Level 50 (Club Executive) or better (40 or 30) to add/edit/delete club documents.
- Members with access level 70 (Member) or 60 (Editor) will have read only access to the club document files.
- All documents to upload must be 30 MB or smaller.
- The file types you are allowed to upload are: bmp, doc, docx, eps, gif, html, htm, jpeg, jpg, pdf, png, ppt, pptx, pub, swf, tif, txt, vsd, xls, xlsx, rtf, and zip.
Navigation:
Navigating to Club Documents
Adding a New Document Folder
Adding a Document
Adding Multiple Documents
Downloading Documents
Navigating to Club Documents
-
Log in to your account through your club homepage, then click on Member Area on the top right-hand corner under your club banner. Alternatively, click here to go directly to the ClubRunner login page.
-
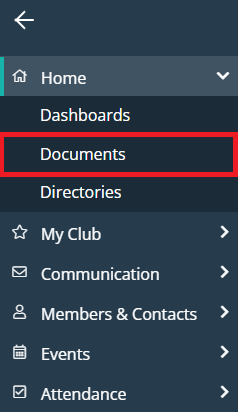
On the left-hand menu, click the arrow to the right-hand side of Home, then click on Documents.
Adding a New Document Folder
-
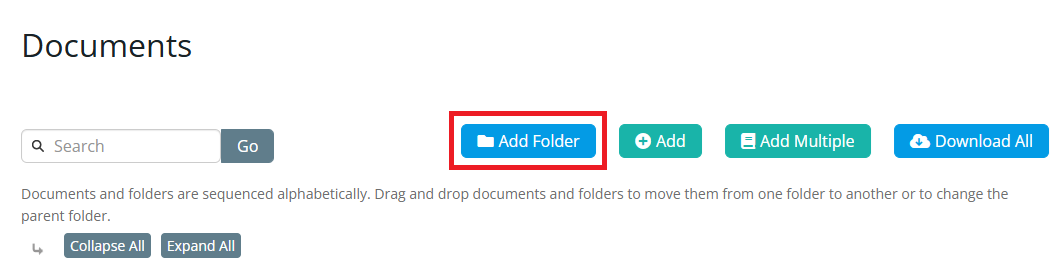
To add a new document folder, click on the Add Folder button found in the top right-hand corner.
-
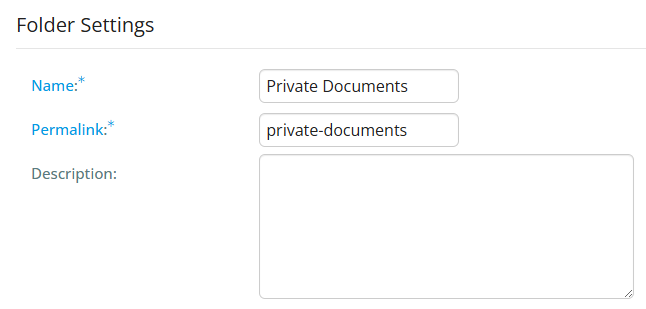
Enter a Name for the new folder. The Permalink field will automatically populate based on the folder name. You may also enter a description of the folder.
-
Click on the Subfolder Of field if you want to place the new folder specifically within another folder.

-
Next click on the Save button to create the new folder.
-
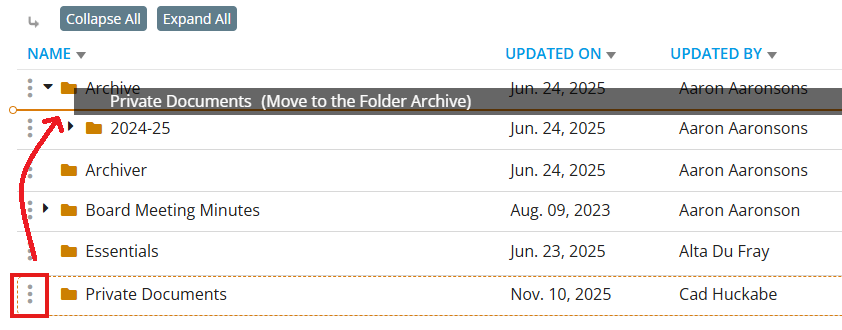
Once the folder has been saved you will be taken back to the Documents screen where you should see your new folder within the list. You may hover your cursor over the three dots to the left-hand side of the folder name to click and drag the folder to a new location.
Adding a Document
-
If you want to add a document file, click on the Add button. You may also click the Add button in the actions column to add a file directly to a specific folder.
-
Next enter a Title for the new file. The Permalink field will automatically populate based on the Title. You have the option to also enter a description of the file.

-
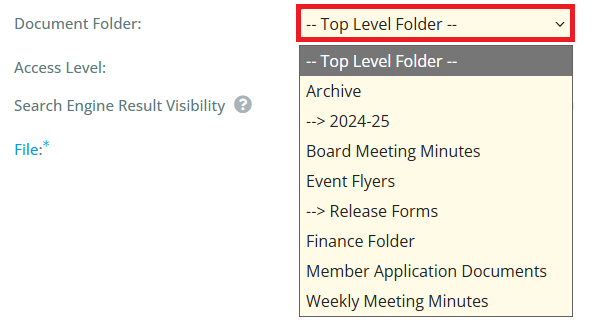
Click on the Document Folder field if you want to place the new file specifically within a folder.
-
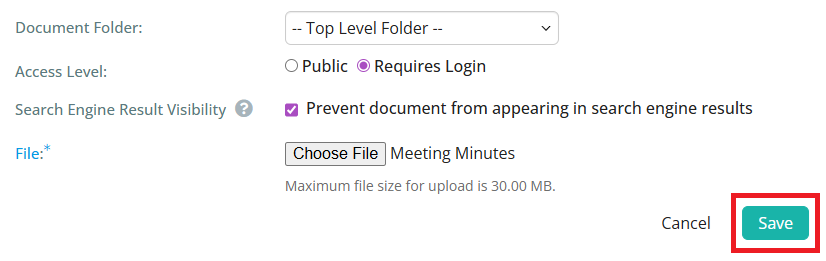
Next you define the Access Level for the file. There are two options:

-
Public: Any visitor can click on the link and access the document.
-
Requires Login: Only members with a valid login will be able to access the document.
You may also select the checkbox to prevent the document from appearing in search engine results, which is recommended for any files containing personally identifiable information.
-
-
Now it's time to upload the file. Click on the Choose File button and select the file from your computer. Double-click on the file name to select it.

-
Click on the Save button found in the bottom right-hand corner.
-
Once the file has been uploaded and saved you will be taken back to the Documents screen where you should see your new file within the list.
Adding Multiple Documents
-
If you wish, you may upload several documents at once. From the Documents screen click on the Add Multiple button at the top of the page. You may also click the Add Multiple button in the actions column to add multiple files directly to a specific folder.

-
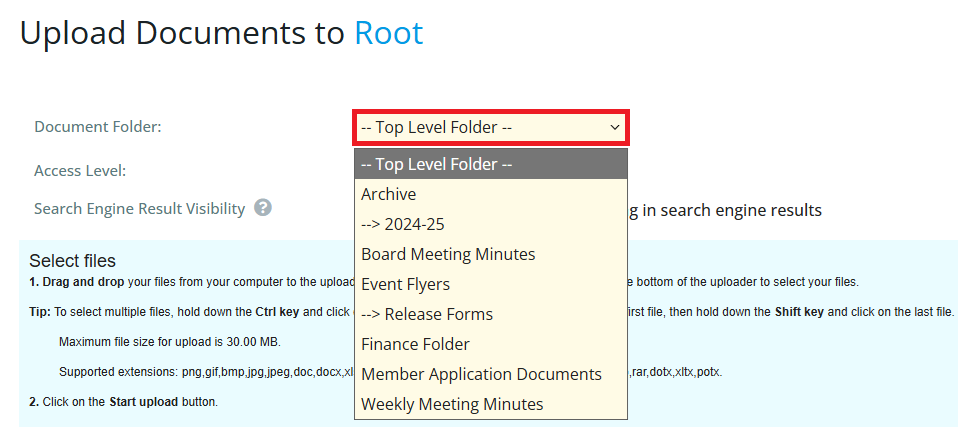
You are taken to the upload interface. First, identify the folder to which you wish to upload your documents using the Document Folder drop-down menu.
-
Next, select the Access Level for the documents by clicking on Public or Requires Login. If you select Public, non-members can potentially access the document. If you select Requires Login, only logged in members may view it. You may also select the checkbox to prevent the document from appearing in search engine results, which is recommended for any files containing personally identifiable information.

-
Now you may add multiple documents to the upload queue. There are two possible methods for this:

-
You may directly drag and drop files from a folder on your computer into the upload field. To select multiple files, hold down the Ctrl key and click on each one. To select a group of files, click on the first file, then hold down the Shift key and click on the last file.
-
Alternately, you may click on the Add Files button. You will need to add the files one at a time with this method.
-
-
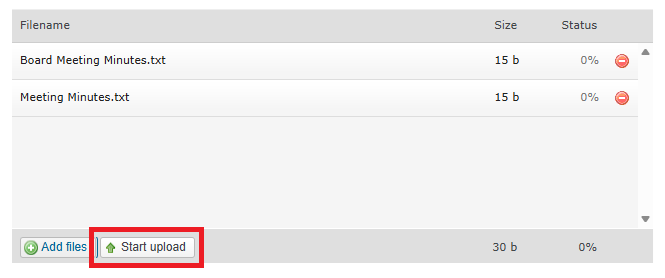
When you have selected all the necessary files, click Start Upload. If the upload is successful, a confirmation message will appear and you are returned to the Documents page.
Downloading Documents
-
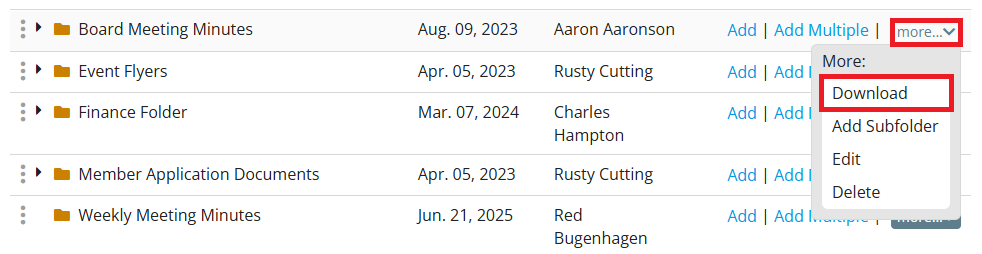
You have the option to download files by folder or all at once. To download the contents of a given folder, click on the More drop-down menu under the Actions column, then select Download. Your files will automatically start downloading in the form of an archived ZIP file.
-
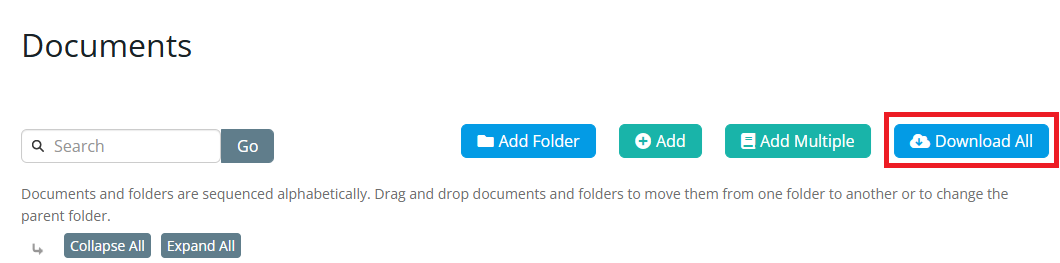
To download all your club documents at once, click on the Download All button above the file and folder list. All your files will be archived in a single ZIP folder and downloaded to your computer. If there are no documents available to download, the Download All button will not be available.
The save location of your downloaded files is dependent on your software and personal settings.
For many users the default save location is their Downloads folder, but this can vary.