
This support article will show you how to print member barcodes for use with the barcode scanner feature in the Attendance module.
To learn how to track member attendance by scanning barcodes, read: How do I report attendance using a barcode scanner app?
Viewing the barcodes
In order to view and print the barcodes in ClubRunner, you will need to install the font file found in the attachments section at the bottom of this support article.
To install a font file in Windows:
- Under Windows 10/
Select the font file (IDAutomationHC39M_0.ttf) then Right-click > Install
To install a font in Mac OS:
- Under Mac OS X 10.3 or above (including the FontBook)
Double-click the font file (IDAutomationHC39M_0.ttf), then click "Install font" button at the bottom of the preview.
You may need to restart the program being used to view the barcodes such as your browser or document viewer. If restarting the program does not address the issue, attempt to restart the device.
Printing the barcodes
-
To begin, log in to your account through your club homepage, then click on Member Area on the top right-hand corner under your club banner. Alternatively, click here to go directly to the ClubRunner login page.
-
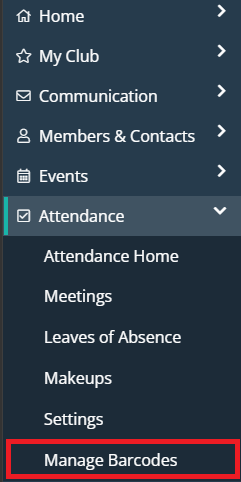
In the left-hand menu navigation, click the arrow beside Attendance and then click Manage Barcodes.
-
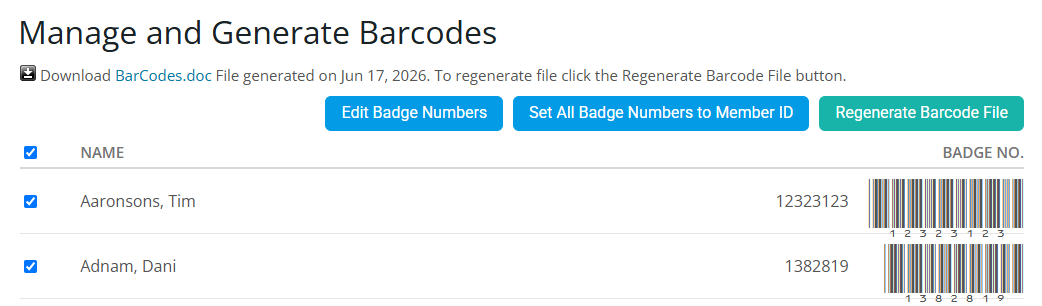
You may use the Edit Badge Numbers and Set All Badge Numbers to Member ID buttons at the top of the page to make edits to the member barcodes. Click the Regenerate Barcode File button to update any changes to the Barcodes.
-
Click BarCodes.doc to download the barcode document. You may then open and print the document from your device.

The Barcode file is formatted to fit on the Avery 8160 label template.