


District administrators and group admins may make changes to a group's settings. This support article will show you how to modify group details from your district login.
-
To begin, log in to your account through your district homepage, then click on Member Area on the top right-hand corner. Alternatively, click here to go directly to the ClubRunner login page.
-
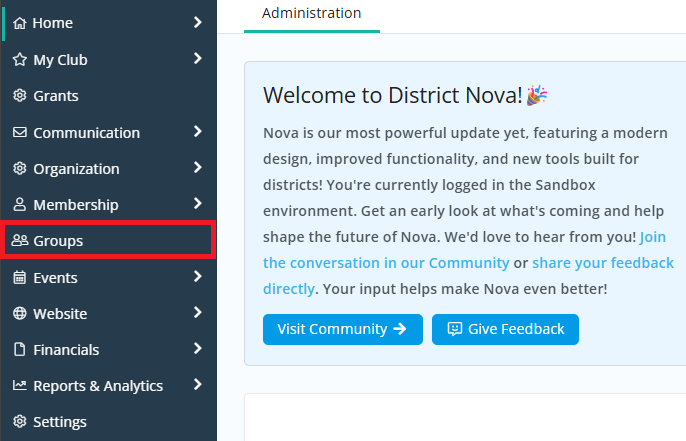
Once inside the members area, click Groups in the left-hand navigation menu.
-
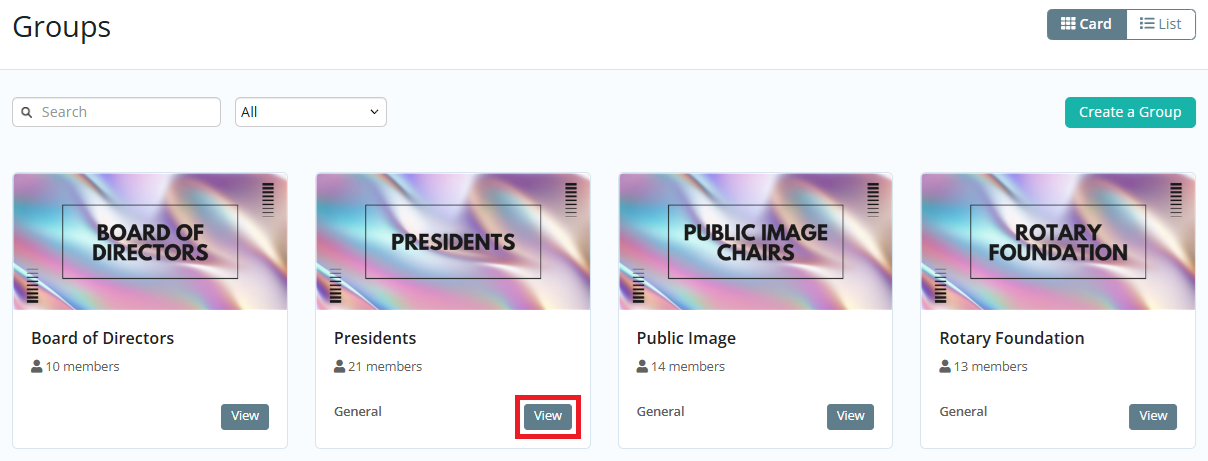
Click View on the group you wish to make changes to.
-
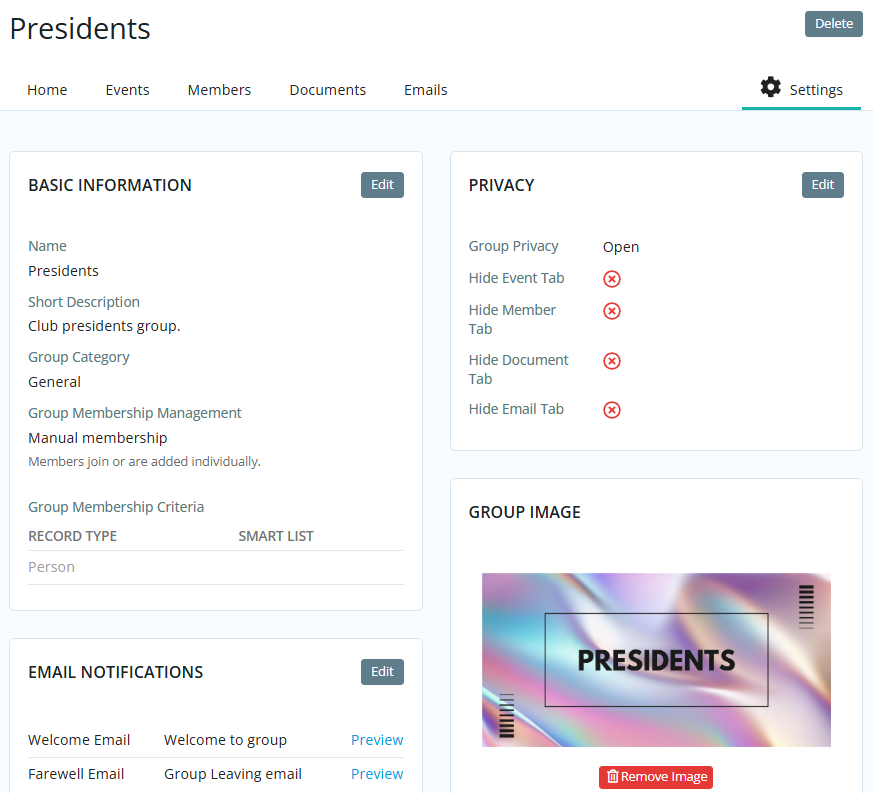
Click the Settings button in the top right-hand corner.

-
You will see various settings and can make changes as necessary.
-
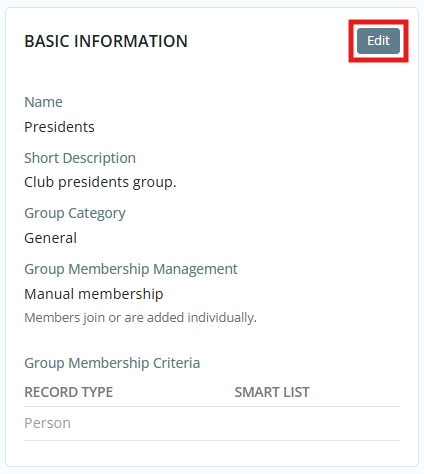
Click Edit in the Basic Information section to make changes to the group name, short description, category, and the membership management settings.
-
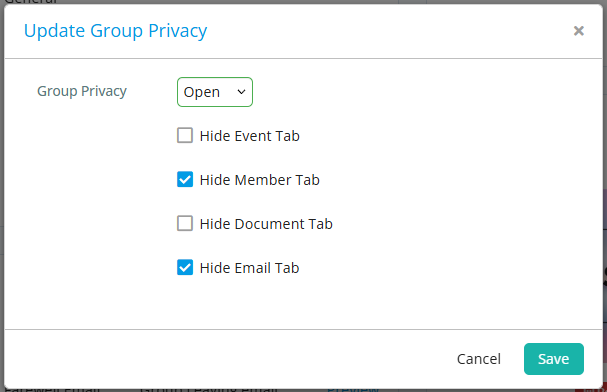
Clicking Edit in the Privacy section will open a window where you may choose to hide specific tabs from being used in the group. In this window you may also mark a group as Closed, which will only allow district administrators to manage who can join this group. Members would be able to see the group and read its description but would not be able to see the Join button.
 Note
NoteDistrict administrators have full access to all groups regardless of whether they are private or not.
-
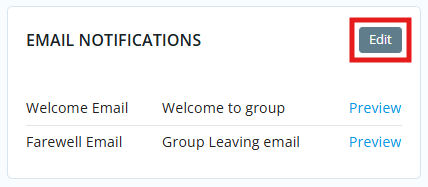
You may select which templates are used for Welcome and Farewell emails for the group by clicking Edit in the Email Notifications section. By default, groups use the System Welcome and Farewell email templates to thank members for joining or to confirm they left the group. You can create a custom email template to use instead to better suit your needs. Note: To select a new email template, it first has to be created in the Email Templates library.
-
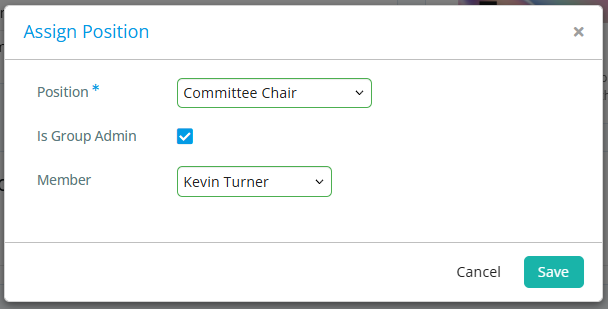
You may click Assign Position in the Group Positions section to note particular member functions in the group.

Select the appropriate position from the Position drop-down menu, then assign the member from the respective drop-down menu. If you toggle the "Is Group Admin" option, this member will have access to edit the group's settings and manage members if the group has been privated.
-
Make updates to the group's settings as necessary, making sure to click Save in each window to apply your changes.