
In order to get started with the donation module, the module will need to be configured through its settings page. This article will cover the different settings available within the donation module and how they are used.
The Donation Settings page can be used to create your first campaign, set the Donations List page description, choose which campaign should appear at the top of the page, and more.
In order to setup the donation module, your organization must already have supported credit card processor account integrated within ClubRunner. If your organization does not currently have an integrated online payment account setup, please contact our ClubRunner Support team and see our How do I set my club up with online payments article.
The Donations module currently supports the following credit card processors:
Donation Listing Description
 This description text will appear at the top of the Donations List Page. Learn more about linking your Donations List page.
You can see an example of where this text appears on the Donations List Page, below:

Default Donation Campaign

The Default Donation Campaign, is placed at the top of the Donations List Page, above all other campaigns.
Use default campaign - selecting this option will use this Donation Settings campaign, as the default campaign.
Use specific campaign - selecting this option will open a drop-down menu, to select another Donation Campaign as the Default Donation Campaign.
If the Use specific campaign option is set, this Donations Settings Campaign will be hidden from the Donations List page.
Title

Enter a Title for this Donation Settings Campaign. This title will appear on the Donations List Page, if this Donations Settings Campaign is set as the default campaign.
Code
 The text entered in this Code field will display at the beginning of the Transaction IDs stored in the Virtual Terminal for the online payment account with Paya or Bambora Payment Gateway.
Description
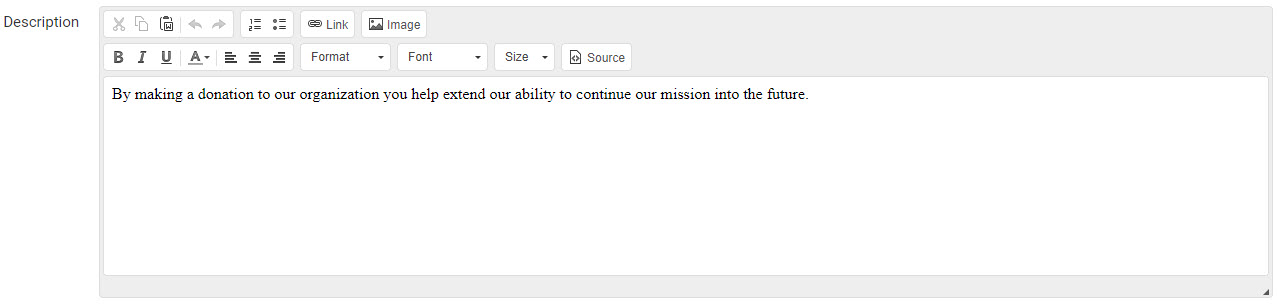
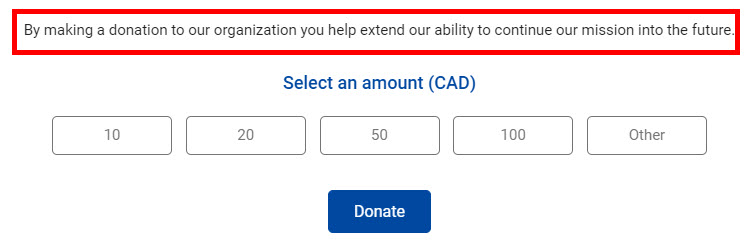
The Description is what will appear on the donation page when a visitor is selecting how much money to donate.
Below is a screenshot of how the Description appears on the Donation Campaign’s Donate page:
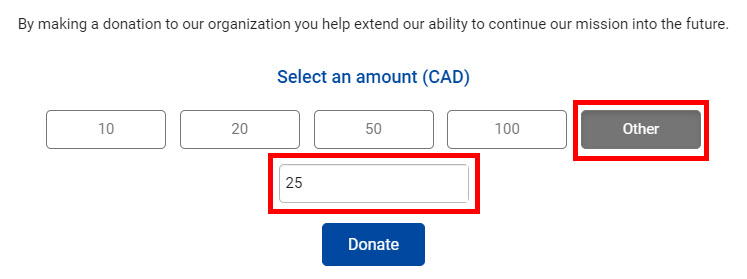
Allow Free Form Amount

The Allow Free Form Amount option can be used to either enable or disable the ability for users to enter in a custom amount for their donation.
Below is a screenshot of how this would look on the donation page:
Confirmation Email Template

The Confirmation Email Template can be used to select which email template is sent to the donor after completing the donation. A default system template is provided but custom email templates can also be created and used.
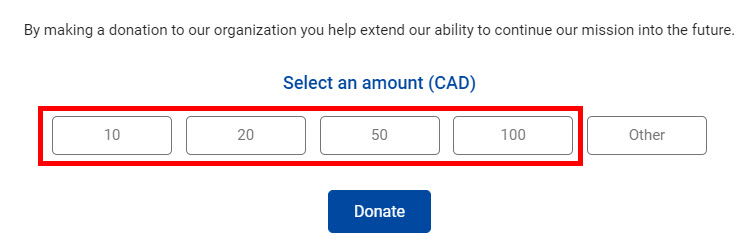
Available Amounts

The Available Amounts option can be used to set which preset donation amounts are available for the user to choose from.
Each donation amount must be separated by a comma.
Below is a screenshot of how this would look on the donation page:
Confirmation Message
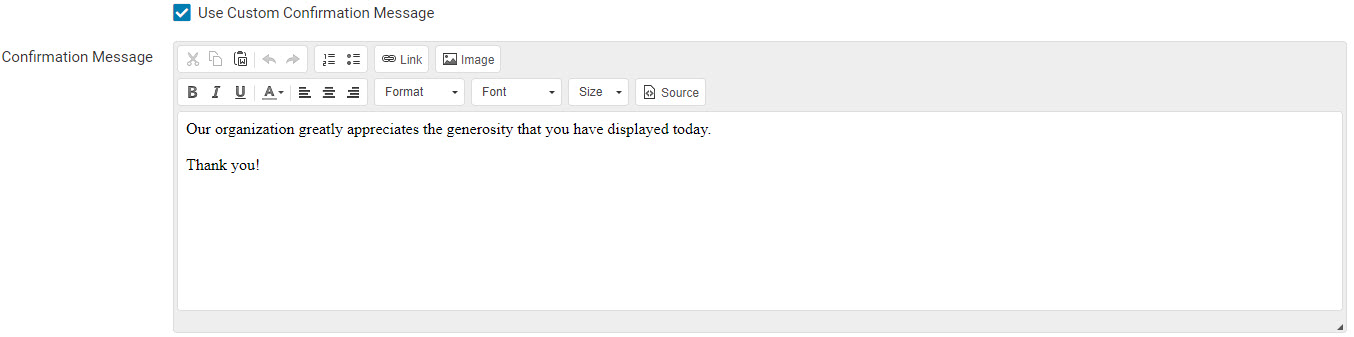
The Confirmation Message is what will appear after the donor has completed the donation payment.
Below is a screenshot of how this would look on the after the donation has been submitted:

Donation Confirmation
Check the Donation Confirmation option if you would like the Donations module to send an email to the donor in addition to the receipt email from the integrated online payment vendors, Paya or Bambora. If checked, you can use the first drop-down to select the email template that is sent, then fill in the information for who the email will be sent from.
Check the Donation Admin Confirmation option if you would like the Donations module to send an email to an admin or club staff member so they are notified of the donation. If checked, you may use the drop-down to select the email template that is sent, then fill in the information for who the email will be sent from and who it will be delivered to.
Learn more about setting up your own custom Donation Confirmation Emails.
Sender Full Name and Email
 The Sender Full Name and Email is used to configure who the confirmation email to the donor appears to come from, as well as where any replies to the confirmation email are sent to.