The event header is at the very top section of the registration form. Inside of the header you can choose to have a background image, left and right image and text. The banner could look the image below:

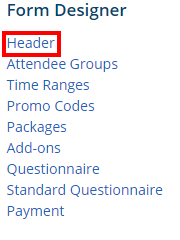
1. To edit the header please click on Header in the menu on the left.

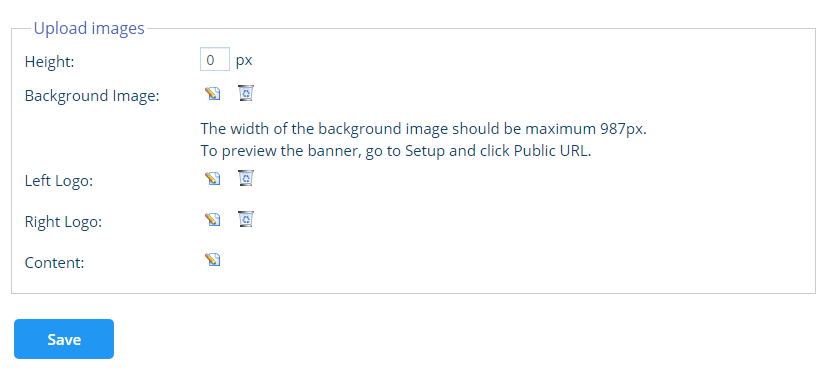
2. This section is used to view and edit the header. At the top of the page you will see the preview of the header.

The next area is where you can edit the header.
- Height: This sets the height for the header in pixels.
- Background Image: This sets the background for the header. Click the
 edit icon to select an image for the background. You can select an image or click Browse and Upload to upload a new image from your computer. Click the
  icon to remove the background.
 - Left Logo: This sets the left logo for the header. Click the
 edit icon to select an image for the logo. You can select an image or click Browse and then Upload to upload a new image from your computer. Click the
  delete icon to remove the logo.
 - Right Logo: This sets the right logo for the header. Click the
 icon to select an image for the logo. You can select an image or click Browse and then Upload to upload a new image from your computer. Click the
  delete icon to remove the logo.
- Content: This sets the text on the header. Click the
 edit icon to open the online editor which will allow you to enter text, links and more into the header. To remove the text, please click on the
  edit icon and erase all of the text.

3. Click Save when done.
On the preview it will show you what the header would look like.
Note: The preview does not display exactly what will be shown on the event.

