If you are the chair of an event you have the power to register non-members as special guests of your event. This function is useful for inviting family and friends, or special guests from the community. Club executives and members with administrator access can also do this. To register non-members, you must access Event Planner. 1. To access Event Planner, you must go to your club homepage and log in. Then, click on Member Area on the top right, under your club banner.
2. Along the top of the screen you will see several tabs. Click on the Events tab on the far right of the top toolbar.

3. At the left side of the screen, options will appear. Click on Event Planner.

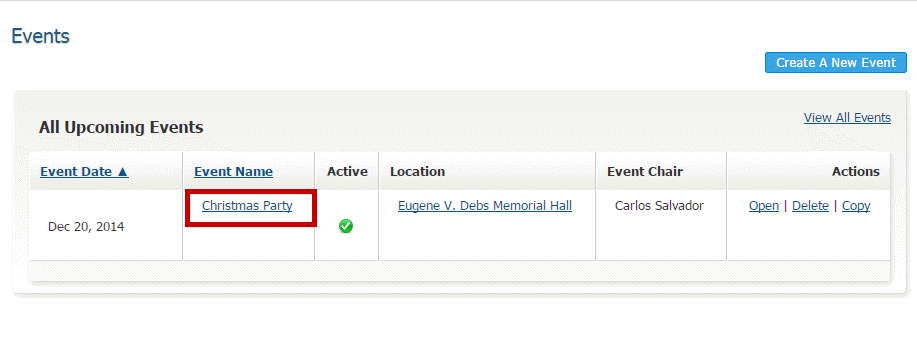
4. You are now on the Event Planner page. Select the event for which you wish to register other members and click on the name of the event.
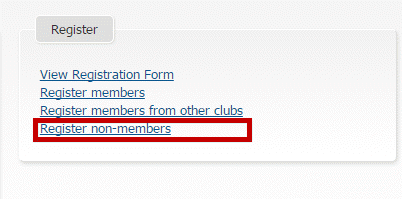
5. You are now on the Event Services Page, which outlines the details of the event and provides links to event tools. Just below the details is a shaded box labelled Register. This section gives you as event chair the ability to register or decline members of other club for the event. Click Register non-members.
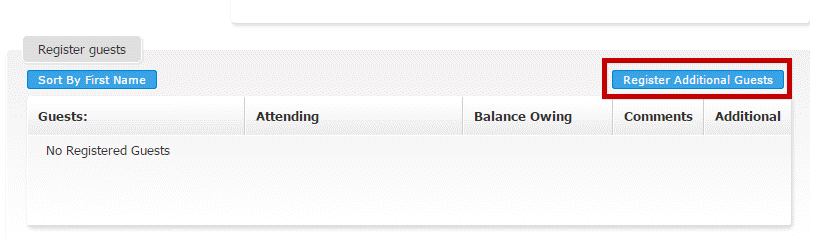
6. On this screen, you can see a summary of the event details, and a list of current guests, if any.
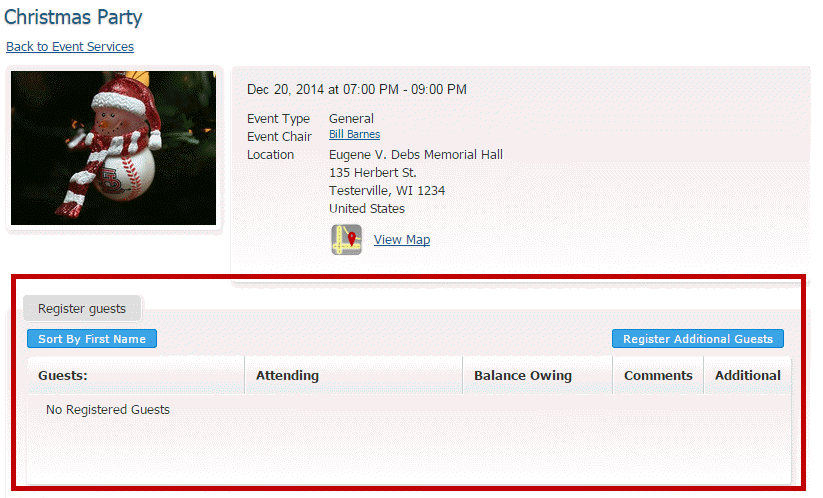
7. Click Register Additional Guests to add your non-member guests.
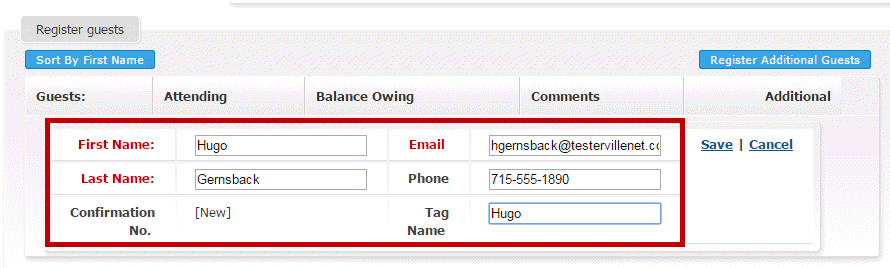
8. On the next page, you may add the contact details for your guest in the fields provided. The First Name, Last Name and Email fields are required.
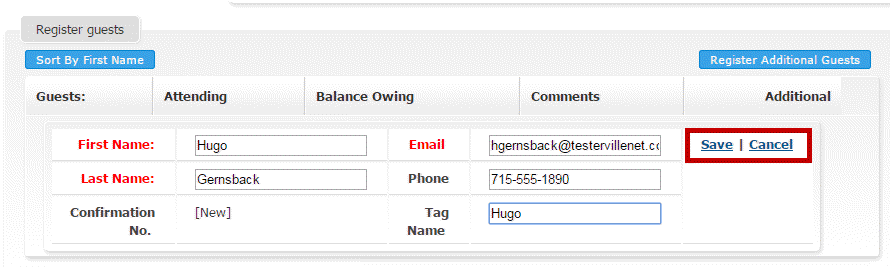
9. When you have finished entering their contact details, click Save to register the guest. Or, click Cancel if you wish to discard the information you have entered.
10. Once you hit Save, you'll be returned to the guest registration page. You will see the new guest you have added. If you wish to edit their contact details, click on the pencil icon to the left of their name.
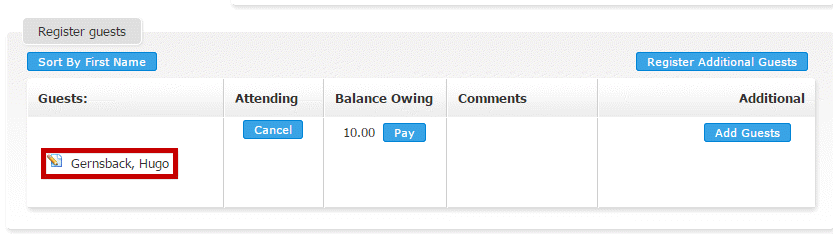
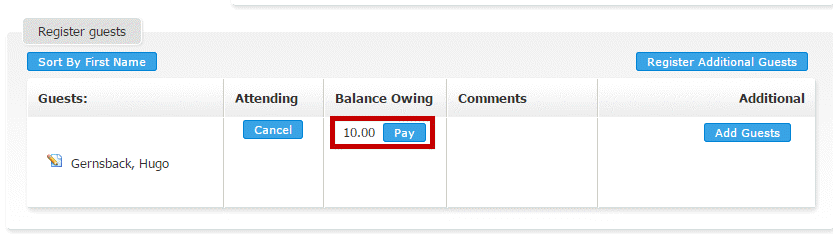
11. You may unregister the guest by clicking Cancel. This will delete their information.
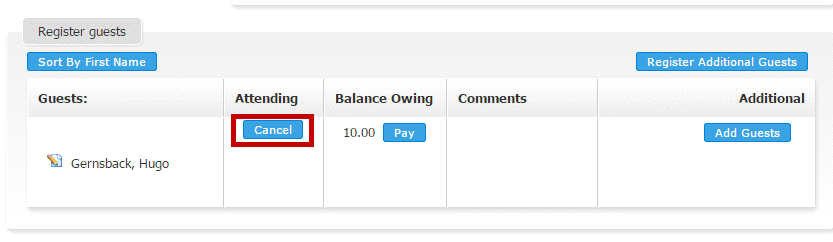
12. As the event chair or as a system administrator, you have the ability to pay for a guest. Click on the blue Pay button under the Balance Owing column. This will take you to a payment screen.