
In Nova, tags are used in place of the legacy contact groups functionality to help provide more information regarding a person's history with your club and to help organize records to use as email recipients.
This support article will show you how to create and assign tags to member and contact records.
-
Log in to your account through your club homepage, then click on Member Area on the top right under your club banner. Alternatively, click here to go directly to the ClubRunner login page.
-
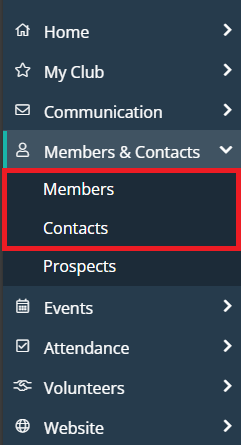
On the left hand menu, click the arrow to the right of Members & Contacts, then click on Members or Contacts depending on which type of record you wish to add tags to.
-
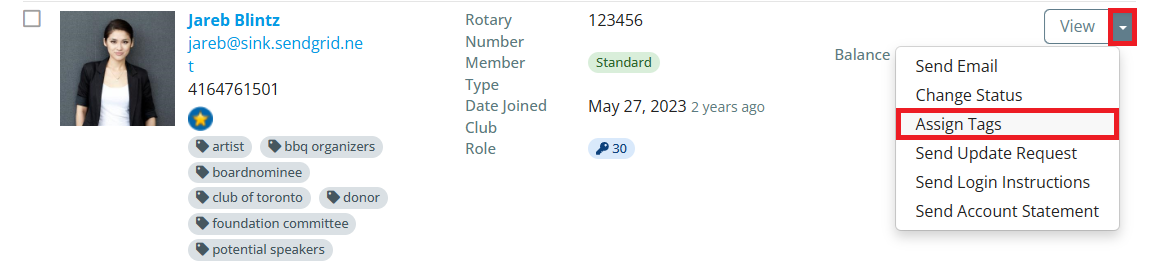
Locate the record you wish to add tags to and click the drop-down arrow on the right-hand side, next to the View button. Then click Assign Tags.
-
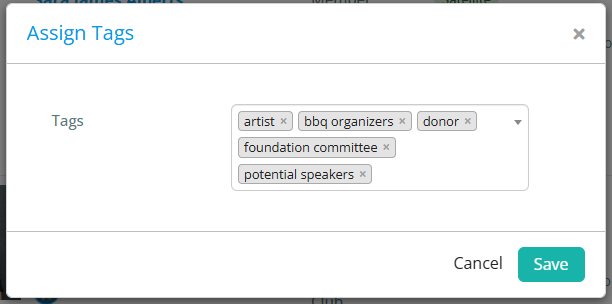
In the window that appears, you may add or remove any existing tags, or click into the “Tags” field to type and create a new tag. Click Save when you’ve set the desired tags.
 Note
NoteIf you are managing tags for a prospective member, you will also see options to edit their Prospect Status and Prospect Score in this window.
-
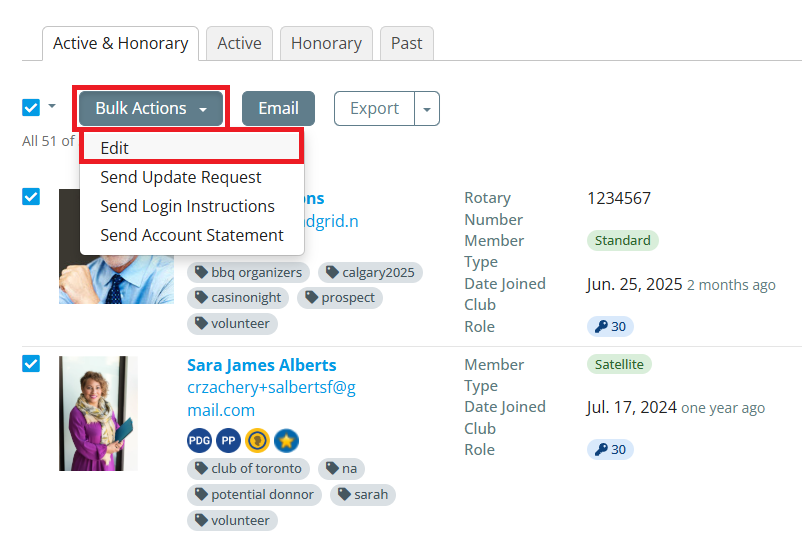
You may also edit tags for multiple records at the same time. To do so, check the boxes to the left-hand side of the records’ information, then click the Bulk Actions menu followed by the Edit option.
-
In the following window, you may set multiple changes to tags for the records you selected and apply them all at once.
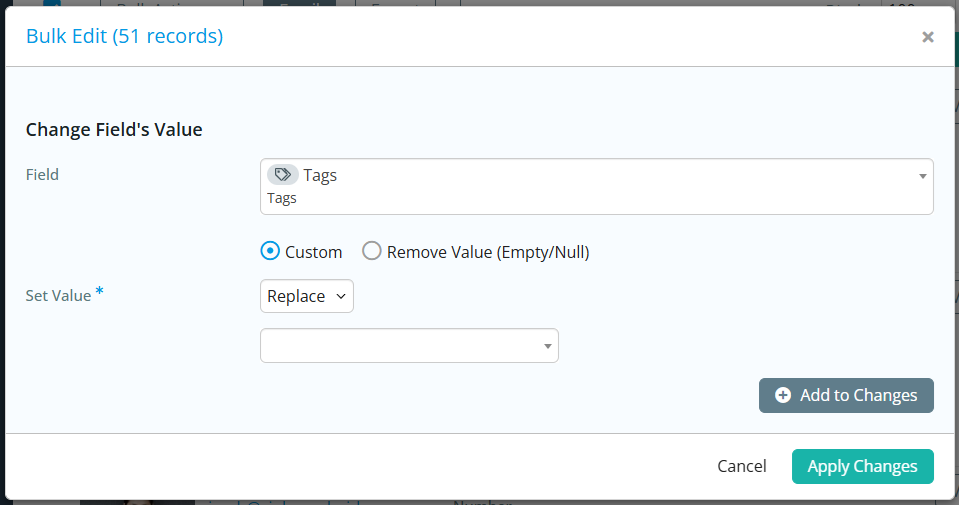
Toggle the tag changes you wish to process, then click Add to Changes to queue the changes to apply to the selected records. You may choose from the following options:
-
Remove Value (Empty/Null) - This option will remove all tags from the selected records.
-
Custom (Replace) - This option will remove all tags from the selected records and replace them with your chosen tags.
-
Custom (Add) - This option will add the chosen tags to all of the selected records.
-
Custom (Remove) - This option will remove the chosen tags from all of the selected records if they are currently using that tag.
-
-
Click Apply Changes when finished. You may now add the tagged records as recipients to emails by adding the Smart List “Contacts by Tag” and selecting the appropriate tag.
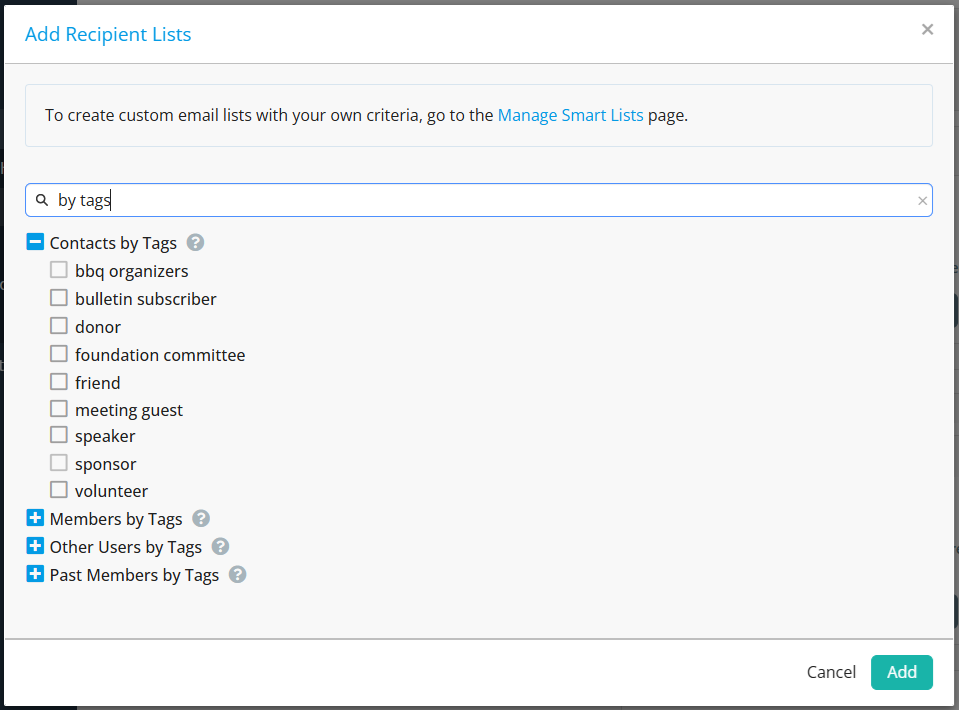
To learn more about how to compose and send an email to recipients, please read the support article: How do I compose and send an email?