The Bulletin Groups function gives you the ability to create multiple lists of Groups which you can use to organize your bulletins. To begin creating bulletin groups, please use the following directions below.
To access the Bulletin Groups function, you must login to your club's webpage and then access the Member Area.

Click on the Bulletin tab, and then on the Manage Bulletins link.

Under the heading Edit Bulletins, click on Bulletin Groups.

You are now on the Bulletin Groups page, where you can create a new bulletin group or edit an existing one. Click on the Add Group button.
Note: The Bulletins module can contain up to a maximum of 5 bulletin groups.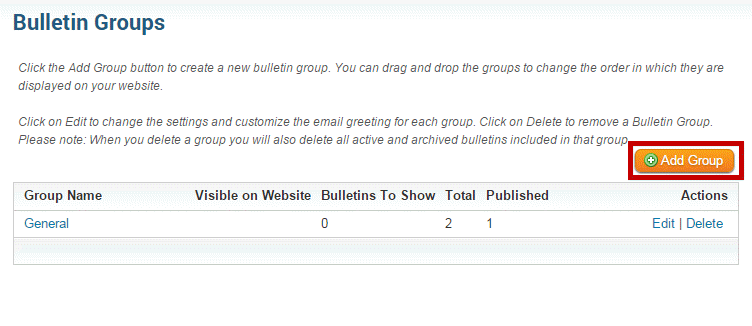
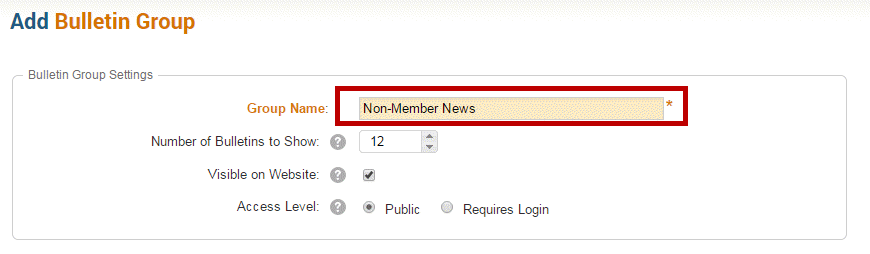
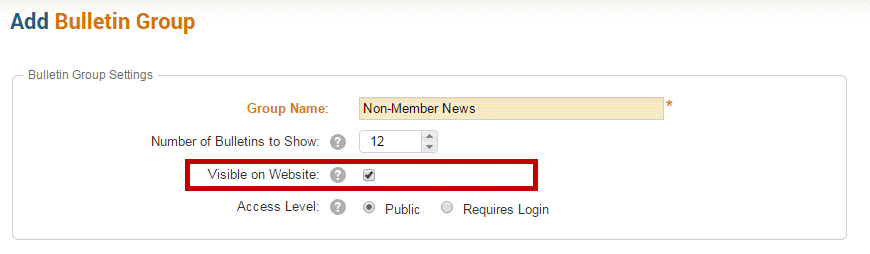
You are now on the Add Bulletin Group screen. You can use this tool to create groups for your bulletins.
First, enter a Group Name. This title will show up in the group list.
Next set the Number of Bulletins To Show.
Note: The maximum number per group is 24 bulletins.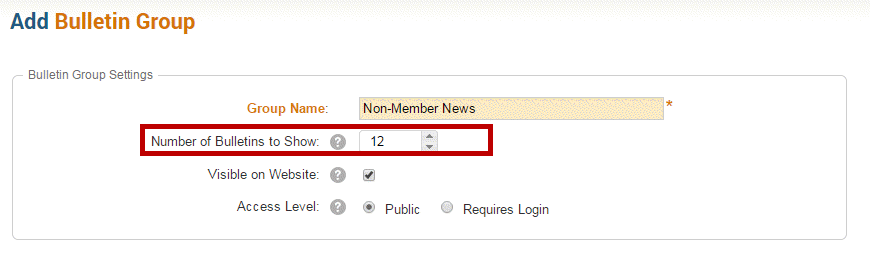
Visible on Website: To make the Group visible on the website, enable the check box. To have the group hidden uncheck the option.
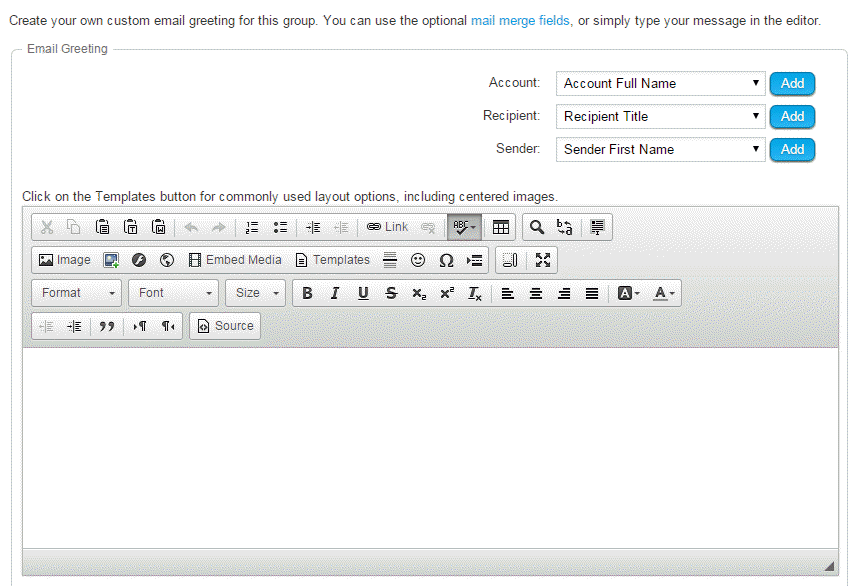
You have the option to create a Custom Email Greeting for your new group. Simply enter it in the editing field provided, using the using the editing tools and mail merge functions to customize it as you wish.
Once you have finished entering this information, click the Save button. Or, click Cancel to discard it.

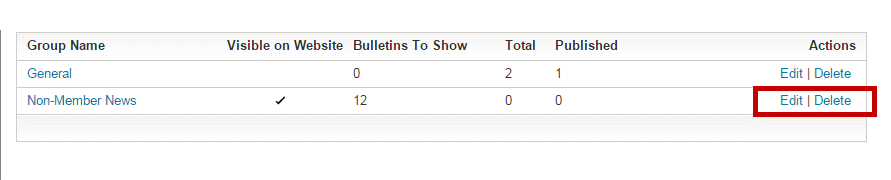
Once the new Bulletin Group has been saved, you will return to the Bulletin Groups page. Here, you have the following options:
- Edit: allows you to go back and make changes to the settings set out when creating the group.
- Delete: Use this link to delete a group.