


All members have access to view registered attendees for an Event Planner event, and members with level 50 or better access can view other registration and payments reports.
To begin, log in to the members area and click Events and then Event Planner in the main navigation menu.
Click Open on the event you wish to view reports for.
These reports can be found on the left-hand side:
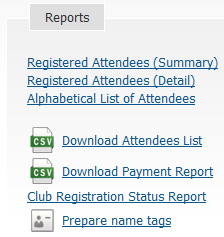
Registered Attendees (Summary): This will generate a general report displaying the number of registered guests and members. This report may be viewed by all members.
Registered Attendees (Detail): This will display the registered attendees confirmation number, first and last name and (for guests) whom they were invited by. This report may be viewed by all members.
Alphabetical List of Attendees: This will display a list of all registered attendees in alphabetical order. This report may be viewed by all members.
Download Attendees List: This will allow you to download an excel file listing all the attendees. This report may be viewed by all members.
Download Payment Report: This will allow you to download a spreadsheet displaying all registered members, total charges, total paid, balance owing and payment types (e.g. Pay By Check will be shown if this option was enabled, with information on who paid by check). This report may be viewed by members with level 50 or better access.
Club Registration Status Report: This is a breakdown report outlining who registered, declined and members that remain undecided. This report option only includes members and contacts who have been invited using invitation emails, or those who have accepted or declined through the registration form. This report may be viewed by members with level 50 or better access.
Prepare Name tags: Creates name tags for all registered attendees and guests. This report may be viewed by members with level 50 or better access.
Prepare Name Tags
Below are the steps for creating Name Tags.
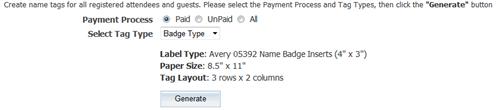
First, select who you would like to create the name tags for: Paid, UnPaid, or All.
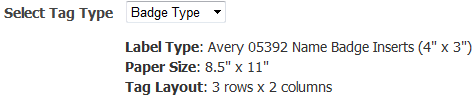
Next, select whether you want the name tag to be a Badge Type or Sticker Type. The difference is in the label type and the tag Layout (# of rows x columns)
|
|


Finally, click the Generate button.
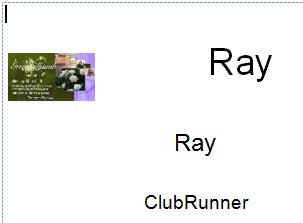
Sample Name Tag
Emails
There are two options for sending event emails:

To learn more about these please read the article named "How do I send event-related emails?".
To learn more about Event Planner please see the Events & Calendar section in our Knowledgebase.