
On the Club and District you can grant members read-only access for MyEventRunner. The member will be able to view information, but do not have access to edit, delete, or change anything. To learn how to give a member this ability please click on one of the links below:
For Clubs
For Districts
For Clubs
1. To set up read-only access for a member, you must first go to your club's home page and login . Once you have done this, click the Member Area link at the top right of the homepage.
2. Next, click on the Membership tab below the banner.
3. Now, click on the Member Lists link.
4. You are now on the Active Members List page. Click on the name of the member to whom you wish to provide read-only access.

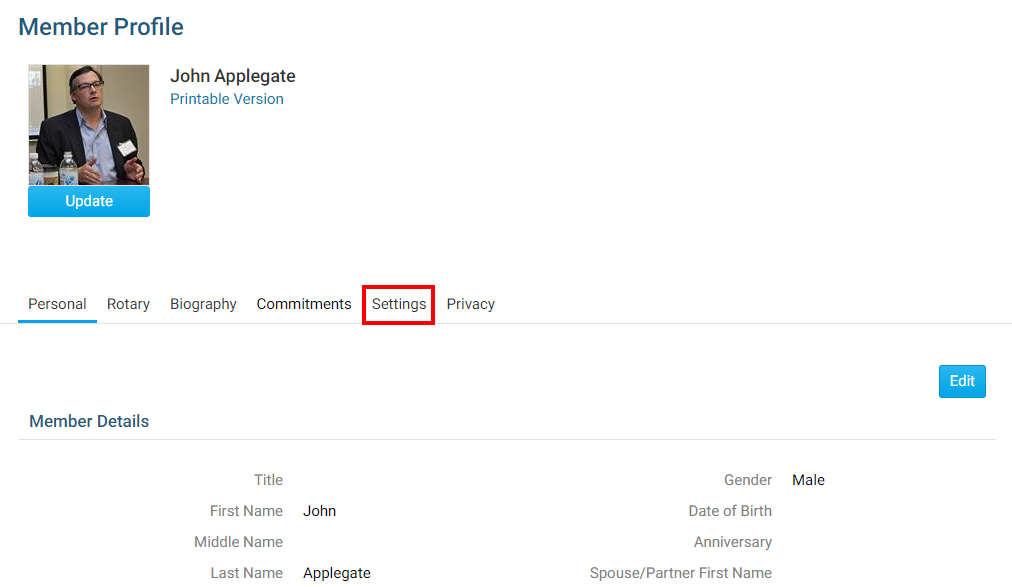
5. When the member profile appears, click on the Settings tab.
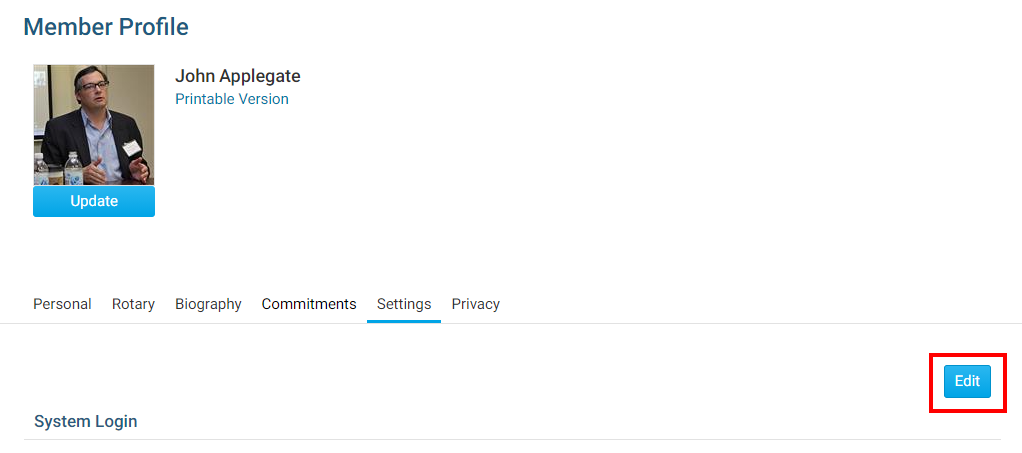
6. Next, click on the Edit button.
7. Under the heading Member Roles, check the box beside 39 (MRO) MyEventRunner Read Only Access.
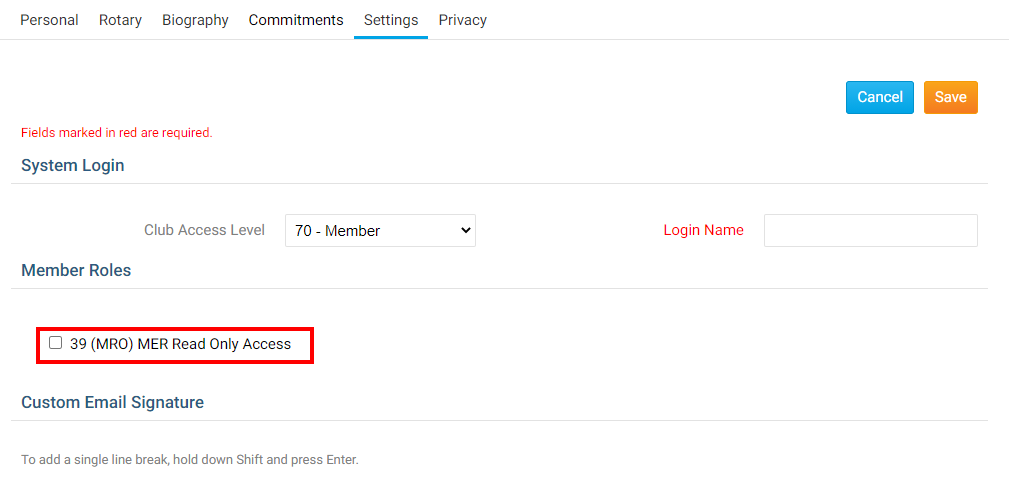
8. Click Save to apply the change. Click Cancel to discard the change.
For Districts
1. To set up read-only access for a member, you must first go to the District's home page and login . Once you have done this, click the Member Area link at the top right of the homepage.
2. Now, click on the Membership tab on the grey menu bar near the top.
3. Next, click on the Member Access Rights link on the blue menu bar.
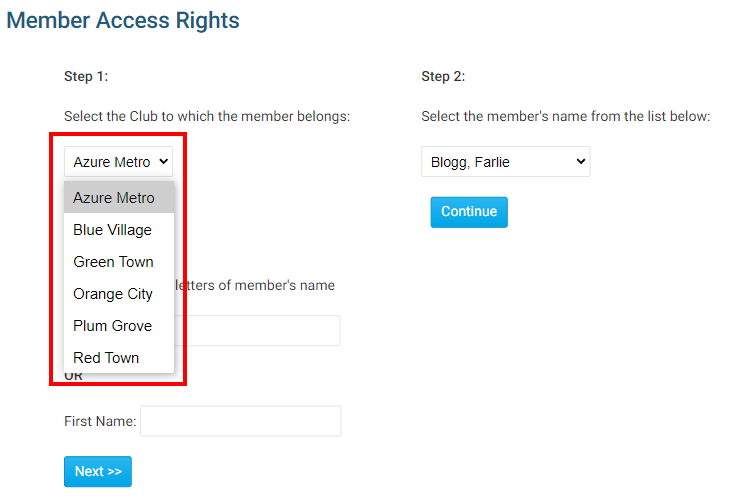
4. This brings you to the Member Access Rights screen, where you are asked to select the member whose access rights you wish to change.
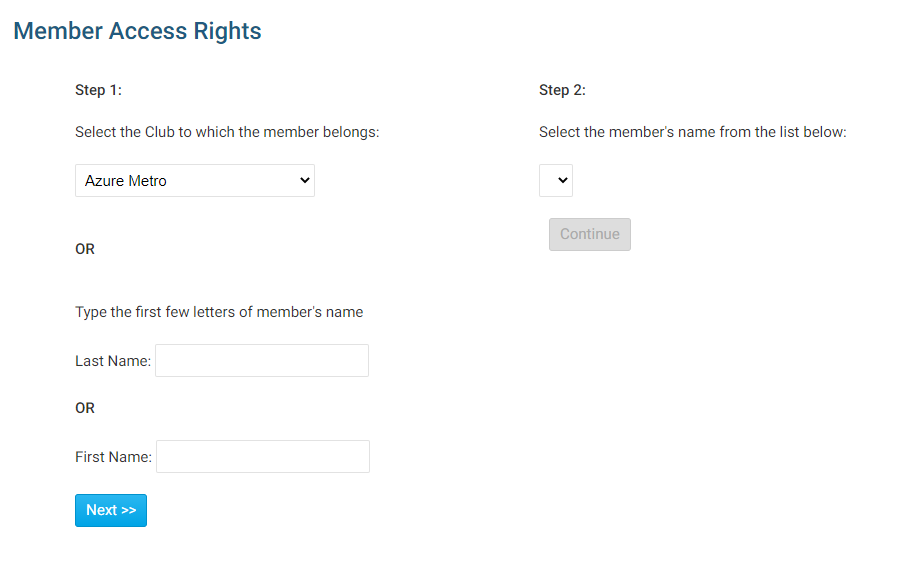
5. Next, locate the member whose access rights you wish to change. You can do this one of two ways, by search for a given member of a club, or searching by the member's name. To select a given member of a club, select the member's club from the drop down menu in Step 1.
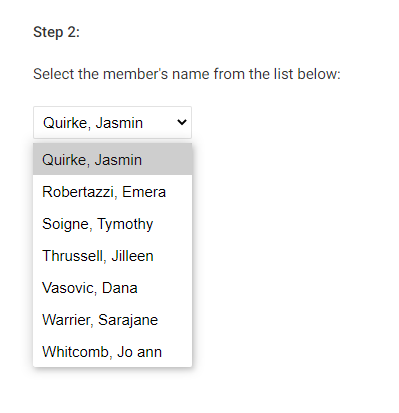
4. Now, choose the member's name from the drop down menu that appears under the heading Step 2.
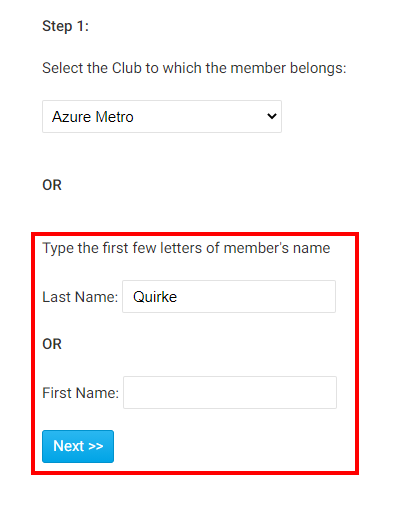
5. Alternatively, you can do a search for the member's name using the Last Name and First Name text fields.
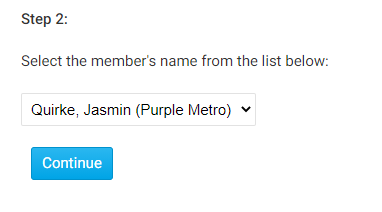
6. This will generate a list of matching names in the Step 2 drop down menu. Select the matching name and then click the Continue button.
8. You are now on the Access Rights page for that member. Here, you will see all the possible access levels, which a checkbox next to each one currently held by the member. To learn more about these access levels please read the article called Introduction to District Access Rights/Levels. For now since we need to give this member Read Only Access to MyEventRunner, please put a check mark in the box beside MER Read Only Access.
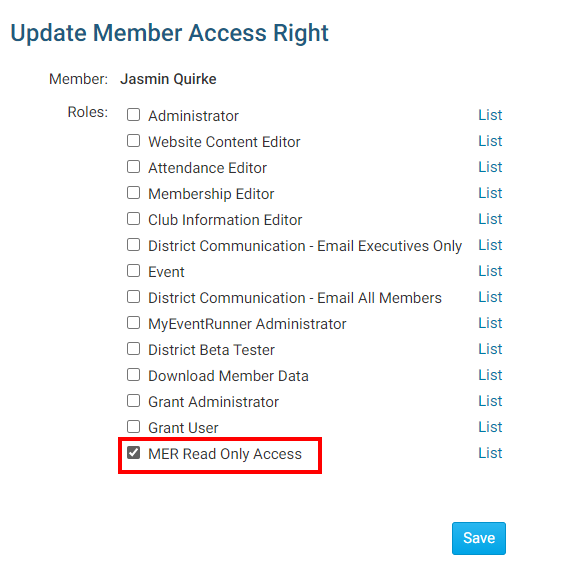
9. Once done click Save. The member will be able to use their new access next time they log in.