
ClubRunner allows you to manage and assign volunteers to various tasks. To access these volunteer tools, you'll need to log in to your member account.
Click Member Login at the top right of your club's webpage.

Enter your login details, and then click Member Area at the top right of the page that appears.

You will see a number of tabs along the top. Click on Volunteers.

Now, click on View Signup Lists.

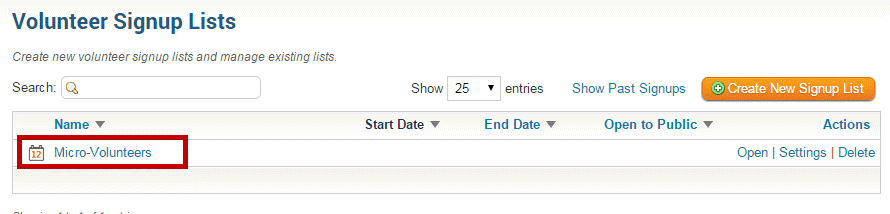
Click on the volunteer list for which you wish to edit.
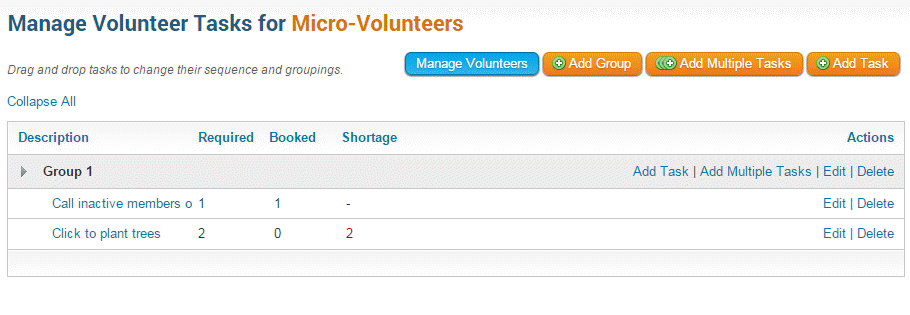
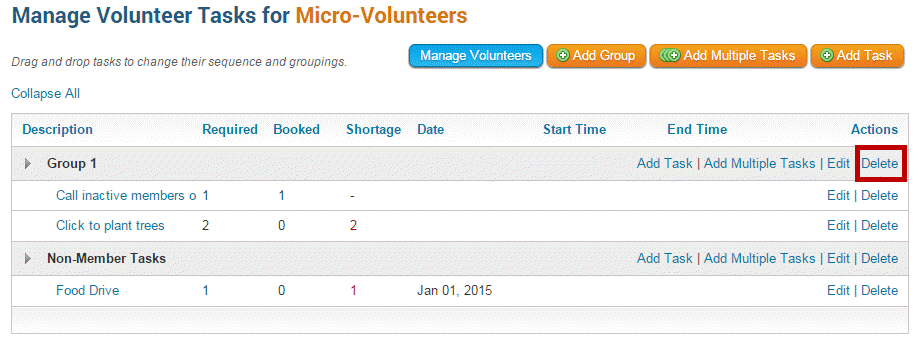
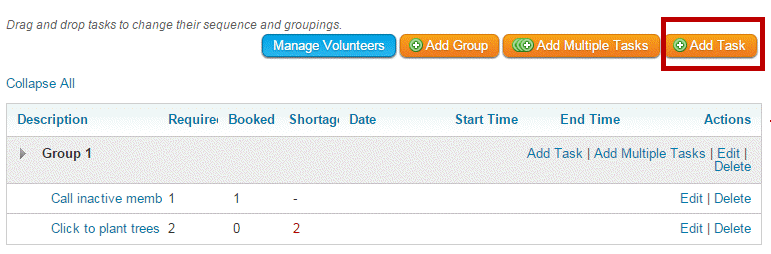
You are now on the Manage Volunteer Tasks screen, where you can manage all of the tasks for the Volunteer Signup Lists. From here you can Add, Edit, or Delete any of the tasks. You also see the People per Tasks (Required column) and how many people have booked that task (Booked column).
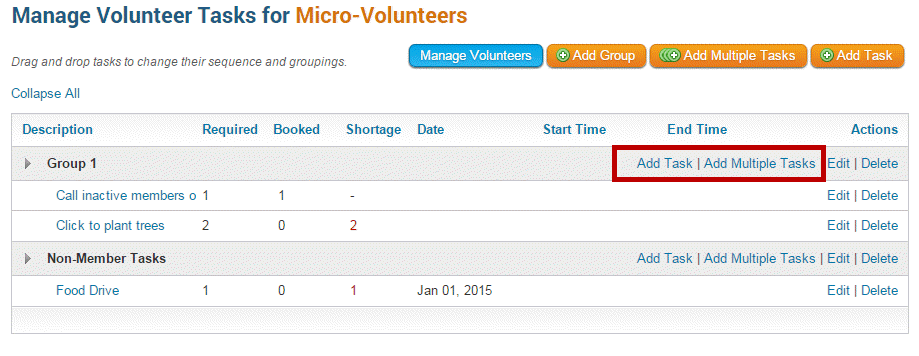
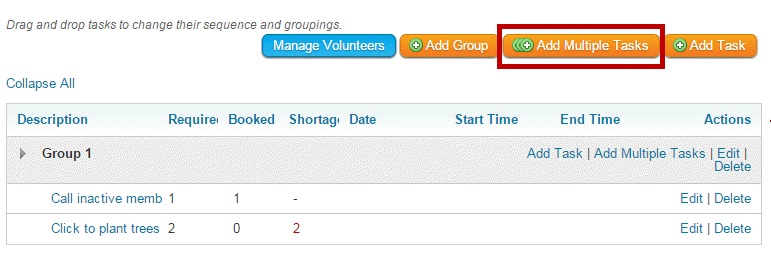
To add a new task, find the group you would like to add the task to and click on the Add Task link. You also have the option to add more than one task with the Add Multiple Tasks link.
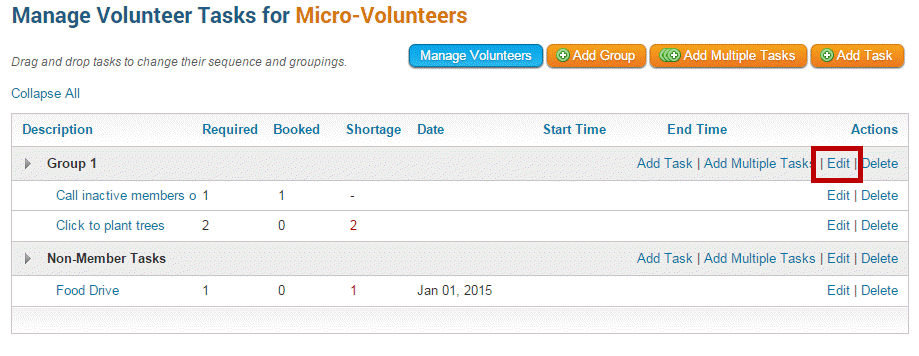
To modify or change an existing task, click on the Edit link under the Actions column.
To delete an existing task, click on the Delete link under the Actions column.
Adding a New Group
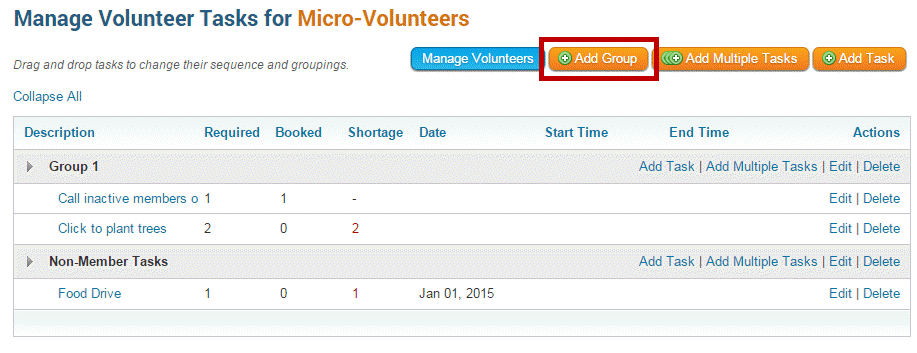
To add a new volunteer task group, click on the Add Group button in the top right corner.
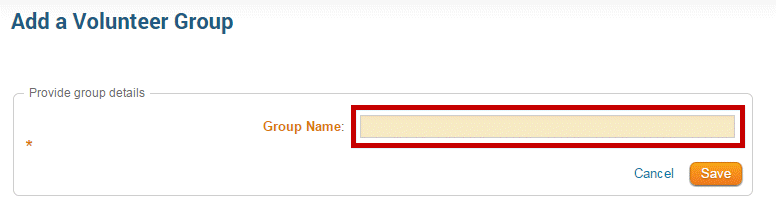
Enter a name for the new volunteer group in the field provided. This field is mandatory.
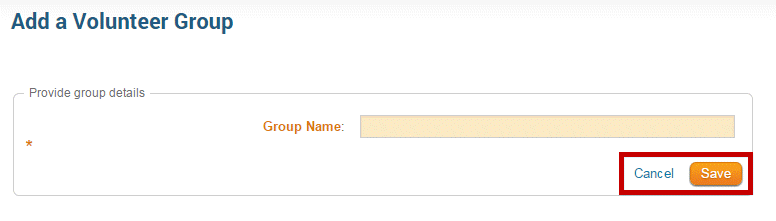
Click on the Save button to create your group, or Cancel to discard it.
Adding a New Task
To create a new volunteer task, click on the Add Task button at the top right.
Enter the needed information in the fields presented. Note that Task Name and Number of People are required fields.
- Group: This is the group you want to add the task to. Click on the group dropdown to select a different group.
- Task Name: The name of the task being created.
- Date: The date that the task is effective.
- Start Time: *Optional* - Choose a time for when this new task should begin.
- End Time: *Optional* - Choose a time for when this new task should end.
- Number of People: How many volunteer slots are available for this task
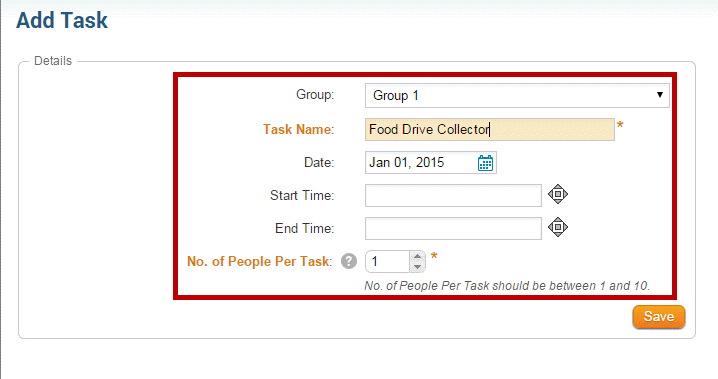
Click on the Save button to add your new task.

Adding Multiple Tasks
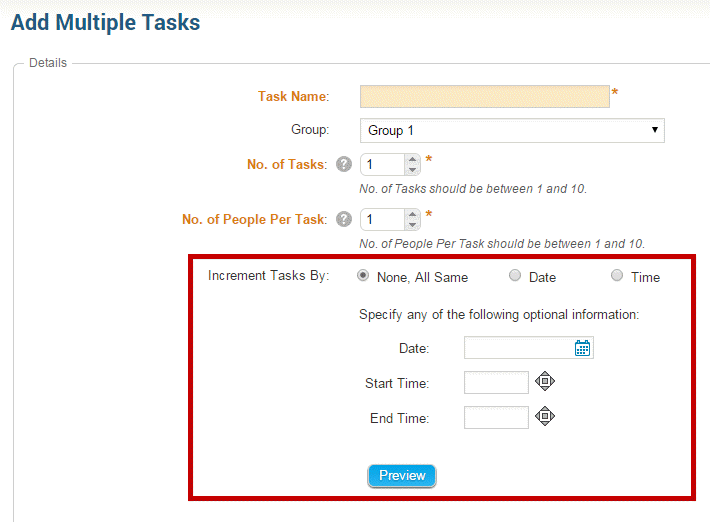
Click on the Add Multiple Tasks button on the top right corner.
Populate the fields for the multiple tasks. Note that Task Name, Group Name, Number of Tasks and Number of Volunteers per Task are all required fields.
- Task Name: These are the names of the Multi Tasks being created.
- Group: The group that the tasks will be added to. If set on Create New Group then a new Group Name field will appear requiring you to populate the Group Name.
- Group Name: If Group is set to: Create New Group then this field will appear as a required field for you to enter a new Group Name.
- Number of Tasks: How many tasks will be created.
- Number of Volunteers per Task: How many volunteers’ slots are available per task defined.
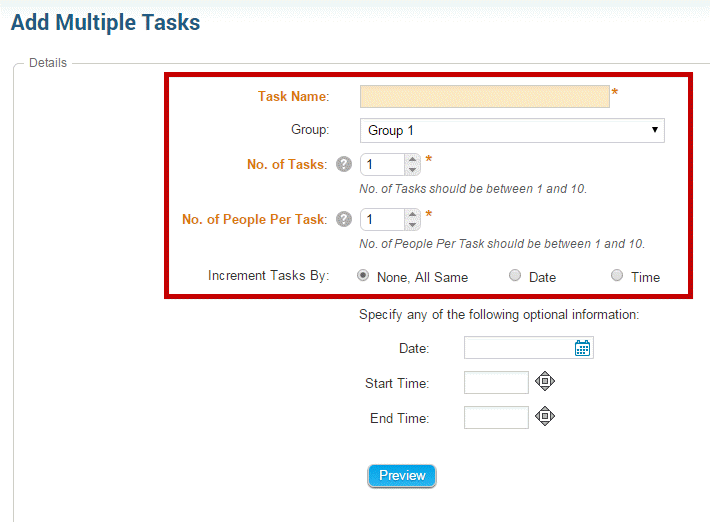
Next, set up the task incrementation, using the Increment Tasks By options:
- None, All Same: Indicates that the tasks being created do not need an increment as they will all be at the same date and time.
- Date: The date when the tasks will be held. Click on the calendar icon to bring up a mini calendar to select the date.
- Start Time: The time when the tasks will begin. Click on the time icon to set the time.
- End Time: The time when the tasks will conclude. Click on the time icon to set the time.
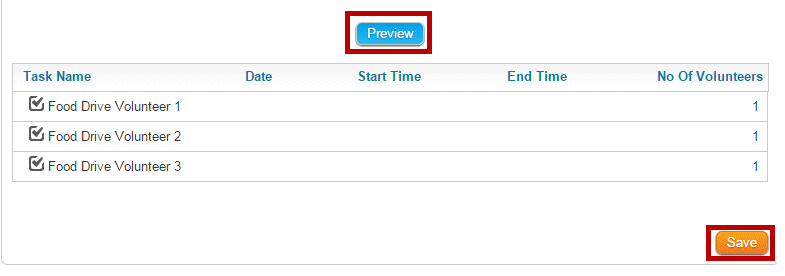
- Preview: Click on the Preview button to see a sample of the multiple tasks that will be created:
If everything looks correct, click Preview to view the tasks you've created. Then, click Save.
How to Increment Tasks by Date
When incrementing a task by date, you must provide the following details:
- Date: Indicates that the tasks being created will increment based on days.
- Start Date: The first date when the first task will be held. All other task dates will be based on the increment field specified. Click on the calendar icon to bring up a mini calendar to select the date(s).
- Increment: The amount the Task Start Date will increase by.
- Start Time: The time when the tasks will begin, applicable to all tasks. Click on the time icon to set the time.
- End Time: The time when the tasks will conclude, applicable to all tasks. Click on the time icon to set the time.
- Preview: Click on the Preview button to see a sample of the multi tasks that will be created:
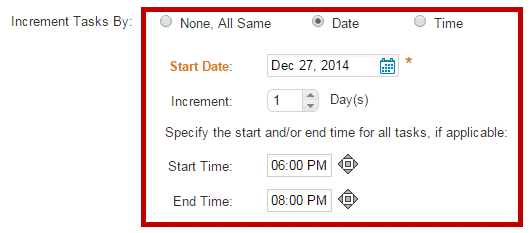
If everything looks correct click Save to create the multiple tasks.
How to Increment Tasks by Time
When incrementing a task by time, you must provide the following details:
- Time: Indicates that the tasks being created will increment based on Hour(s) and/or Minute(s).
- Start Date: The first date when the first task will be held. All other task dates will be based on the increment field specified. Click on the calendar icon to bring up a mini calendar to select the date(s).
- Start Time: The time of the first task. All other tasks will use the increment to determine their start times. Click on the time icon: to set the time.
- Increment – Hour(s): Indicates the amount of hours that will be added to the subsequent tasks.
- Increment – Min(s): Indicates the amount of minutes that will be added to the subsequent tasks.
- Preview: Click on the Preview button to see a sample of the multi tasks that will be created:

If everything looks correct, then click Save to create the multiple tasks.