
To design a new banner for your club bulletin, you'll need to access the Bulletin Editor.
Login to your member page.
Click on the Bulletin tab and then click on the Manage Bulletins link.
Next, click on Settings link under the Quick Links header.
Along the left-hand side of the page in the side menu, click on the Banners link
Adding A New Banner To the Library
Click on the Add New Banner button found in the top right corner.
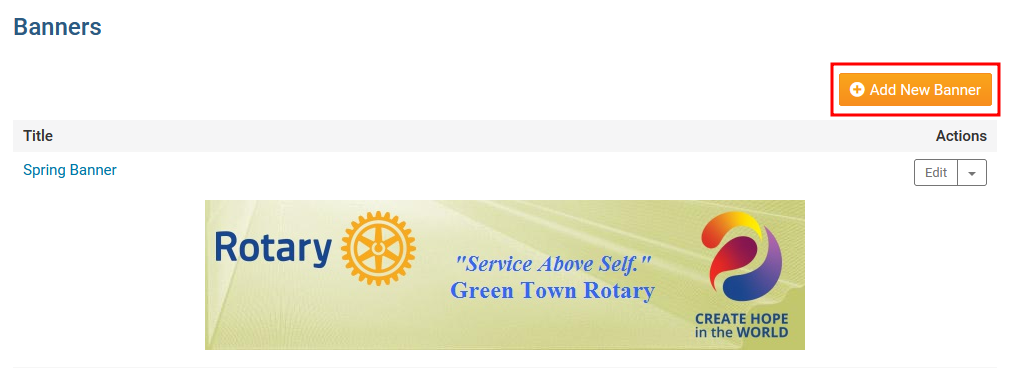
You are now on the Add New Banner screen. Here, you can enter all the relevant details about your new banner, and design it.
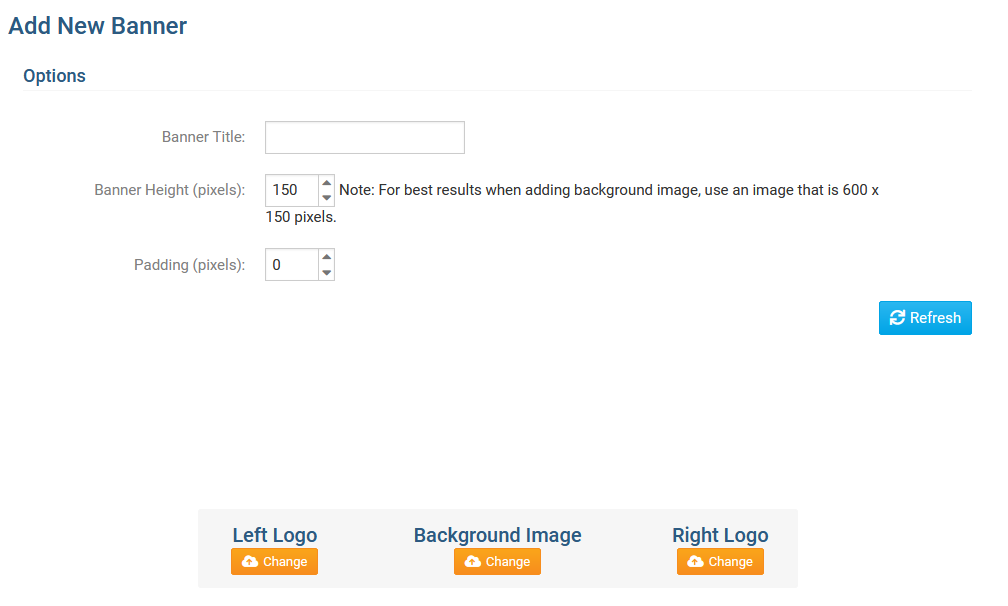
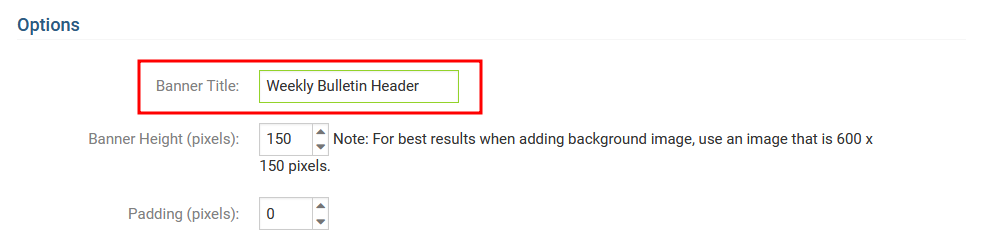
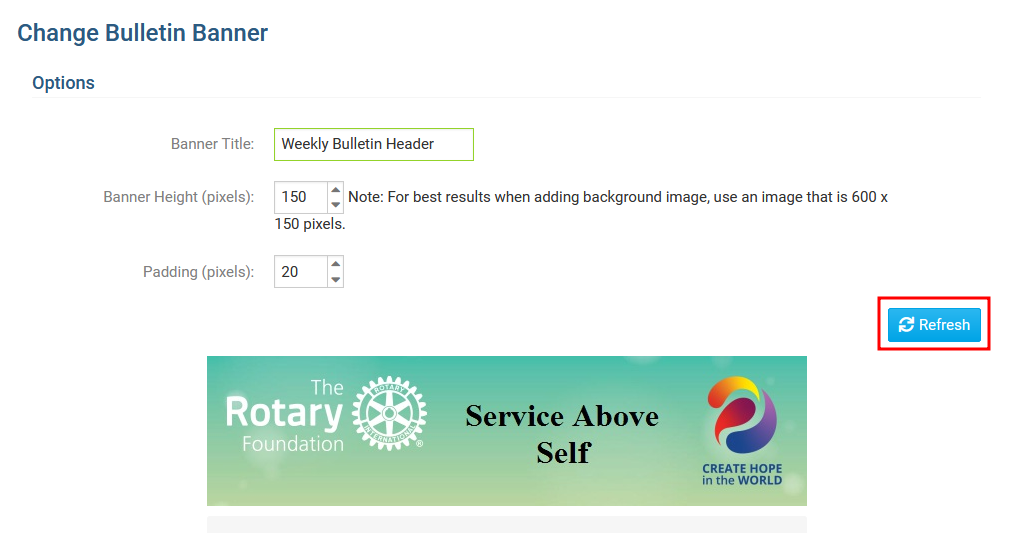
Banner Title is the internal name you will give the banner you are currently working on. This is simply a label and it will not be visible on the banner itself. This is a required field.
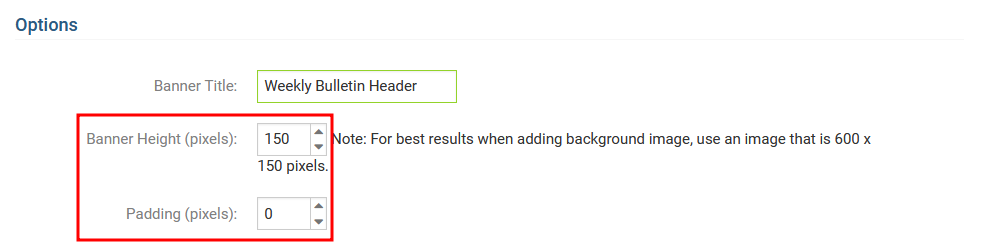
Banner Height (pixels): is the height of your banner in pixels. Recommended height is anywhere between 100 and 300 pixels. The Padding (pixels) field clears the space between the border and the content.
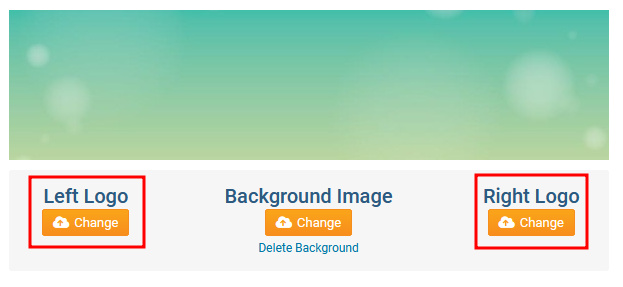
The next steps are to upload the Background Banner and/or upload the Left and Right Logos. To get started, click the Change button in the Background Image field.

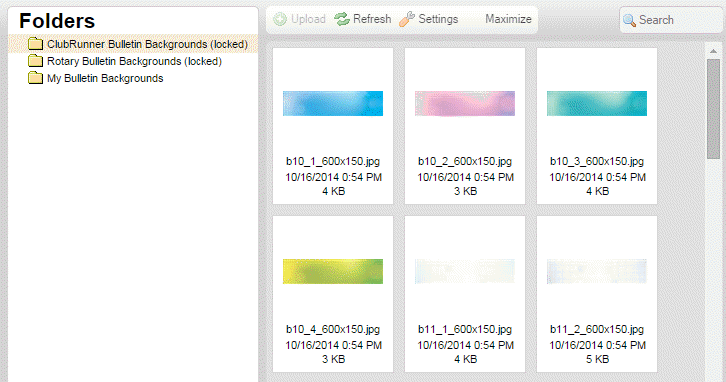
You are now in the Bulletin Backgrounds Library. Here, you may select a banner background image from a preloaded image, or you may upload one of your own. Any images you upload will be stored in the My Backgrounds folder for future use.
ClubRunner Bulletin Backgrounds: This folder contains images created for the ClubRunner software.
Rotary Bulletin Backgrounds: This folder contains backgrounds specific to the Rotary Club.
My Bulletin Backgrounds: This folder contains images you have uploaded.
Click on the Change button in the Left Logo and Right Logo fields to add a logo as needed. As above, you have the ability to select from a list of preloaded ClubRunner and Rotary Club images or you can upload your own Images by clicking the Upload button at the top.
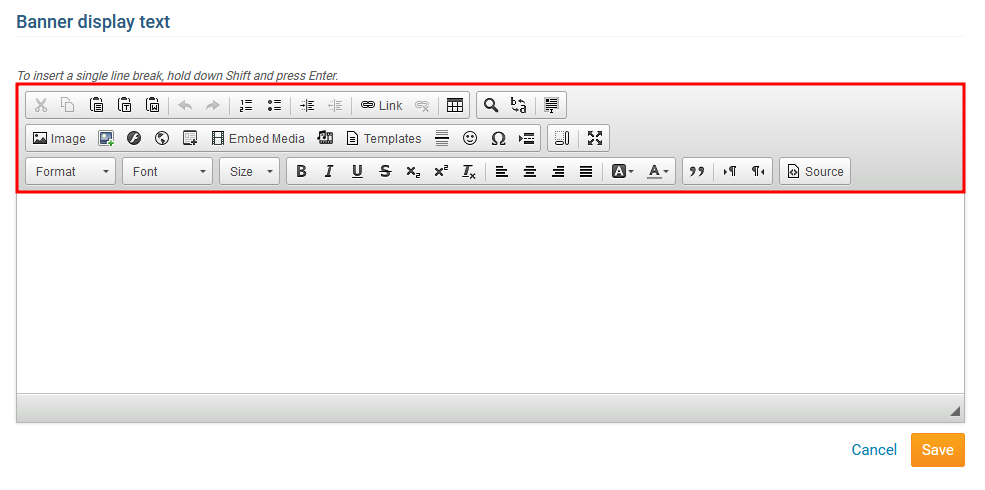
Next, you have the ability to add text to the banner. The Banner Display Text section is where you can enter the text that will appear on your banner. You can format this text using the icons in the editor, including increasing the font size and color.
To see the text from the editor in the banner click on the Refresh button highlighted below.
Finally, click Save to to save the banner to your library.
Editing an existing banner
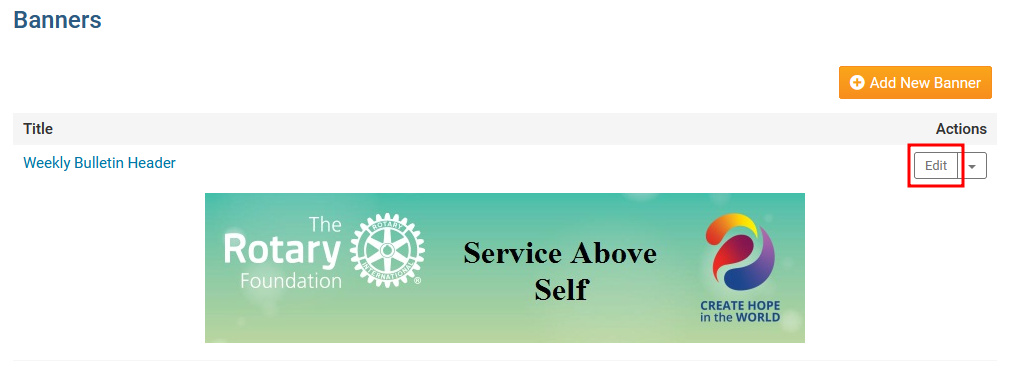
To edit an existing banner, either click on the banner image, or click Edit to the top right of the image.
Deleting a Banner in the Banner Library
To delete an existing banner, login to your member page above and proceed to the Banner Design page.
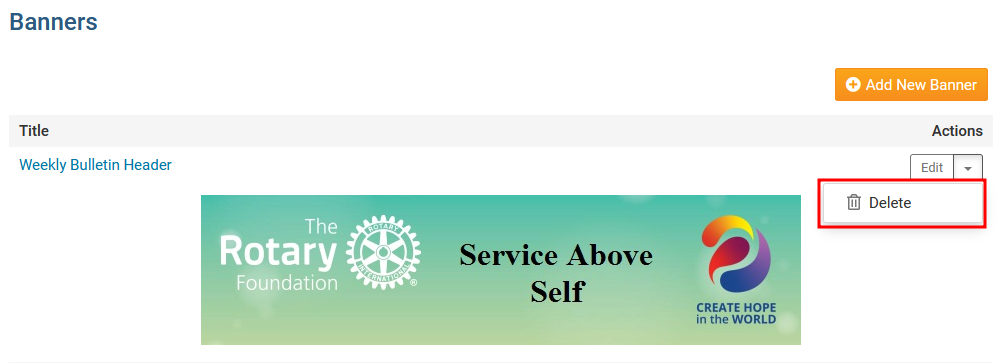
To delete a banner find the one you want to delete and look to the far right to see a Delete Link. Click on the Delete link.
A Message box will appear verifying that you want to delete the banner. Click OK to delete or Cancel to forgo changes.