You can upload pictures to the Photo Albums. These albums can be linked so it can appear anywhere on the website.
Please follow the steps below to begin:
Go to your District's website and login to ClubRunner. After you logged in, click on the Member Area near the top right to get to the Member Area.
Click on the Website tab on the grey menu bar near the top.
Click on Website Content.
On the left-hand side of the page, click on Libraries
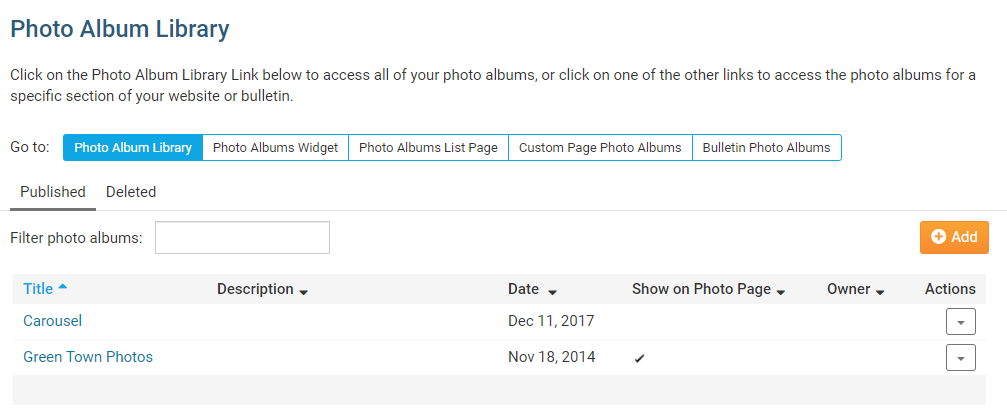
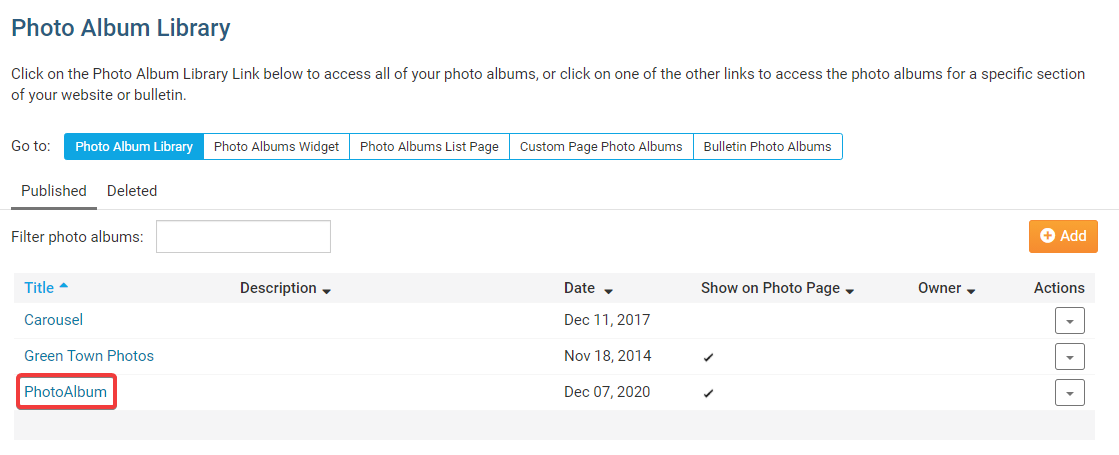
Click on Photo Album Library.

Adding a Photo Album
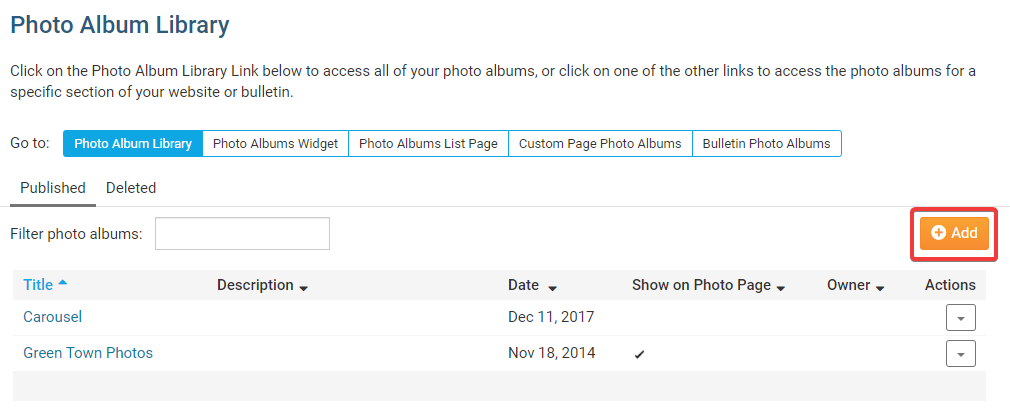
Before uploading your pictures to ClubRunner, you will need to create a Photo Album. Photo Albums are used to store your pictures, similar to a folder.
Click on the Add button.
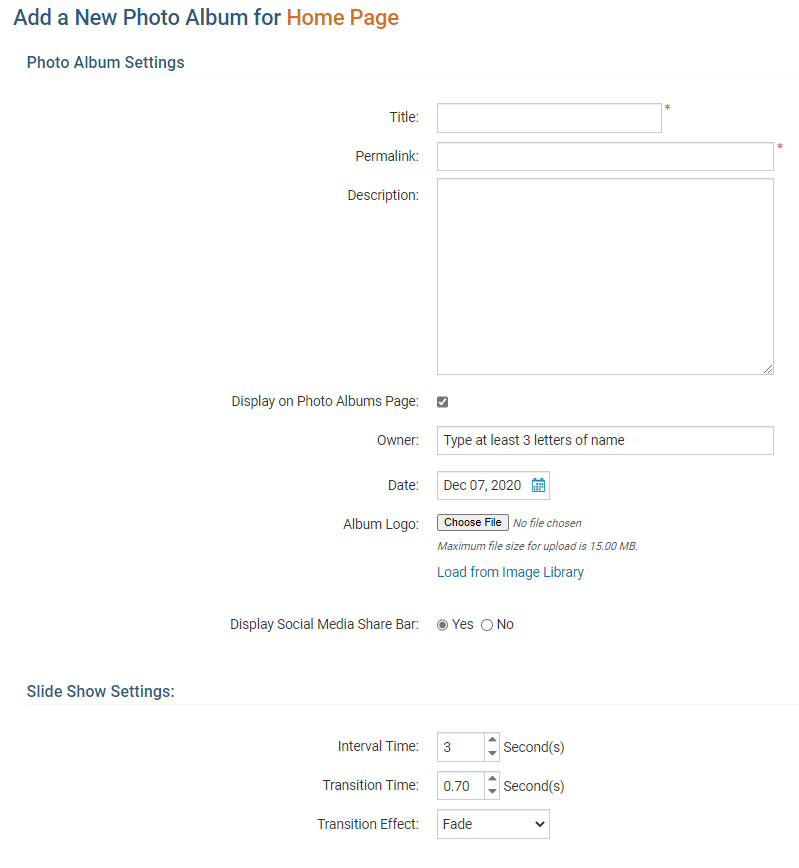
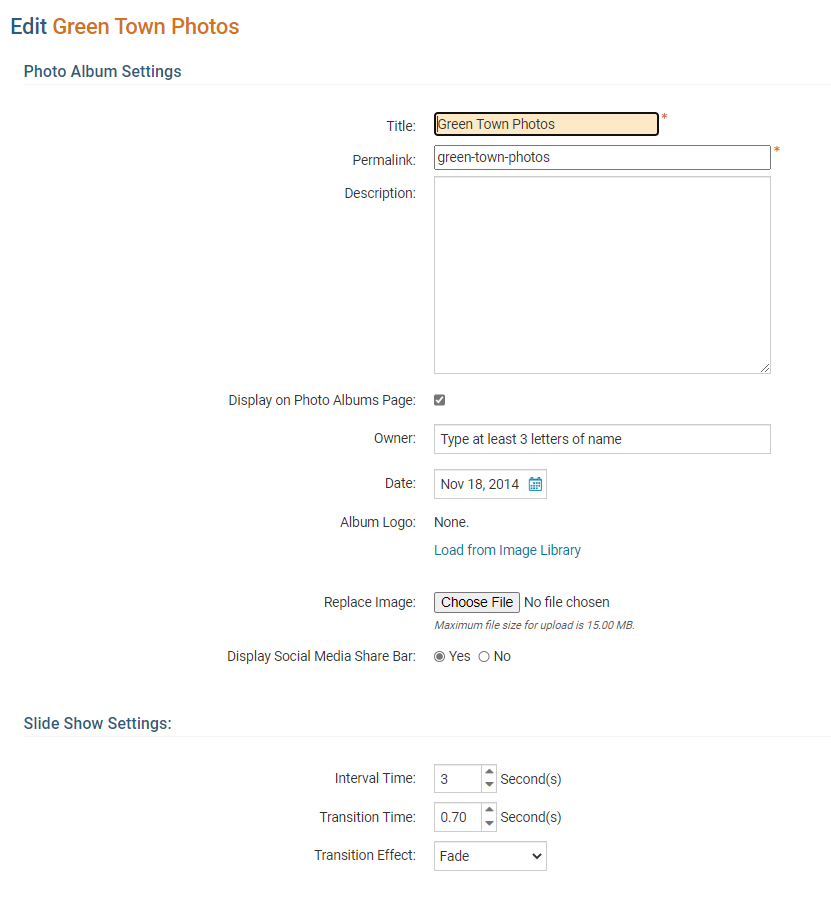
Fill in the fields on this page. Once done, click Save near the bottom right.
- Title: The title of the new photo album.
- Permalink: The name of link for the photo album. (Does not need to be edited)
- Description: Description of the new photo album.
- Display on Photo Albums Page: Have a check mark in the box if you would like the new photo album to be displayed on the built-in photo album's page.
- Owner: The owner of the photo album. (Optional)
- Date: The date of the photo album.
- Album Logo: Allows you to upload an image for the album logo. (Optional)
- Display Social Media Bar: Have a checkmark in the box if you would like to have the social media bar displayed on the new photo album's page.
- Interval time: How long the photo will stay on the screen while in slide show mode.
- Transition Effect: The visual effect that displays during the transition time.
After clicking save, your photo album will be created. Clicking on the title of your new photo album will open up the page to upload and edit photos.
On this page you can edit any photos to add a title and description. You could delete the photo and you can add more photos by clicking Upload Photos.
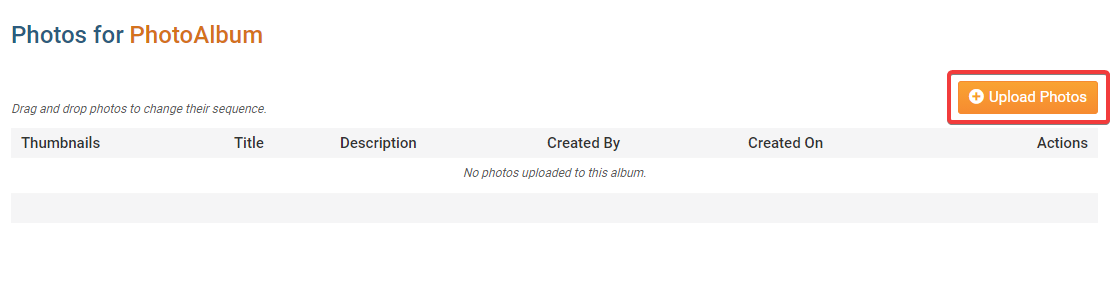
Now you are able to add photos to the album. This is done by:
- Drag and Drop - Drag the photos form your computer onto the Drag files here text.
- Add File - Click on the Add File button to browse your computer.
Once done click Start Upload to upload the photos.

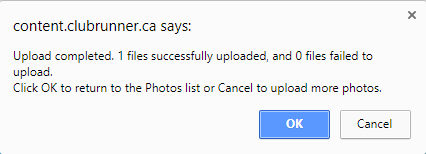
After the files are uploaded, you will see a OK message saying they are done. Click on the OK button.
View
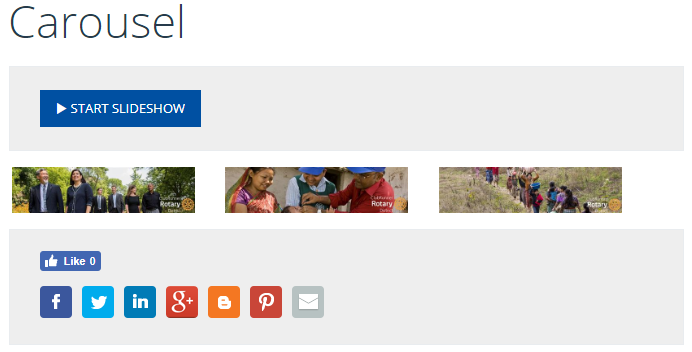
To view the photo album on the website click on the Action dropdown menu, and select View.
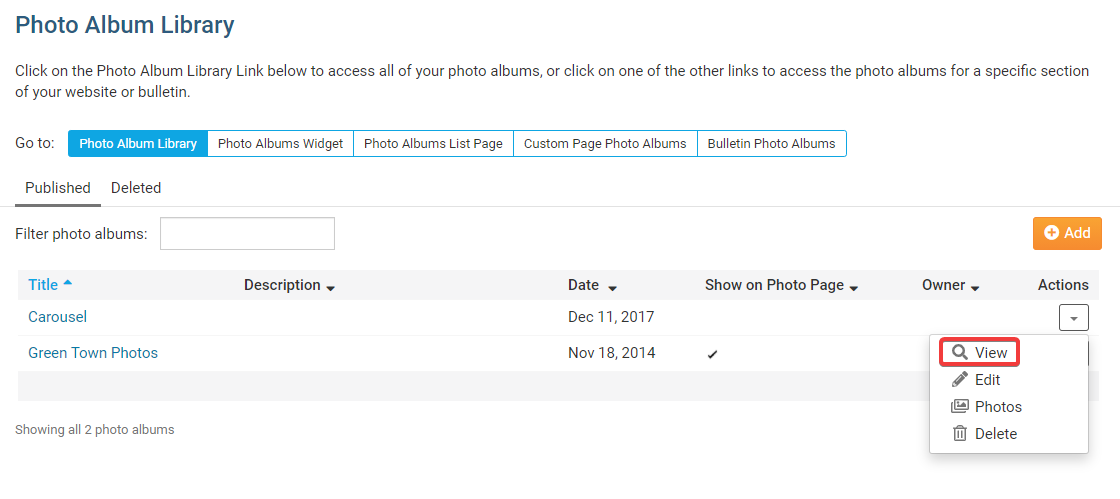
This will open a new page and display the photo album's photos on the website.
- START SLIDESHOW - This will start a slide show of each image.
Edit a Photo Album
If you click Edit, this will take you into the albums properties.
From here you can change the album's title, description, owner, date, logo, and more.
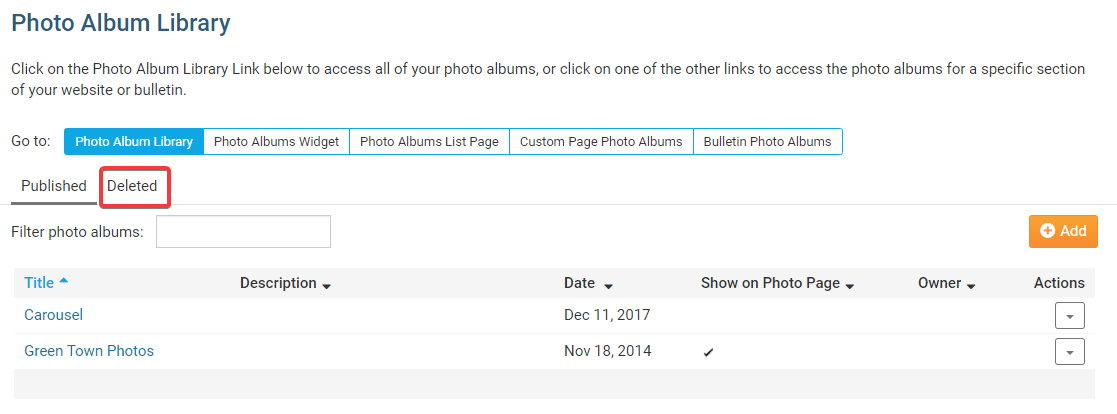
Delete a Photo Album
If you click Delete, this will delete the photo album and move it into the Deleted folder.
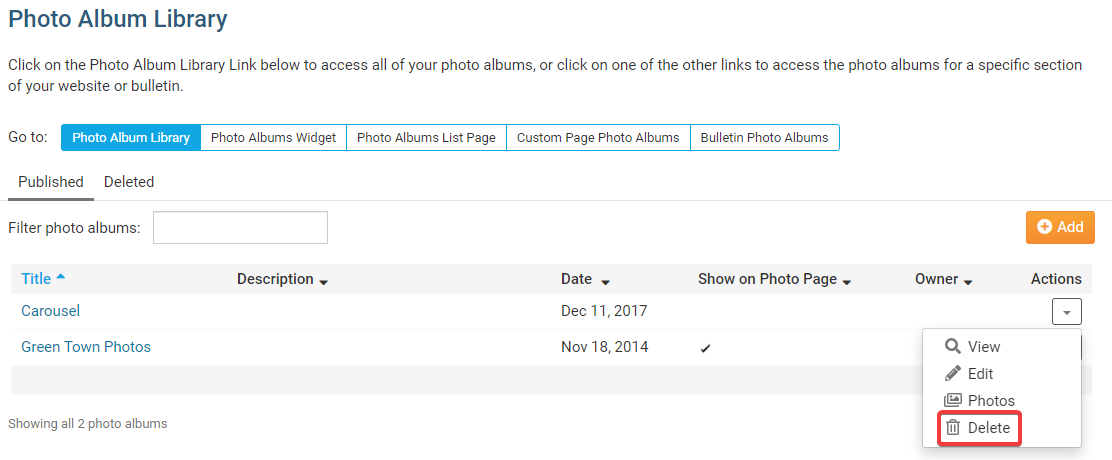
This is where the Deleted folder is located. If you click on it, you will see the deleted photo albums.