
The Image Library stores all photos uploaded by all your members. It offers an easy way to add and share pictures on the homepage or other sections of your Club’s website. The Image Library includes access to the Photo Album library as well, but note that the Photo Album Library is a different section within the Image Library.
REQUIREMENTS & NOTES:
You will need Access Level 60 (Editor) or higher (level 50, 40 or 30) to add/delete/restore club images.
Any single folder inside your Image Library can only display up to 5000 images. To upload and display more images, please create subfolders.
All uploaded images must be 15 MB or smaller.
These are the types of image files that can uploaded into the Image Library: bmp, gif, jpg, jpeg, png. The Image Library is unable to accept other types of image files.
Navigation:
Image Library Location
Using the Image Library
Adding Pictures to the Image Library
Managing & Organizing Images
Deleting Images
Restoring Images
Image Library Location
To access the image library use the following one of the following set of steps:
Option 1)
Login to the Club's Member Area.
Click on the Website tab in the top admin bar.
Click on the Website Content tab, in the menu below the admin bar.
Next, click on the Libraries link in the left grey menu on the page
Click on the Image Library link to access the media library.
Option 2)
Login to the Club's Member Area.
In the Administration Menu page, scroll to the Website Content group and click Image Library.
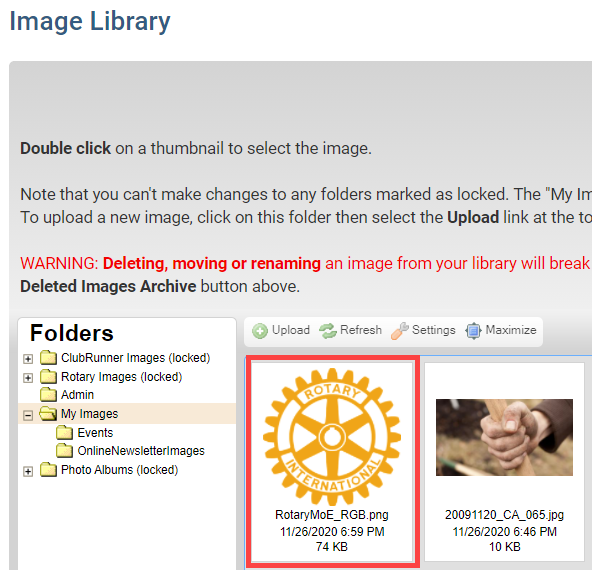
Using the Image Library
Each time a picture is uploaded to ClubRunner, it will be archived in the Image Library where it can be reused on other sections of your Club’s website. Here, you will find a number of folders containing images.
The ClubRunner Images and Rotary Images folders are locked, and contain ClubRunner and Rotary images. Feel free to use any of the images they contain. The ClubRunner folder contains generic images, the Rotary folder contains club and district logos and more. You cannot upload images to these folders, or delete images stored here.
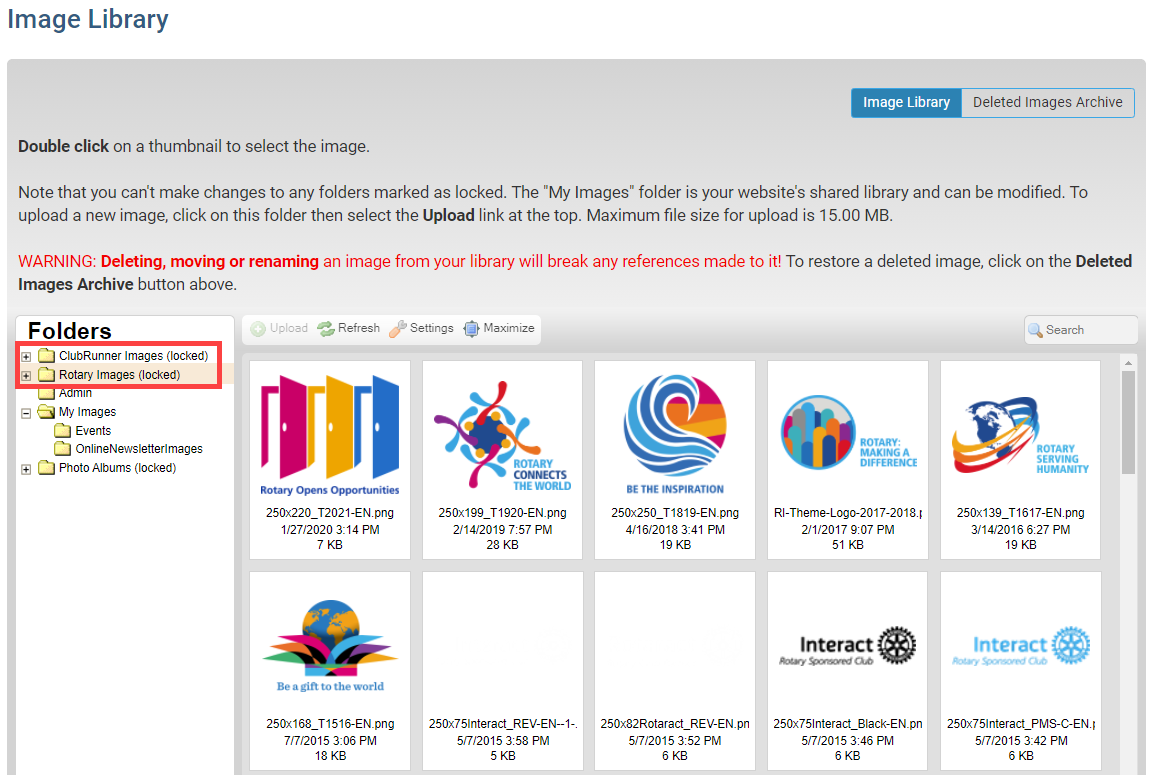
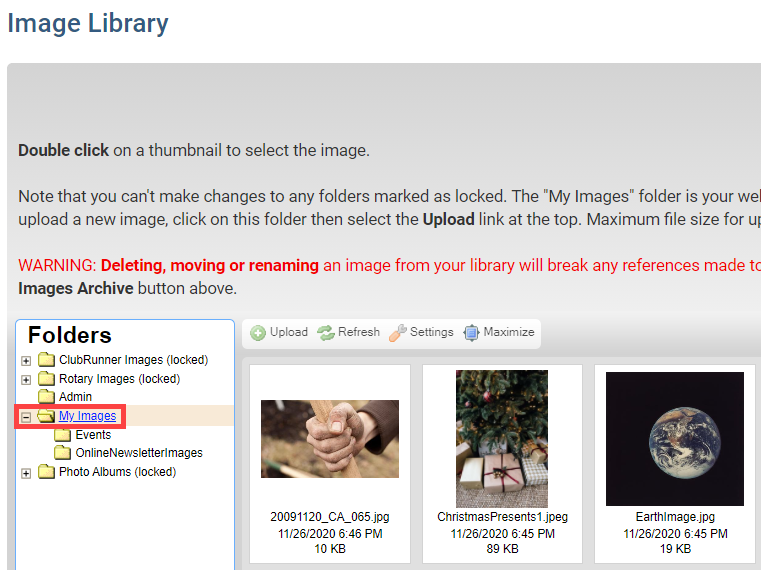
The My Images folder is where you and your club members can upload your own club images.
On club websites, the Admin Image Library folder and it’s images may only be modified by a member with the greatest access level 30 - Site Administrator.
Website Editors, with the access level 60 - Editor, and greater, will be able to use the images from the Admin folder on other website stories & emails, but will not be able to add or delete images from the Admin Image Library folder. Learn more about club access levels from our What access levels are available in ClubRunner guide.
On district websites, any members with the Website Content Editor access right have access to use the images, but may not add or delete images from the Admin Image Library Folder. Learn more about district access rights from our Introduction to district access rights guide.
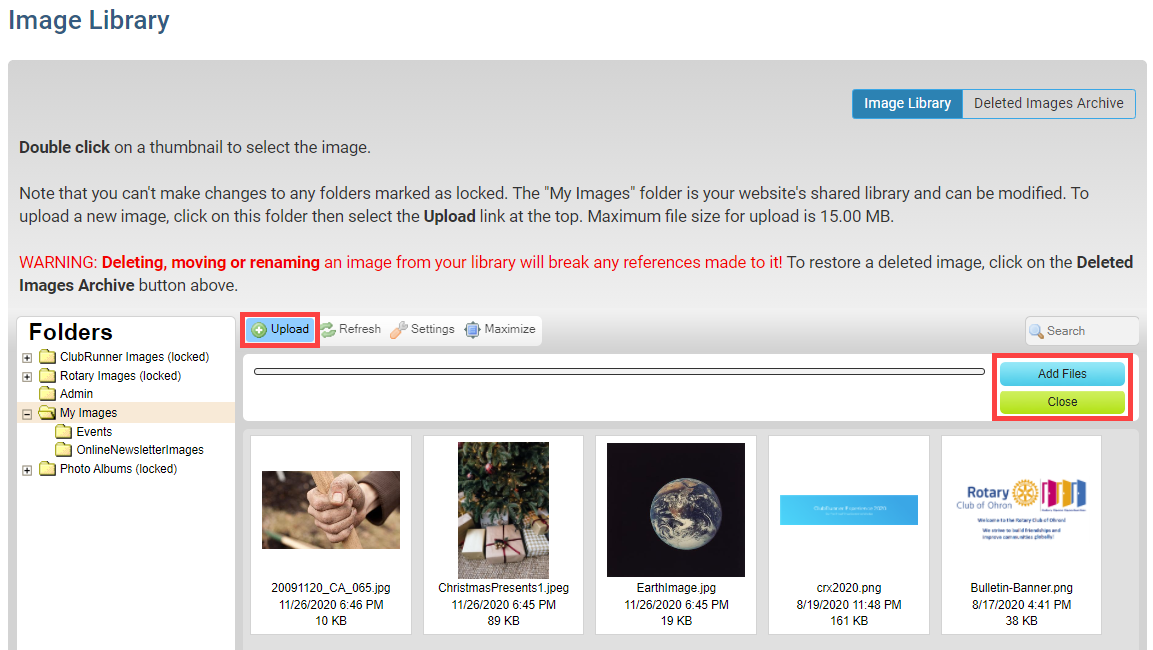
The Upload button allows you to add pictures. You can also drag and drop images from your device into the Image Library folder, to upload the images.

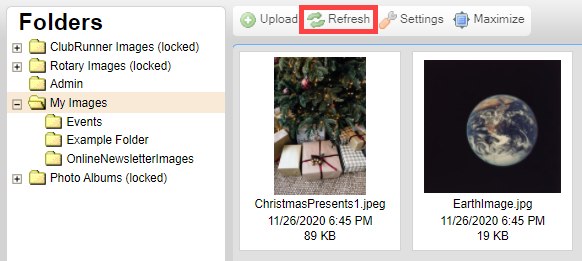
The Refresh button ensures you are seeing the most recent selection of photos, by refreshing the page from the database.
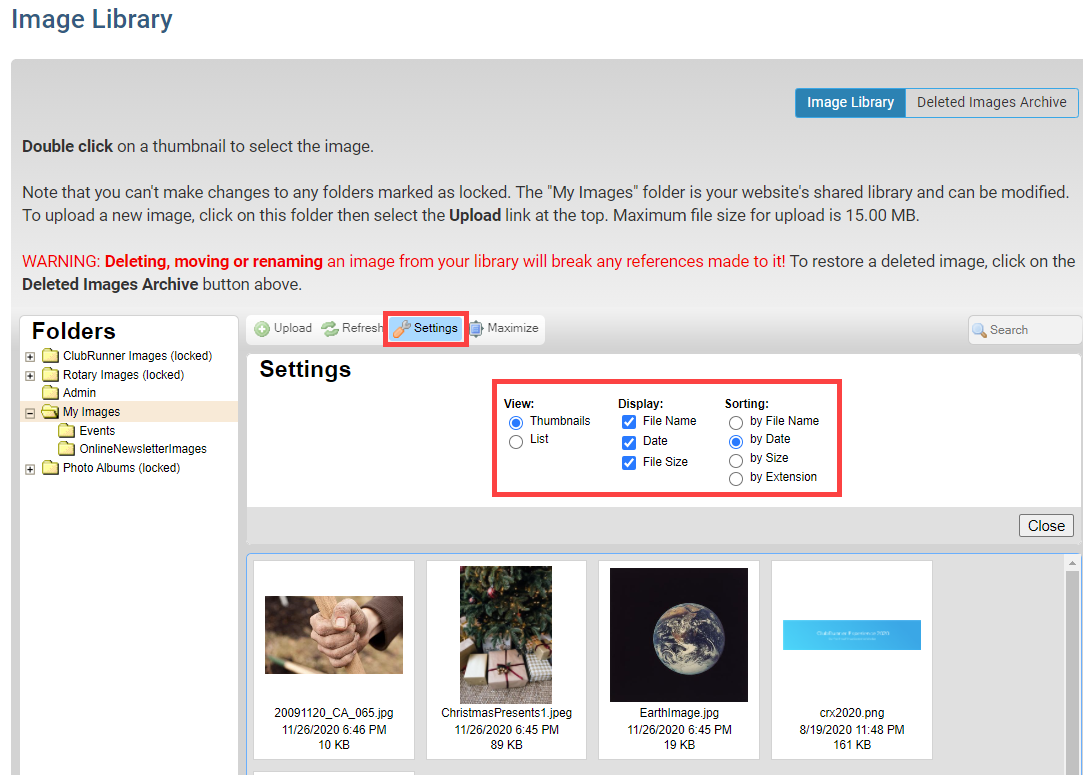
The Settings button allows you to filter the way images are displayed and presented. Using the settings, you can set the View, Display and Sorting when reviewing the images from the library.
The Maximize button expands the Media Library window to full-screen.

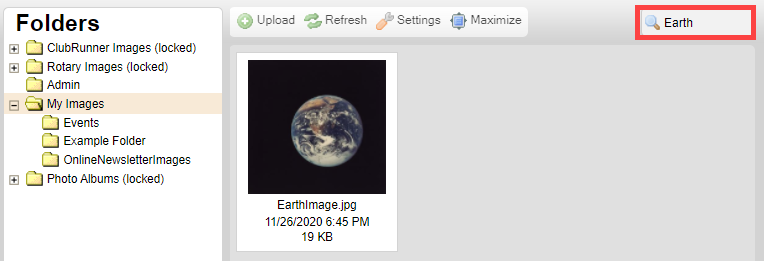
The Search box searches the library for image files by name.
Adding Pictures to the Image Library
There are two methods to upload pictures from your computer:
Drag and drop
Upload Button
To add a photo using the Drag and Drop method, open the file folder where you are pictures are stored.
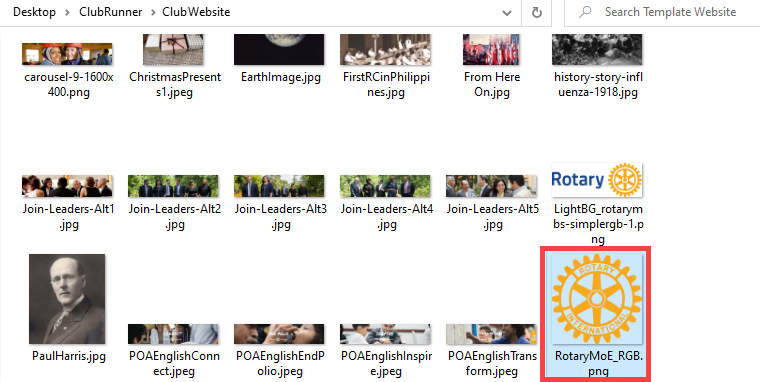
Click on an image and hold down the primary mouse button. Drag the photo to the Image Library window on ClubRunner, then let go of the primary mouse button. If you want to move multiple photos, hold down the CTRL key and click each photo on your device, then drag the group of images into the Image Library window.
To add a photo using the Upload button, click Upload. In the folder explorer on your device, navigate to the images, click the images once to highlight the images, then click Open to upload the images to the Image Library.
Managing & Organizing Images
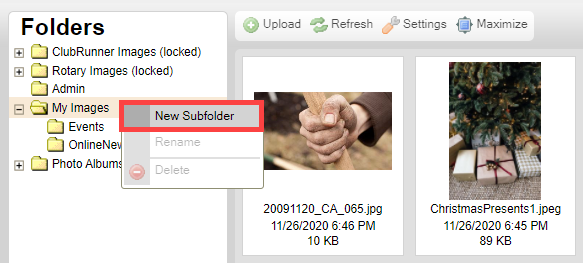
You can manage and organize images in the My Images folder, by creating a Subfolder. To create a subfolder, please use the following steps:
Right-click the My Images folder, and click New Subfolder.
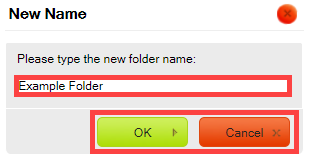
In the dialog, type the new subfolder name, and click OK.
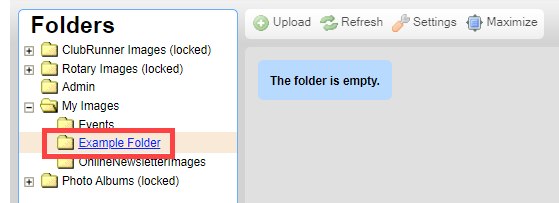
The new folder is now created. To view all of the subfolders in the My Images folder, click the + icon.
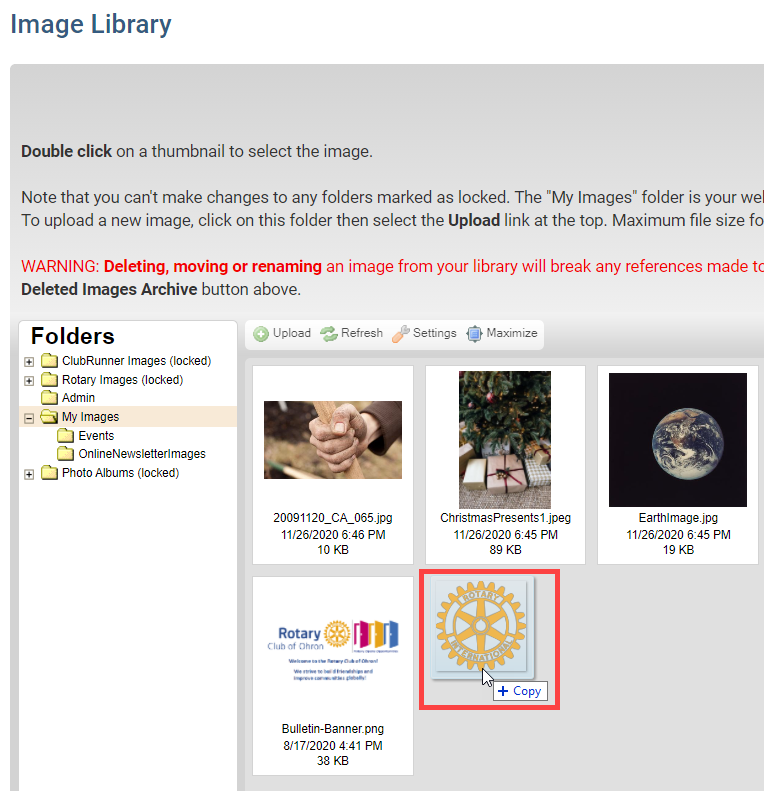
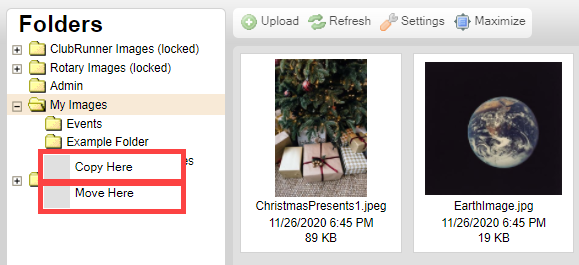
To move or copy an image from one folder to another, drag-and-drop the image from the existing folder, into the new folder.
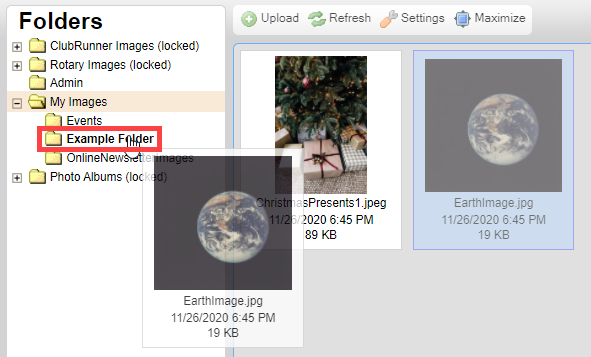
Click Copy Here to copy the image into the new folder, or click Move Here to move the image from the existing folder, into the new folder.
You can select multiple images from a folder to move or copy, by holding down the CTRL key and clicking the additional images.
Deleting Images
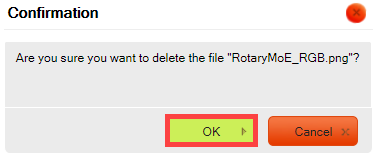
Right-click on the image you want to delete and then click Delete to delete the image.

A dialog box will pop up. Click OK to confirm that you want it deleted.
Restoring Deleted Images
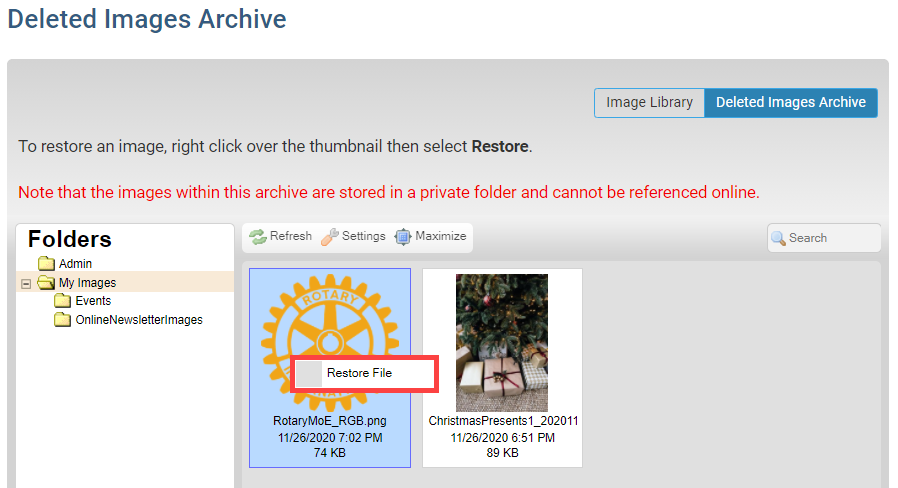
In the Image Library, click the Deleted Images Archive tab.

This will take you to the Deleted Images Archive. Right click on the image you want to undelete and click Restore File.
You will get a dialog box asking you if you are sure you want to restore the image. Click OK to restore it.