
The Dynamic Carousel Widget allows you to build and design a Carousel slider on your website using powerful customization features.
The dynamic carousel can include links for each carousel image, allowing one space to contain many images from any sponsor, website feature, or news item and link to more content on the club site or other resources.
Note: Before getting started with a new dynamic carousel, please read our Best Practices guide!
Navigation:
Configuring & Setting up the Dynamic Carousel Widget
Uploading & Setting Multiple Slides for the Carousel
Uploading a Single Slide to the Carousel
Deleting & Reorganizing Images
Editing & Removing the Dynamic Carousel
Publish the Page & Widget
Configuring the Dynamic Carousel Widget
Navigate to your website then click Member Login at the top right.
After logging in click the Member Area link in the top right of the organization home page.
Inside the member area click Website in the top blue bar.
Next, choose where to add the Dynamic Carousel Widget:
For the Club Home Page: click Home Page Designer in the grey bar below.
For a new Custom page: in the grey bar below click, Create New Page in the grey bar below. Then, in the Select Template page, select a template, and click the orange Next button in the top right of the Template library.
For an existing Custom page: click Custom Page Library in the grey bar below, then while viewing the library in 'Grid' view, hover over the existing custom page and click Open to edit the page.
Once in the designer for the page is selected in step 4, open the Carousels widget grouping in the Content section of the designer.
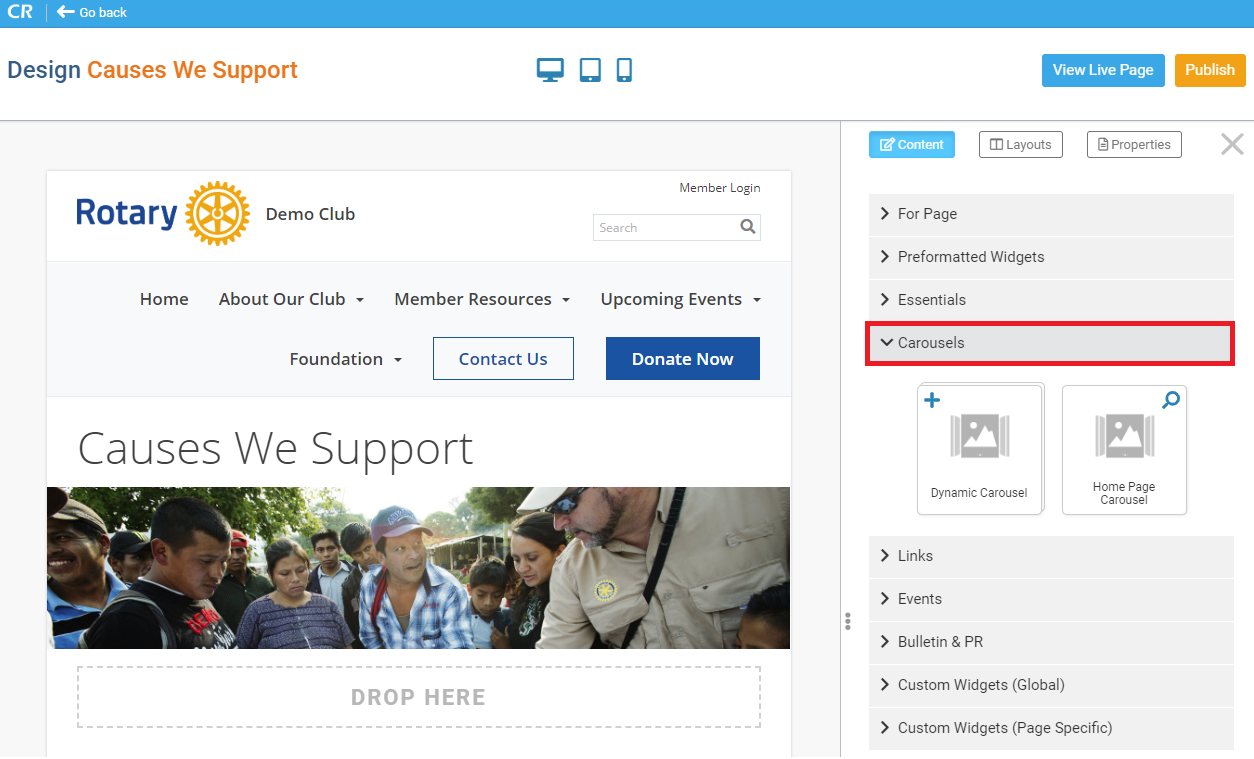
Then, in the 'Carousels' grouping click-and-drag the Dynamic Carousel widget into place. Look for a green 'Drop Here' box to know that you're placing this widget properly. Then let go of the primary mouse button to 'drop' the widget into place.
Note: The widget can be dropped above or below any existing widget on the page. A green-shaded 'Drop Here' box will appear, displaying where the widget will drop to.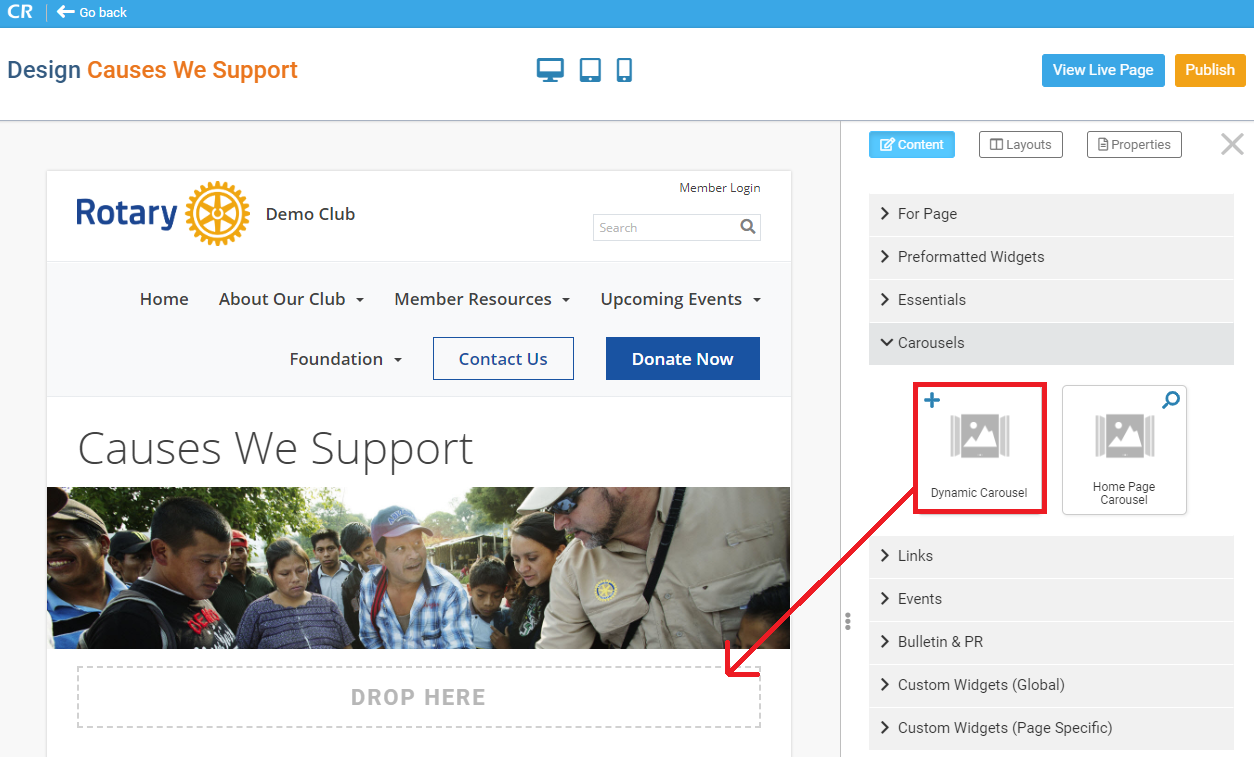
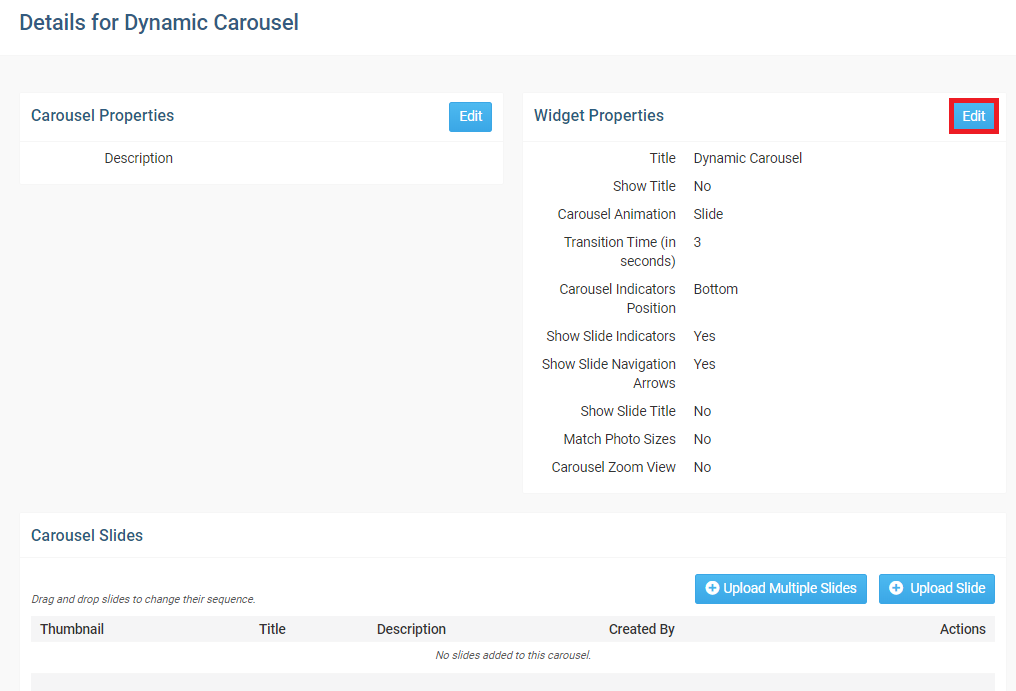
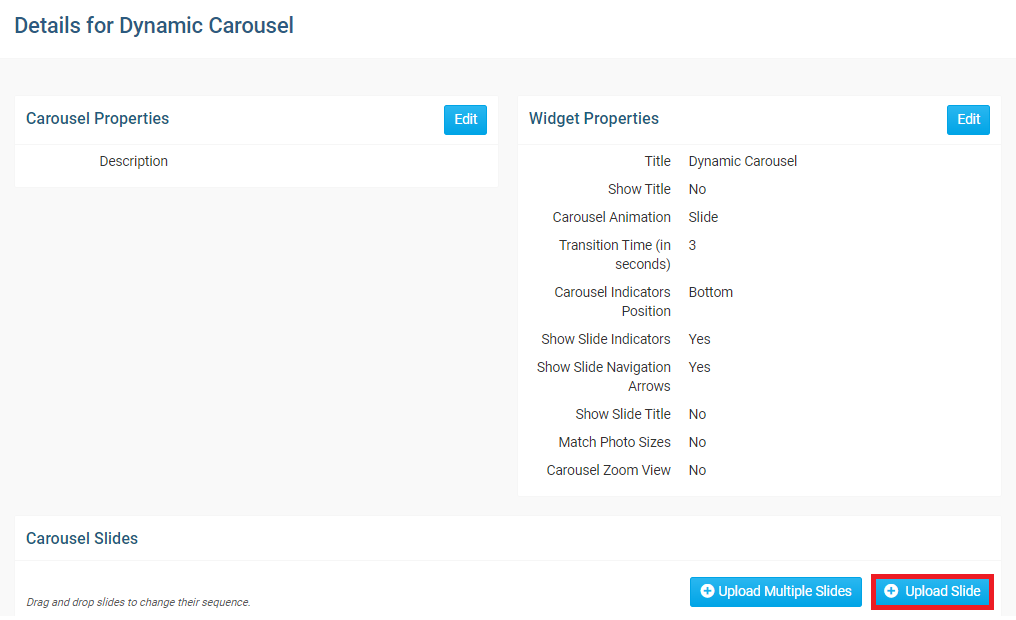
Once dropped onto the page, the 'Details for Dynamic Carousel' page will open. Click the blue Edit button in the 'Widget Properties' section to configure the widget.
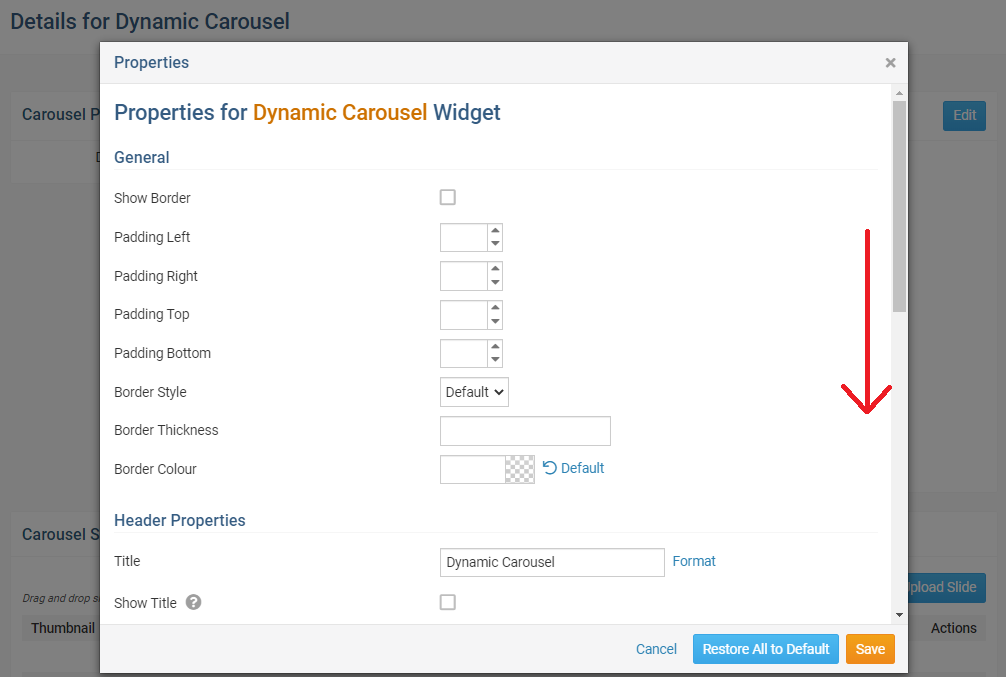
A dialog box will appear titled 'Properties for Dynamic Carousel Widget'. At the top you will see General Properties such as border, border colour and padding properties. Enter the Title of the widget into the Title header property, then scroll-down the dialog to view more of the properties:
In the Settings section of the Carousel properties you will see a few items to choose how the carousel displays the images.
Here you will have options on how to display the images:
Carousel Animation: Use this drop-down menu to choose how the slides transition.
Carousel Indicators Position: Choose where the carousel indicators appear
Transition Time (in seconds): Slide transition time in seconds
Show Slide Indicators: By default slide indicators will appear at the bottom of the carousel as a clickable 'dash' for each image
Show Slide Navigation Arrows: Show Carousel Navigation arrows to go to the next or previous slide
Show Slide Title: Show the Slide Title which is assigned to each slide
Match Photo Sizes: Match all slide sizes to the largest size
Carousel Zoom View: This setting 'Enlarges' the image if the viewer hover overs the image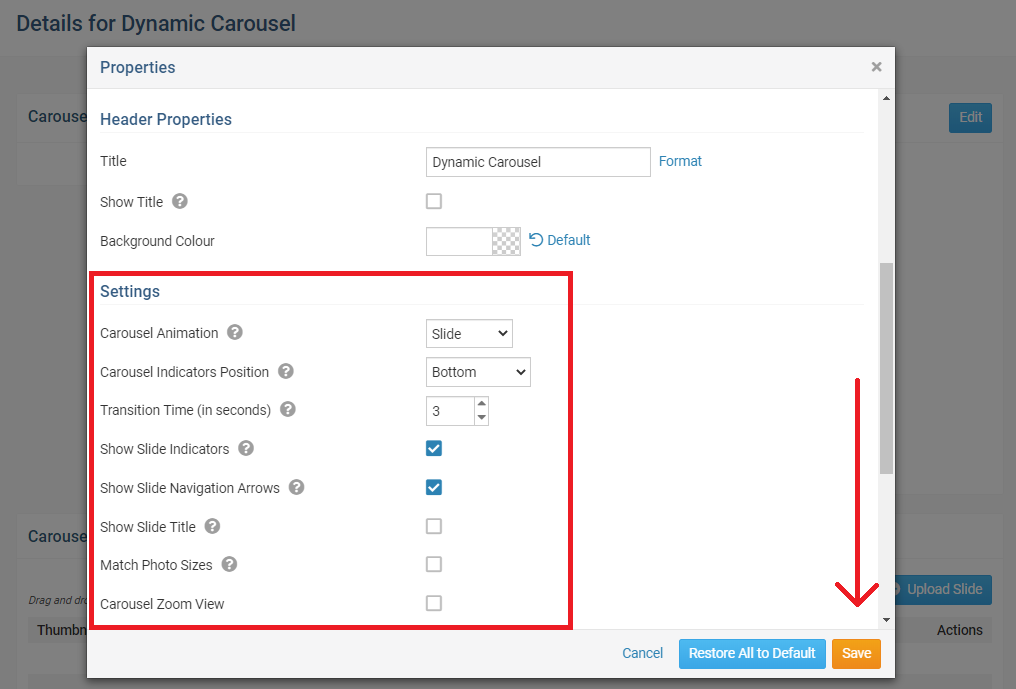
After configuring these settings, scroll down further to view the Advanced Carousel Settings. The advanced settings control the styles of the bullets or indicators for the slides.
Paging Style: Choose how to display the slide indicators (Bullets, Dynamic Bullets, Progress Bar, Fractions)
Custom Pagination Color: Choose the color of the slide indicator
Custom Navigation Color: Choose the color of the slide navigation arrows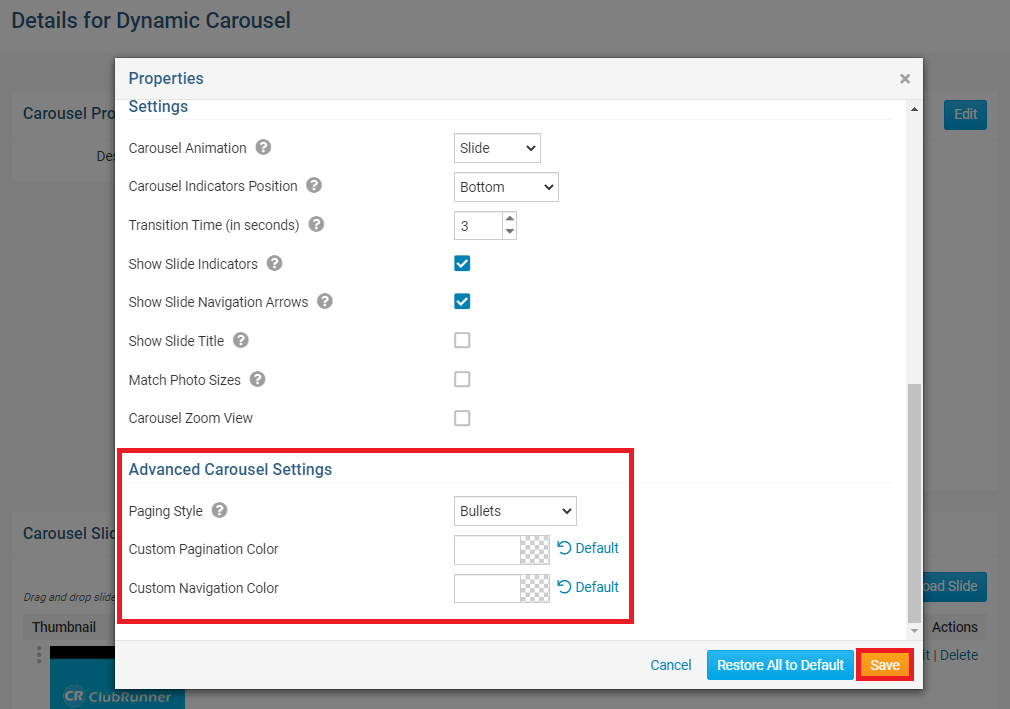
When the widget is set with its configuration options click the orange Save button in the dialog.
Setting Multiple Slides for the Dynamic Carousel
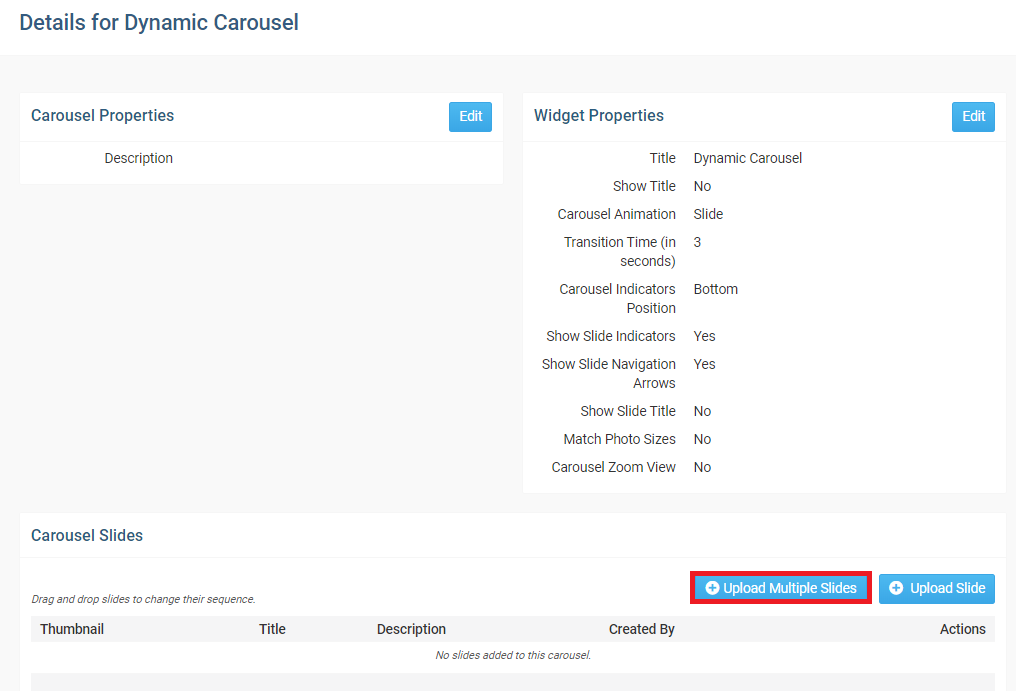
While on the Details for [Dynamic Bulletin Widget Title]' page, scroll to the bottom of the page and you will see two options to upload slides to the carousel. To upload multiple slides, click the Upload Multiple Slides button.
The 'Upload Slide to Dynamic Carousel Title' page will appear. On this page, click the Add Files button to add the images from your device.
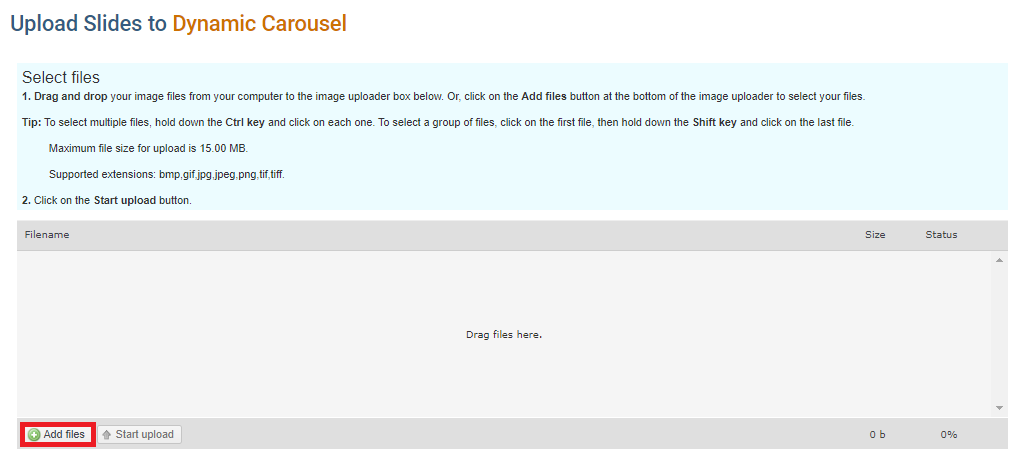
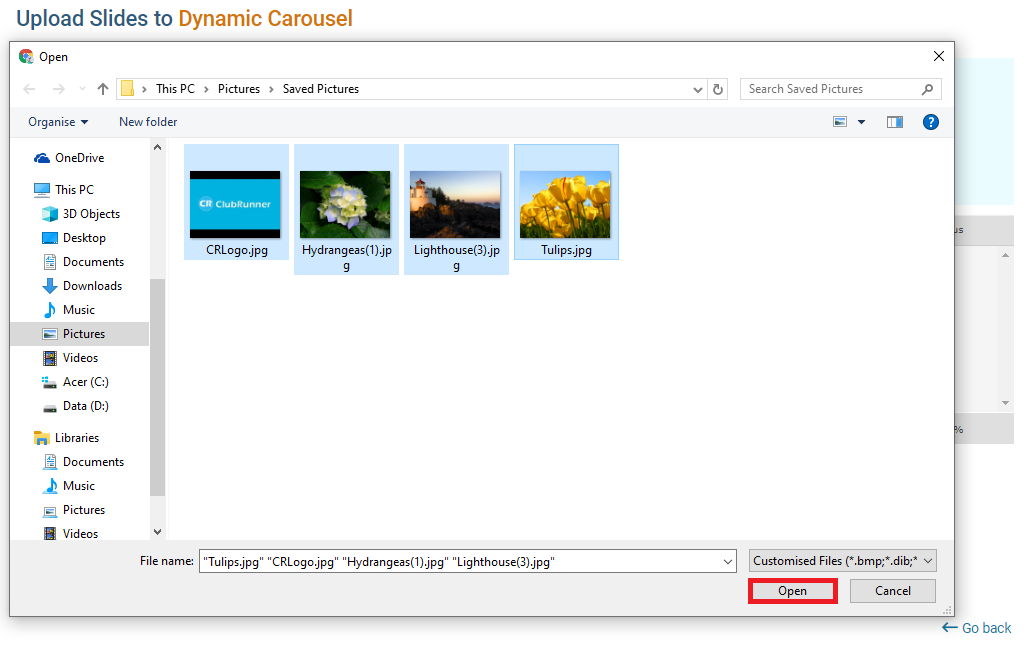
A window will open on your device to select the images. To upload selected images, click the Open button in the browser.
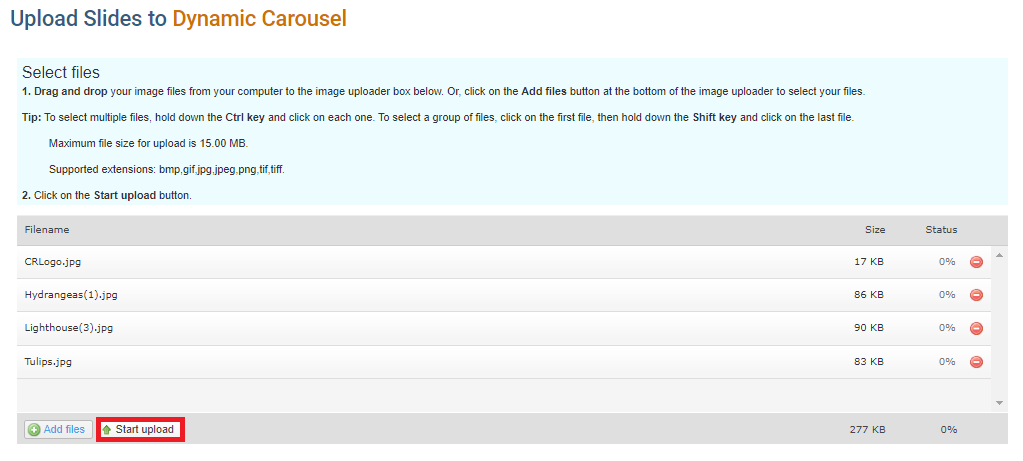
After selecting the images to upload, click the Start Upload button.
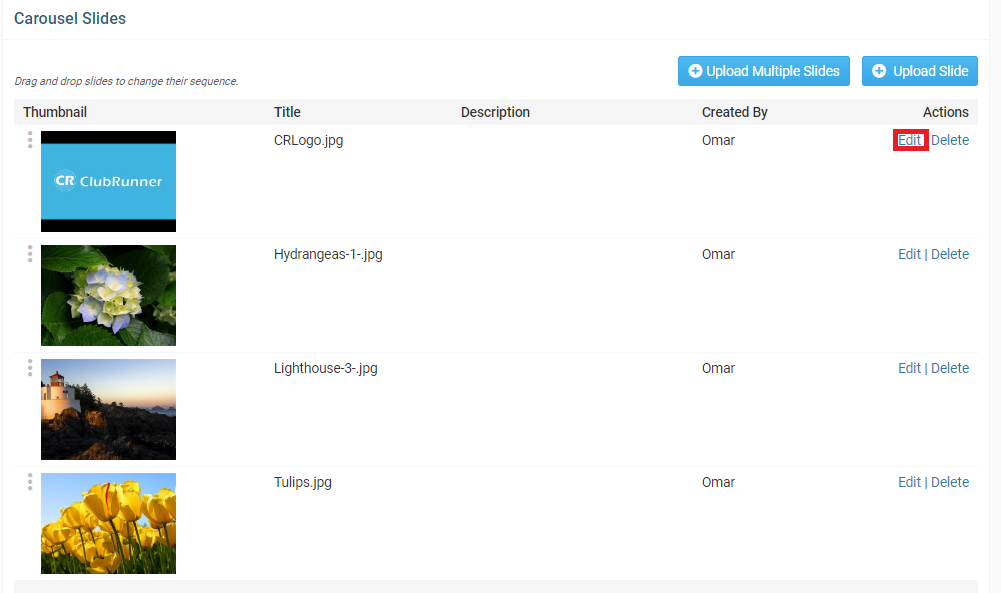
This will upload your selected images. To add a link, text and description to the images for the carousel, return to the 'Edit Details for Dynamic Carousel' page, then click the Edit link for any Carousel Slide.
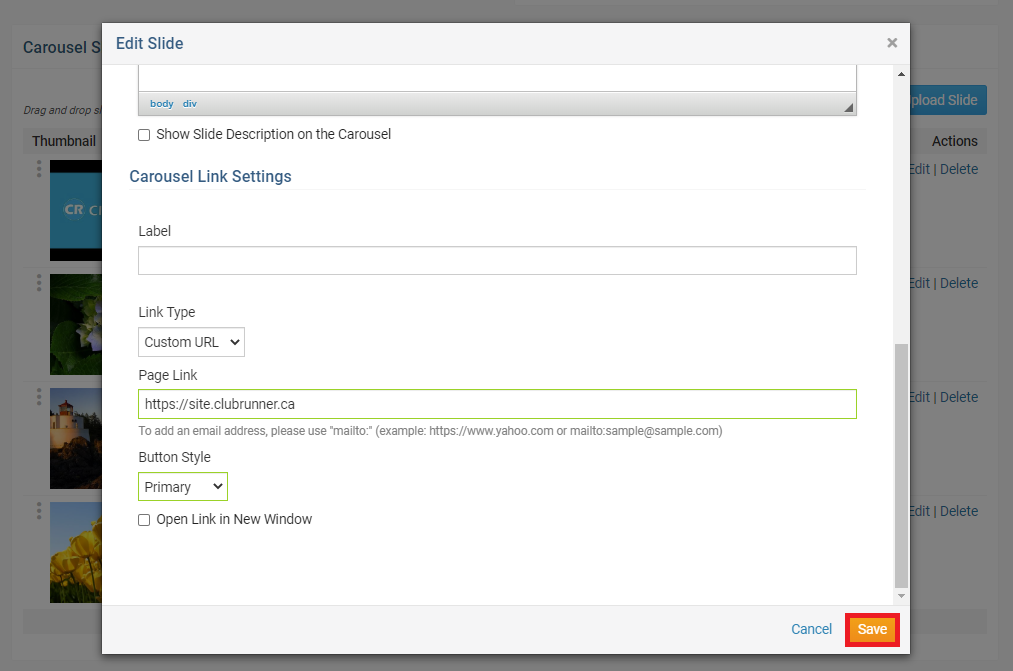
The Edit Slide dialog will open, enter the Title and Description for the slide, then scroll down the dialog for more settings.
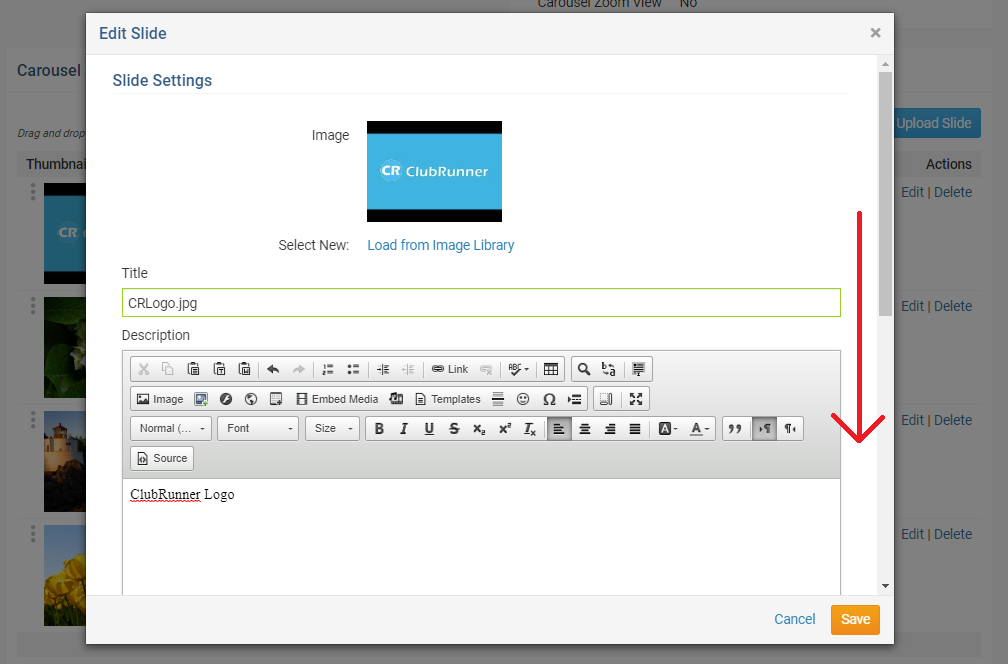
Near the bottom, you will have further options for displaying and linking the slide.
Show Slide Description on the Carousel: This will show the description of the slide on the carousel
Advanced Settings: Expanding the advanced settings link will allow you to edit the background color and transparency of the Slide Description background.
Label: The 'Label' will be the text used for the link
Link Type: Choose amongst the Events, Stories, and Files at the Club, or set it as 'Custom URL'
Page Link: This field is dependent on the 'Link Type' field. With the Custom URL option, any website address can be entered
Button Style: Display how the button for the link appears on the slide
Open Link in New Window: When checked, the link will open in a new browser tabWhen the slide is set, click the orange Save button to save the changes.
Uploading Single Images
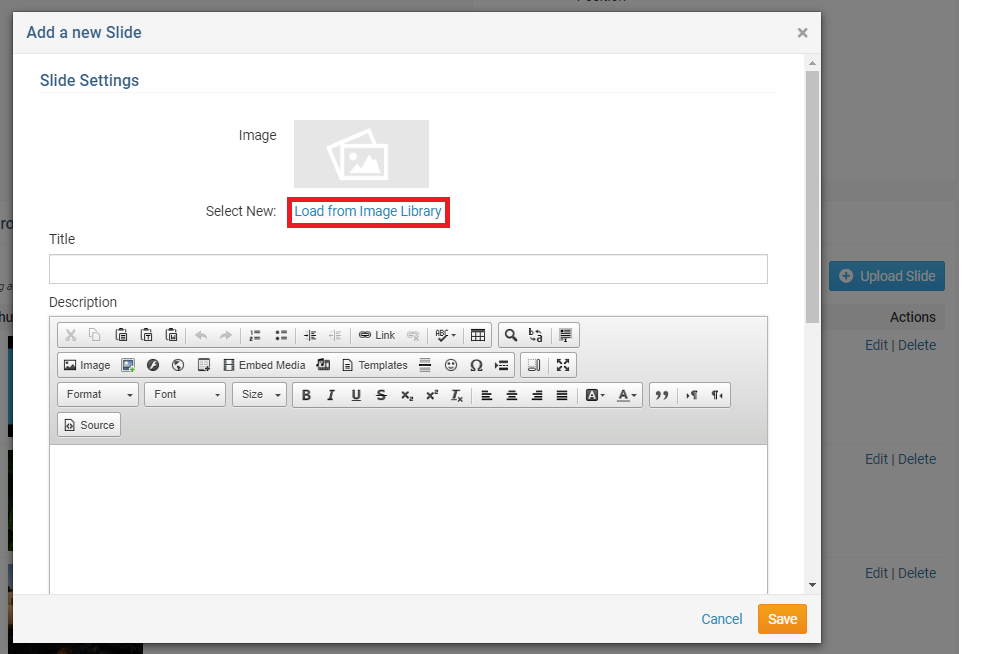
When uploading a 'Single Slide' the editor will be given a similar 'Edit Slide' page, and you will be able to select an image.
To add a single slide, click the Add Slide button on the Edit Details for Dynamic Carousel page.
On the following dialog box, click Load from Image Library
Select the image from the Image Library, and click the orange Save button.
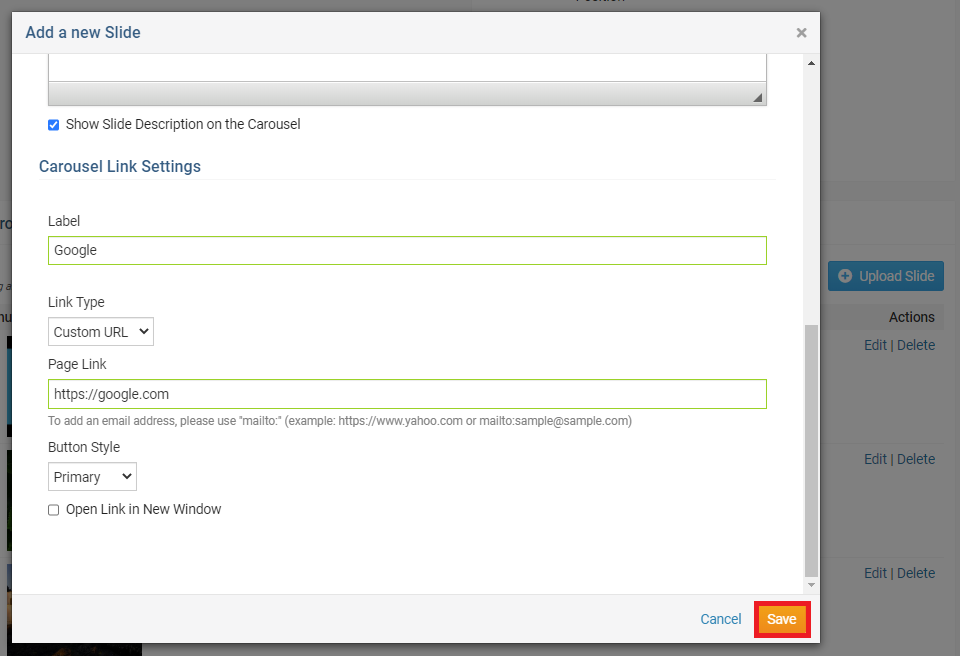
Set the Slide settings for the single image, then click the orange Save button to save the slide and it's settings.
Deleting Slides
To delete slides, click the Delete link in the 'Actions' column.
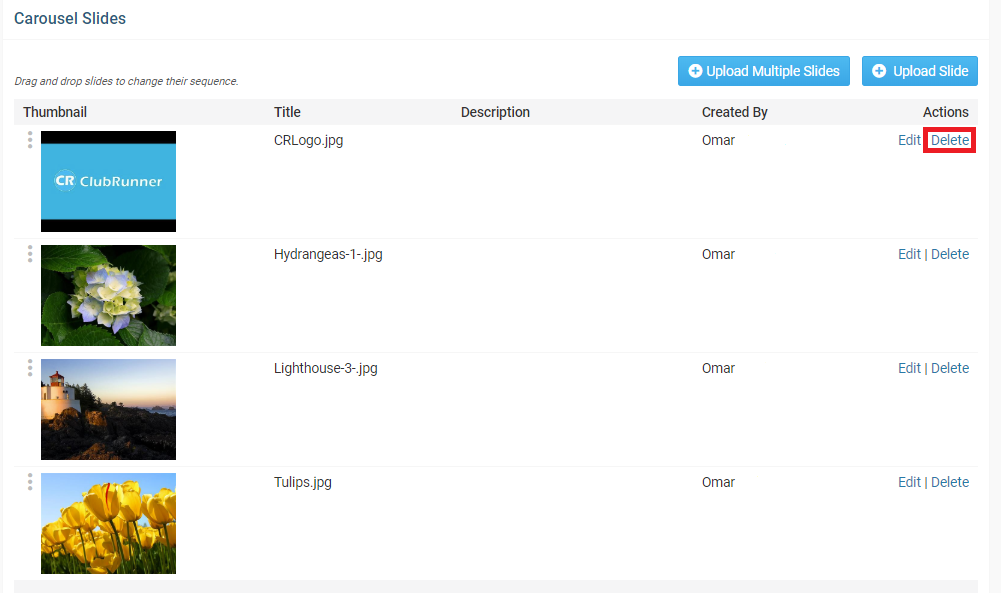
Click Ok on the browser prompt warning to remove the image from the carousel.
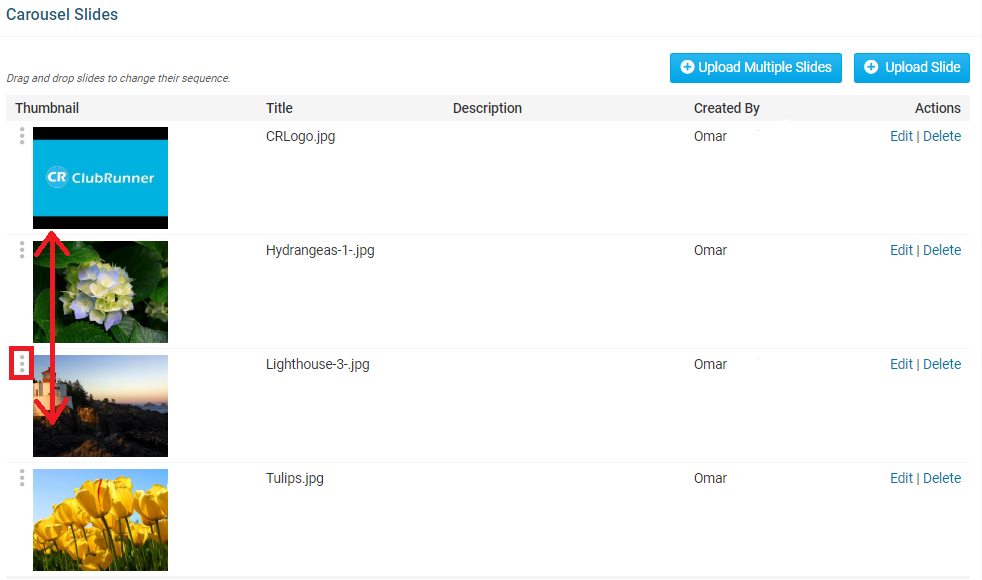
Reorganizing Slides
In the Carousel Slides section of the carousel, click and drag the Grab Points (three small vertical dots beside each image) to move images up or down the carousel to change the order.
Editing, updating or removing the Dynamic Carousel
If the Club is looking to make further edits or changes to the carousel, or remove it altogether, return to the live page designer for the Custom page or Home page, and hover over the widget.
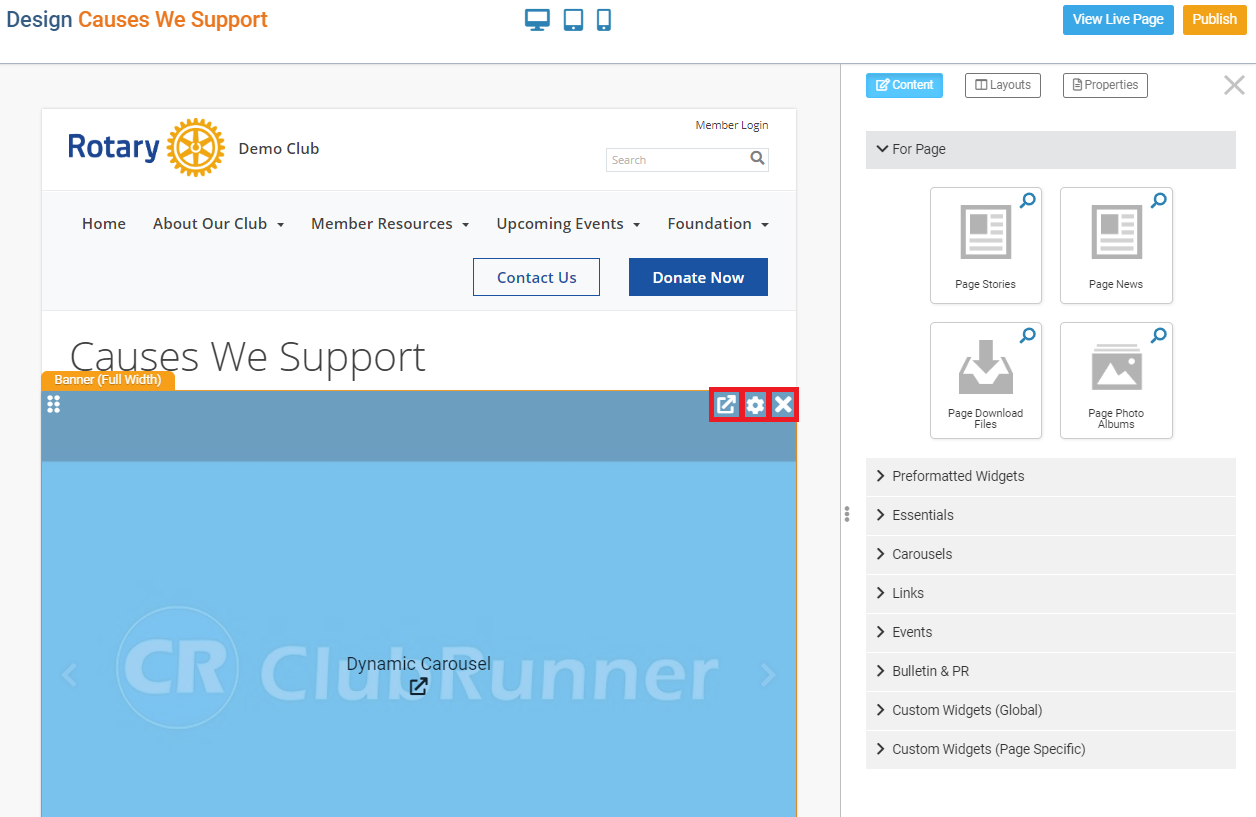
There will be three icon's in the top-right. From left to right, you will see an 'Out-Bound Arrow', 'Gear' and ' X ' icon.
Out-Bound Arrow: Return to the 'Details for Dynamic Carousel' page
Gear Icon: Opens the 'Properties Widget' Dialog box
' X ' Icon: Removes the widget from the page. Please note you will still find this widget in the 'Carousels' widget grouping.
Publish the Page
When the Dynamic Carousel is all set and configured, remember to 'Publish' the page to save the changes to the Club Home Page or Custom Page.
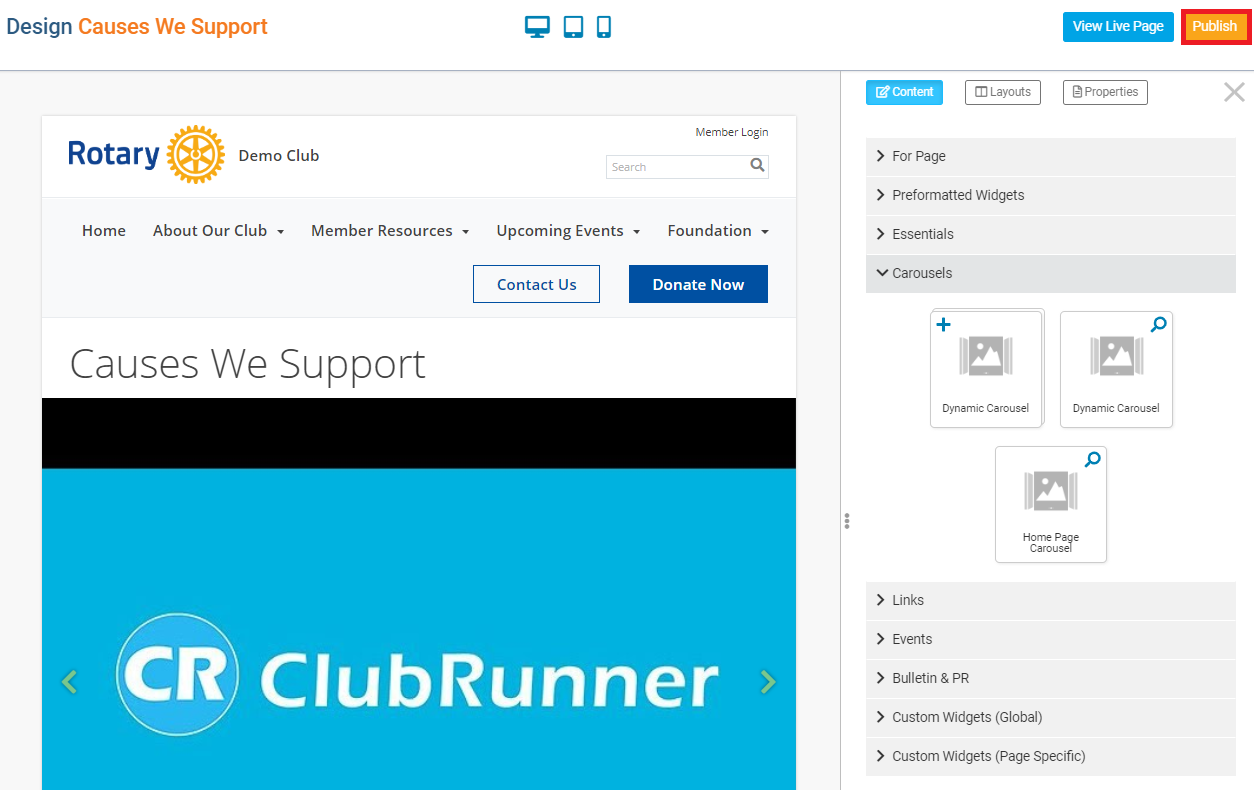
This will complete the setup for the new dynamic carousel widget and its images and links. Members and Visitors can now see the images and, when clicked, be taken to the resource or website address.