
We asked Clubs to upgrade their website themes to a next gen theme. These themes comply fully with RI's design guidelines, are more mobile friendly, and most notably they are able to use all the new upcoming features in ClubRunner. If you have not changed your theme to one of the new themes, please read the article called Website Designer - How to choose a new Theme.
Our old themes had a website banner located near the top of the website. In place of this website banner section, now clubs can now use either a Carousel or Custom Widget to place any information they would like in this area. In future website themes we will be bringing back a 'website banner' section. At the moment here are two popular options:
Use a Carousel Widget. This widget displays a slide show of images on the home page below the menu. To see some examples please click on the links below:
Community Theme
Vision Theme
Impression Theme
The first step to do this is to change the Content Template to a template which has an area for the banner. If you do not know how to do this, please read the article named Content Template in ClubRunner. This article starts you off in the Content area of the website. To go to this area, login to ClubRunner and go to the member area. Click Website on the grey menu bar near the top, then click Website Designer on the blue menu bar. Click the button named Edit Content. I recommend using the content templates located near the bottom that starts with "Full Width Top Band Above...".
After you have changed the content template, please read the following articles to learn how to create a carousel:
Widgets: Dynamic Carousel
Carousel Best Practices & Images
B. Use a Custom Widget for your banner. A Custom Widget can have the Club's name and logo in it, or any other content you would like. To do this follow the steps below:
1. First you would need to change the Content Template to a template which has an area for the banner. If you do not know how to do this, please read the article named Content Template in ClubRunner. This article starts you off in the Content area of the website. To go to this area, login to ClubRunner and go to the member area. Click Website on the grey menu bar near the top, then click Website Designer on the blue menu bar. Click the button named Edit Content. I recommend using the content templates located near the bottom that starts with "Full Width Top Band Above...".
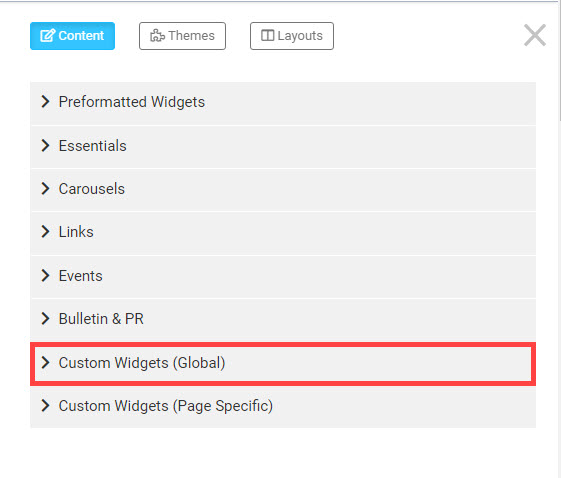
2. After you have selected a new content template you can add a custom widget to the page. On the left you will see several orange tabs. Click on the tab called Custom Widgets (Global).
3. Drag the widget to the Top area.
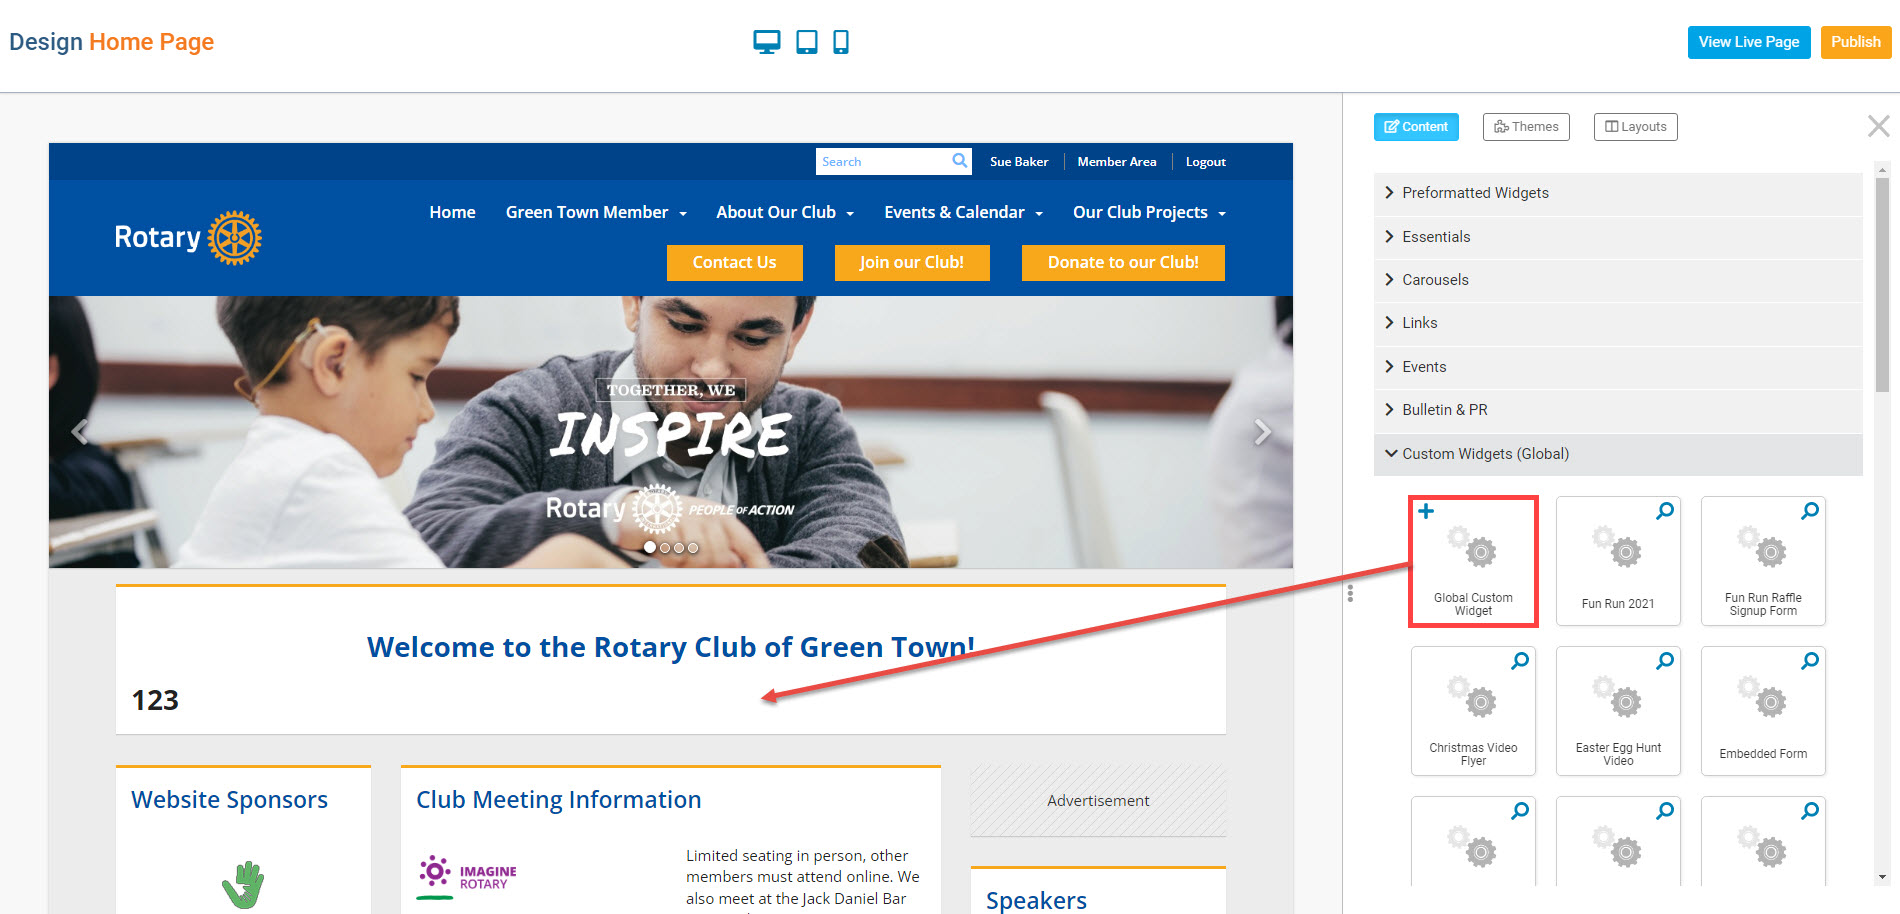
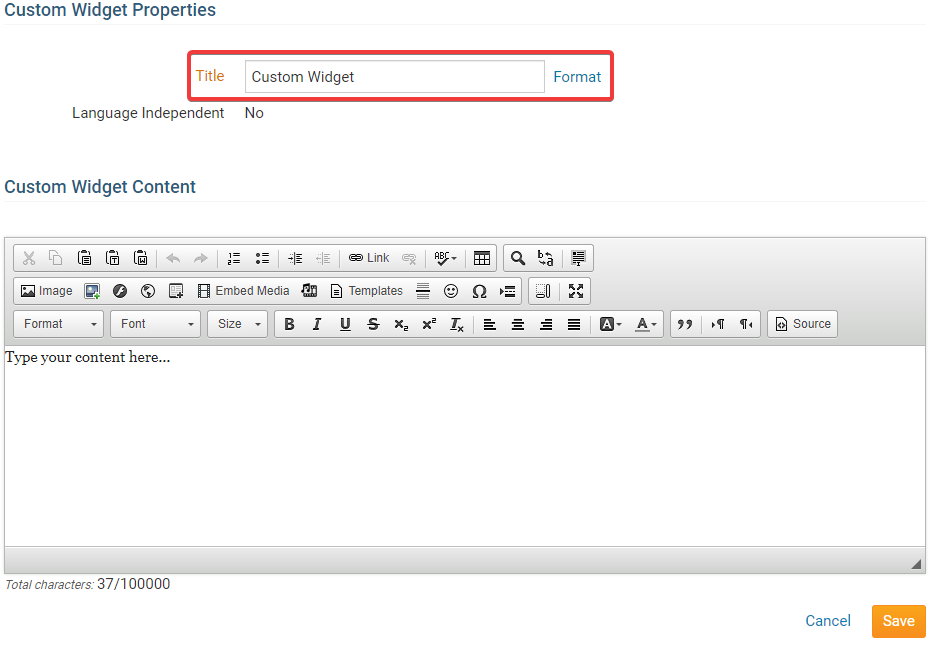
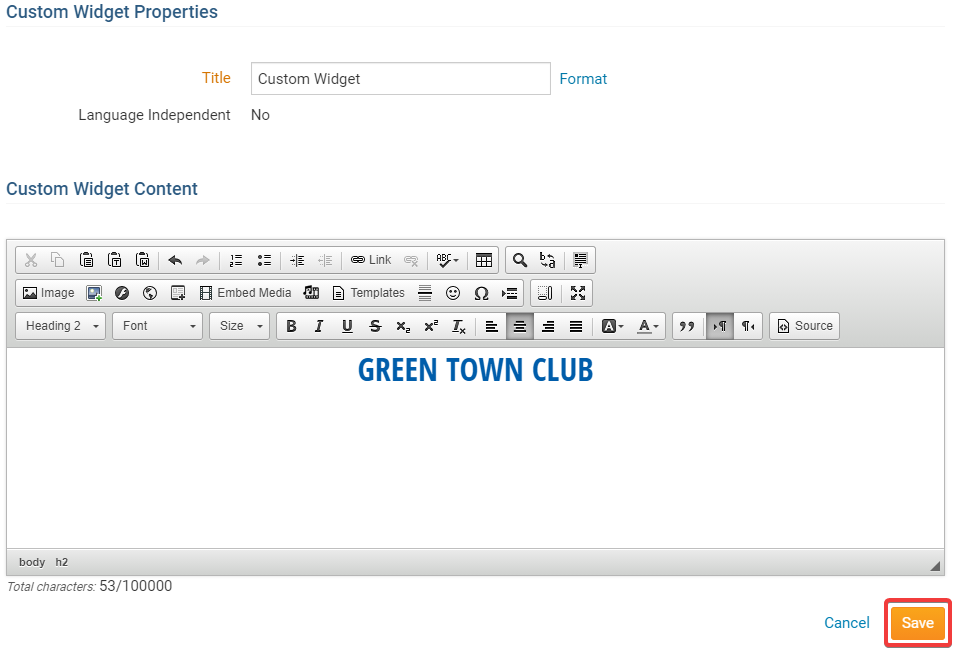
4. As soon as you drop the widget, you will be taken to the Edit Custom Widget page. Here you can customize the widget to your liking. Please change the title to anything you'd like, e.g. Top Banner.
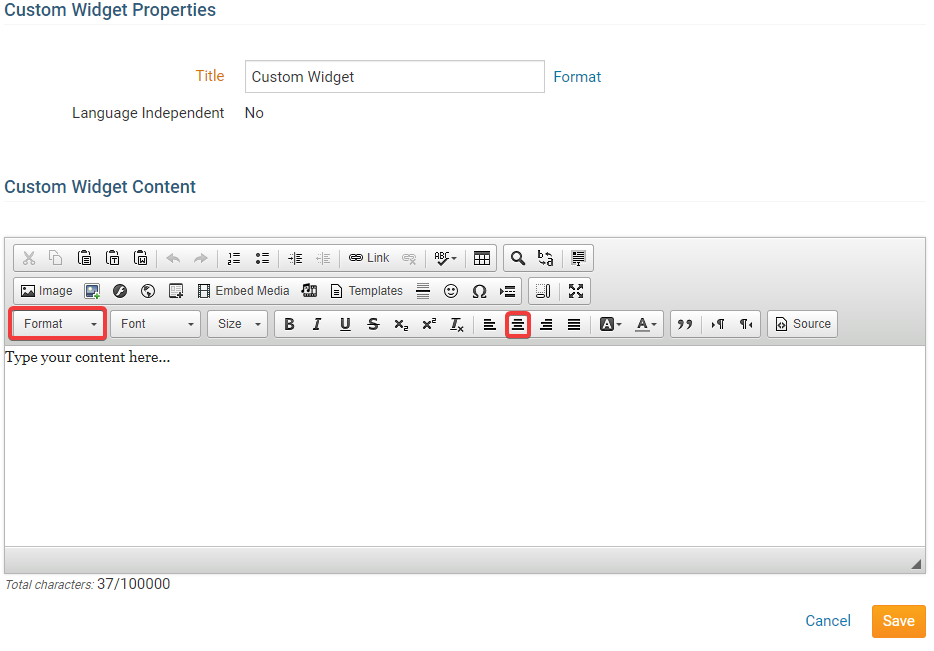
5. Next click Format and select Heading 2 or Heading 3. Heading 2 is larger than 3. Then click on the Center icon.
6. Type in the name of the Club for the banner's text.
7. You may also add images to the banner. To learn how to add an image please read the article called How to Add an Image/Picture. At step 5 in the article, I recommend changing the Align to left or right. This will move the images to the left or right on the page.
8. Once you are done, click Save and Publish near the to bottom right.
9. Now hover your mouse cursor over top of the banner widget and click the Gear Icon. This will take you to the widget properties.

10. To make the banner look nicer please un-check Show Border.
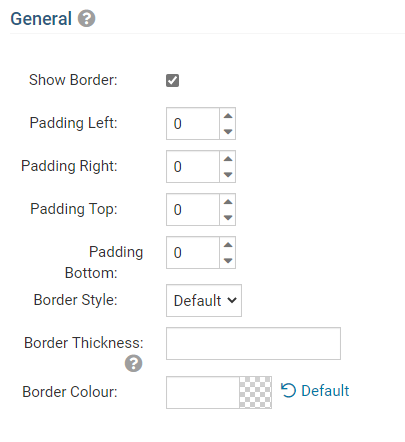
11. Then please un-check Show Title.
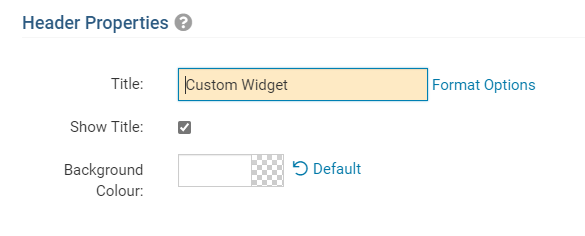
12. Click Save near the bottom right.
13. On the 'Page Designer: Home Page' screen, click Publish near the top right of your screen for your changes to go live.
14. Go to the home page to see your changes. If you need to make changes you can and edit the 'Top Banner' custom widget in any way.
Menu Home Icon
Once you are done I also recommend adding a Menu Home Icon. This is located near the top left of the website. You can see it on these examples:
Community Theme
Vision Theme
Impression Theme
To learn how to add a logo here please read the article called How Do I Upload The Menu Home Icon?