Committees produce documents such as meeting minutes, event photos, and information brochures. Your District committees can centralize these documents with ClubRunner. Normally to do this the District or Club would have to order the Enhanced Committees Module, however this is included at no extra charge on the District.
1. Please go to your District webpage and click on the Login link at the top right of the page. Then enter your login details and login.
2. You are now logged in. To access the District Administration page, click on Member Area on the top right.
2. Along the top of the screen you will see several tabs. Click on Organization.
3. Next, click District Committees.
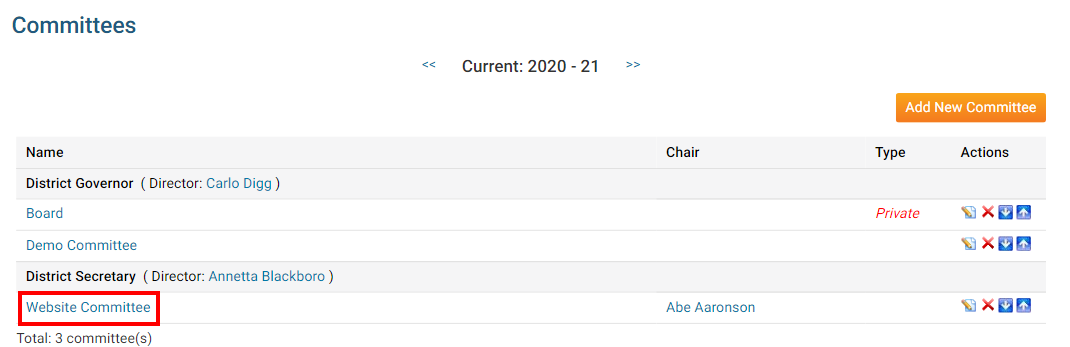
4. You are now on the Committees page. Here, you can view and edit the details of existing committees and create new ones. To add documents to a given committee, click on the committee's name in the list.
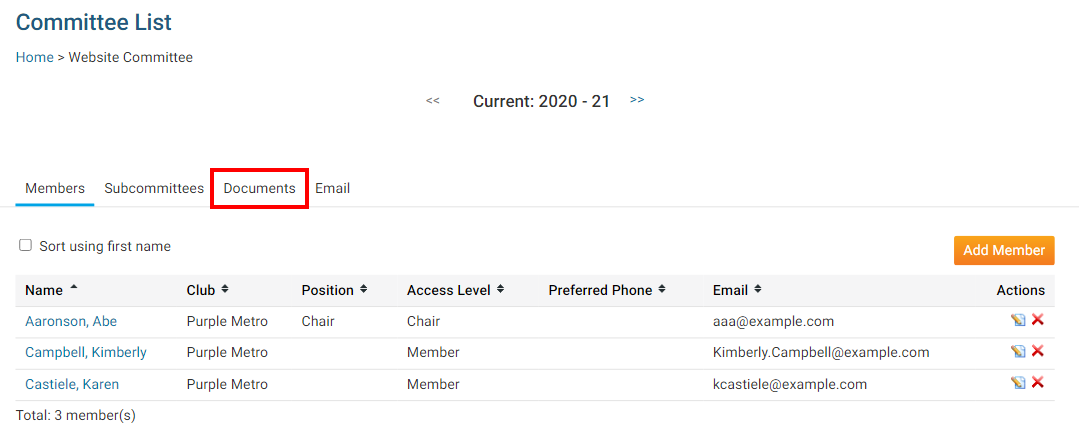
5. Then, click on the Documents tab.
6. On this screen, you can view existing committee documents, edit or delete them, or upload new documents. You can also create a document file structure manage and sort your documents. The Folder icon will create a new folder, while the Document icon adds a new document. If you do not create any new folders, all documents will be added to the Main folder.
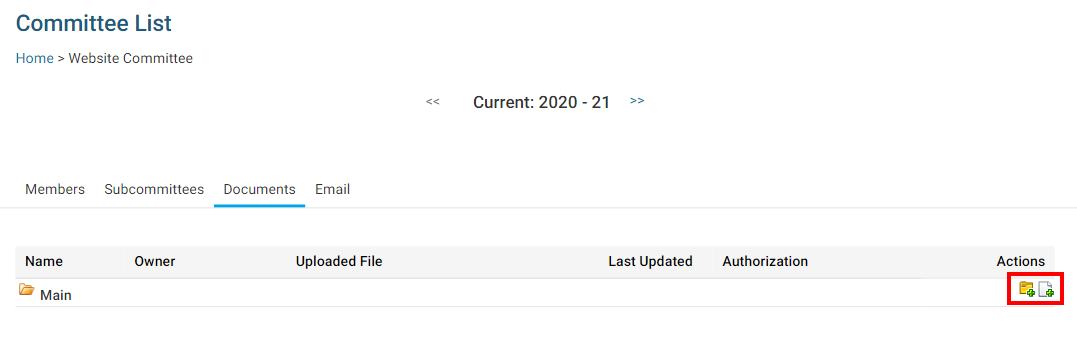
7. To create a new folder, click on the Folder icon. This will launch a new window, in which you can define the details of the new folder.
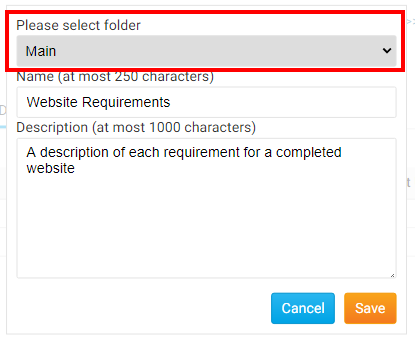
8. First, choose the folder for which this new folder will be a subfolder, using the Please Select Folder drop down menu. If no other folders have been created this defaults to Main.
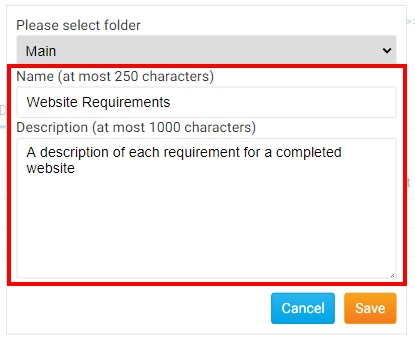
9. Next, select a name for the folder, and enter a brief description of the contents if needed.
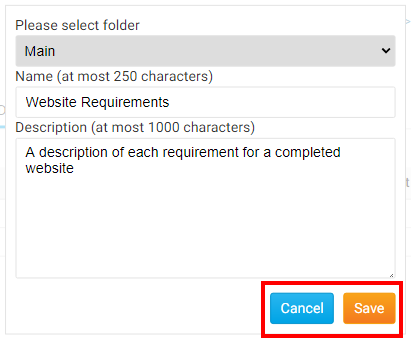
10. Click Save to create the folder with the details you entered, or click Cancel to discard it.

11. Now, to add a document to the folder, click on the Document icon next to the relevant folder.
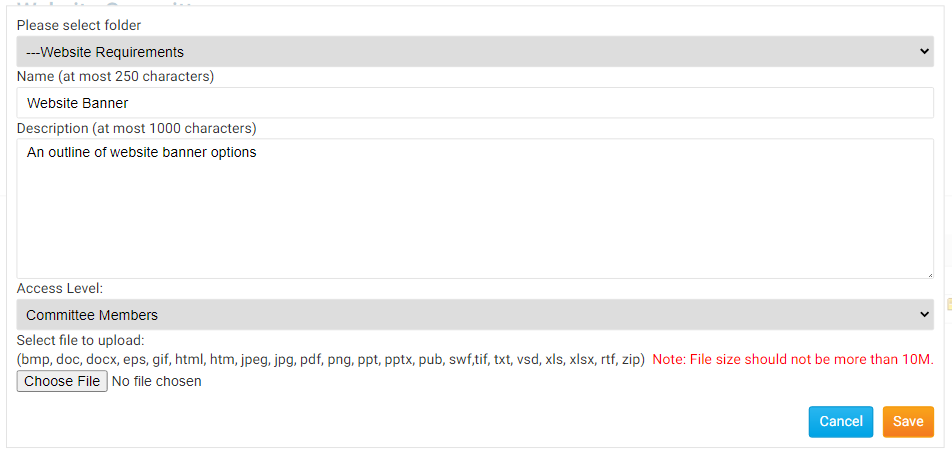
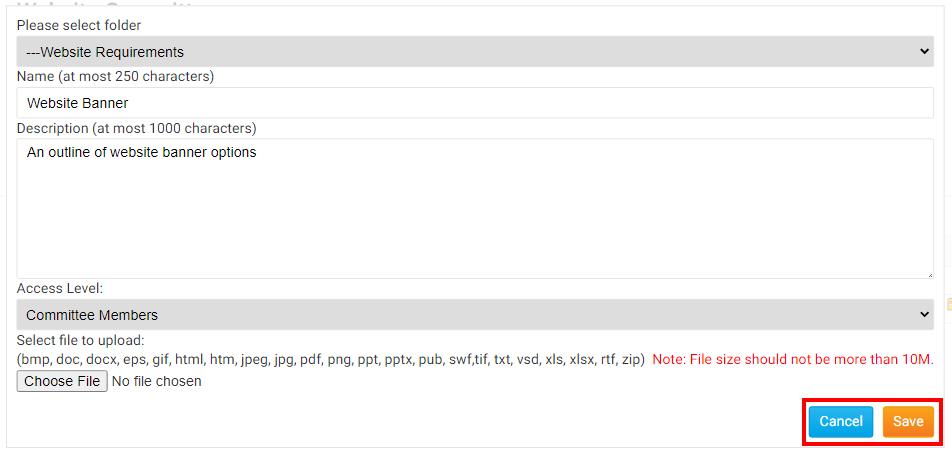
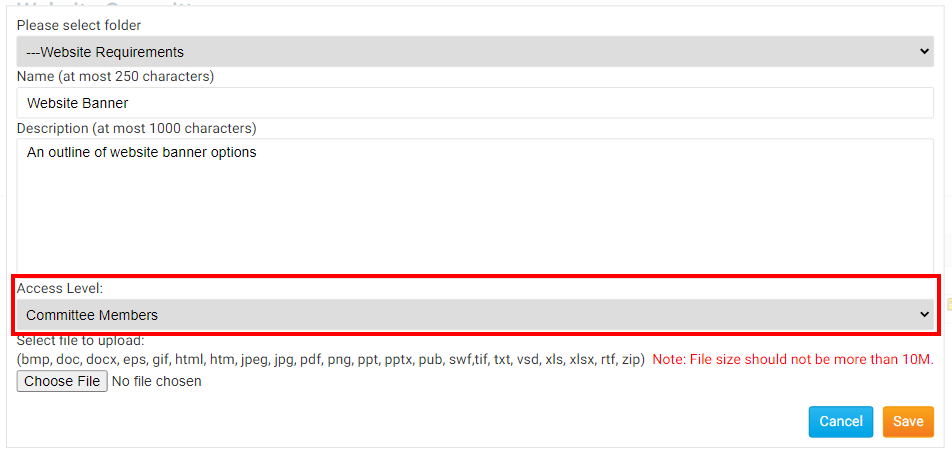
12. Another pop up window will appear, in which you can specify every detail of the document you wish to add, and select a file for upload.

13. Enter a Name and Description for the new committee document using the fields provided.
14. Now, set the access level a member requires to access the file, using the Access Level drop down menu.
15. Click Choose File or Browse to upload a document for the folder. Most text and image formats are supported, as well as the most common database formats.
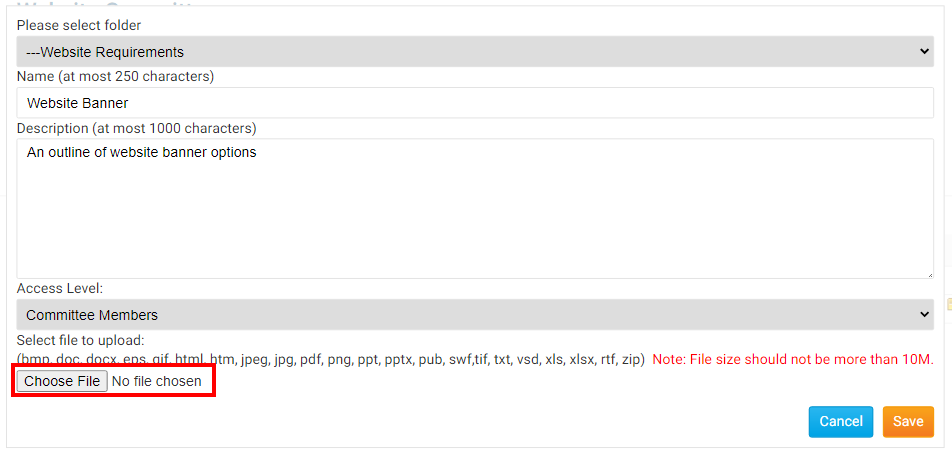
16. Finally, click Save to keep the details you entered and upload the document. Click Cancel to discard the details and abandon the upload.