You can create name tags for all registered attendees and guests in MyEventRunner if you selected the Pro version. The event attendees can wear the name tags at the event so other attendees would know who each person is. To learn how to prepare the name tags please follow the steps below:
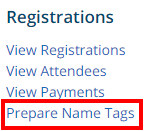
In MyEventRunner click on Prepare Name Tags below the Registrations title on the left.
This will take you to the Prepare Name Tags page.
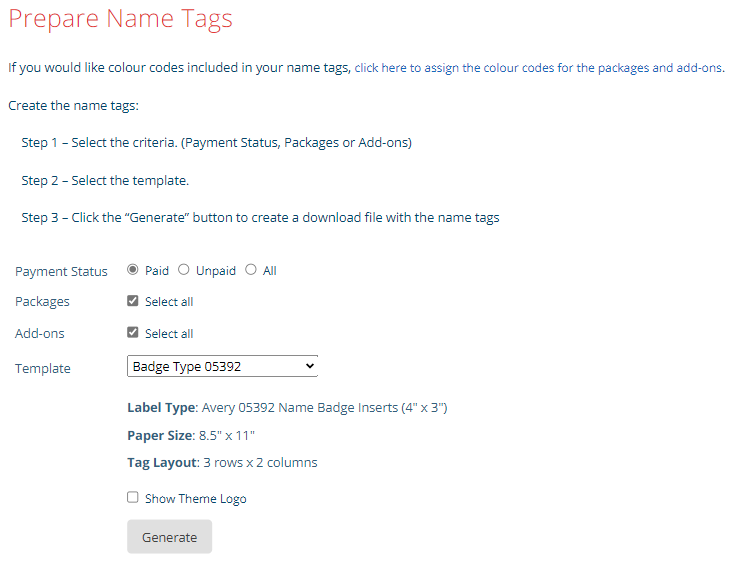
First you need to select who you would like to create the Name Tags for: Paid, Unpaid, or All.

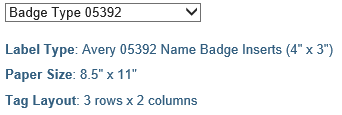
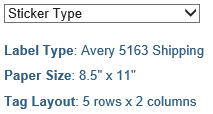
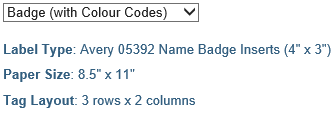
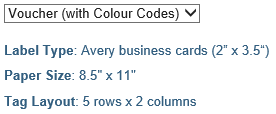
Next you need to select whether you want the Badge Type or the Sticker Type. The difference is in the Label Type and the Tag Layout (# of rows x columns). Below are the five types you can choose from.
If you want the Club theme logo to be displayed on the name tag as well, then check the box on.

Now click the Generate button to produce the name tag report:

The image below is an example of what the name tag would look like:

The name tag left logo is from the club’s Website Logos & Theme logo (right logo) is from your district’s Website Logos. To change the logos for your club or district website & MyEventRunner event name tags, please use the information & steps in the Upload Club Logo section of this Website Settings article on the Knowledgebase.

