
The Form Designer allows you to build custom forms for data collection purposes. You may access the Form Designer by following these steps:
-
Log in to your account through your club homepage, then click on Member Area on the top right under your club banner. Alternatively, click here to go directly to the ClubRunner login page.
-
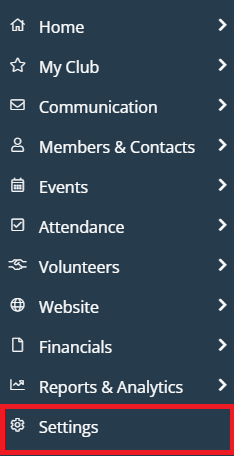
In the left-hand menu navigation, click Settings.
-
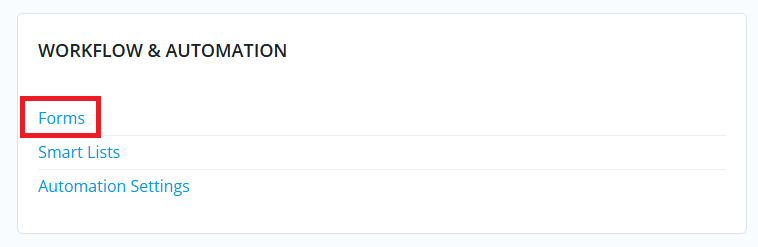
Under the Workflow & Automation section, click Forms.
-
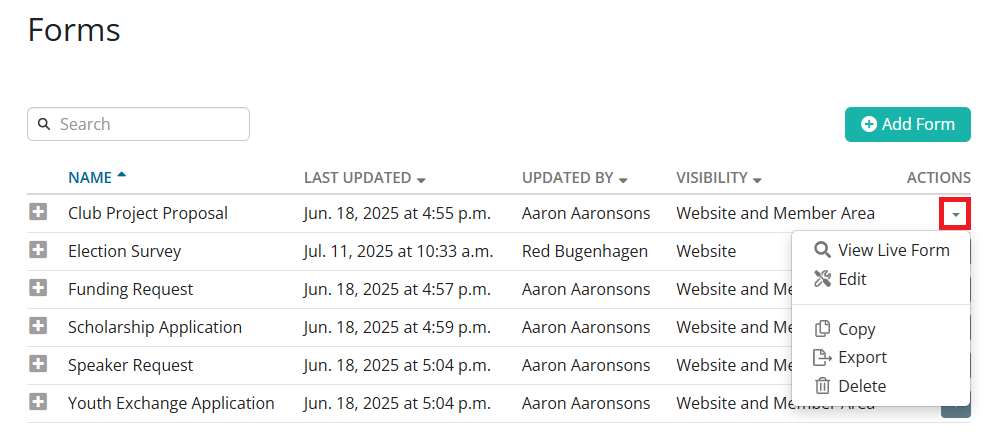
This will redirect you to a page with a list of existing forms. You may click the drop-down arrow to select from options to view the live form, edit the form, export its collected data, or copy or delete the form as necessary.
-
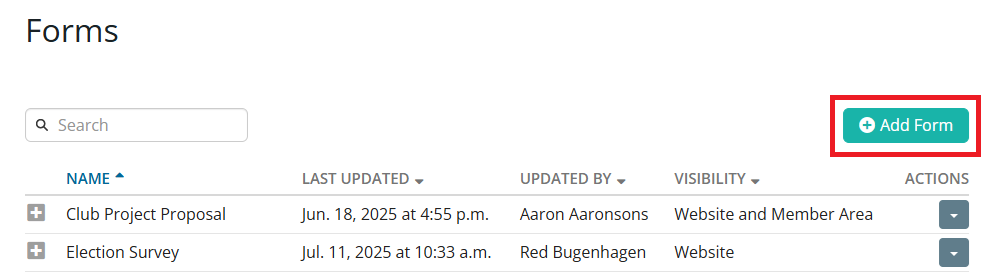
Click Add Form to start creating a new form. You will be directed to the form designer where you will be able to modify the form properties, questions and workflows.
Setting Up Properties
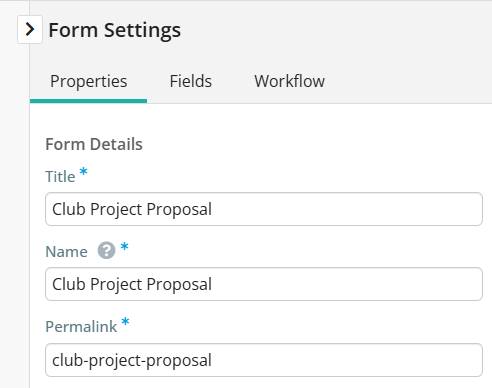
You will see a Properties section on the right-hand side of the designer which you can edit as necessary, and includes the following:
-
Title: This will be the title of the form available.
-
Name: Internal identifier visible only to administrators.
-
Permalink: The direct URL for this form (auto-generated based on the title, but editable).
-
Description: Appears at the top of the form (public-facing).
-
Internal Description: Appears in the admin view/form list only.
-
Access Visibility: Choose whether the form appears on the website, member area, or both.
-
Roles: Restrict access to certain member roles. Leave blank for open access (within the visibility rules).
-
Extra CSS Classes: Add custom CSS classes for styling the form container.
Setting Up Fields
The Fields tab is used to create fields for collecting data in your form. By default, your form includes a First Name, Last Name, Email, and CAPTCHA fields. To add a new field:
-
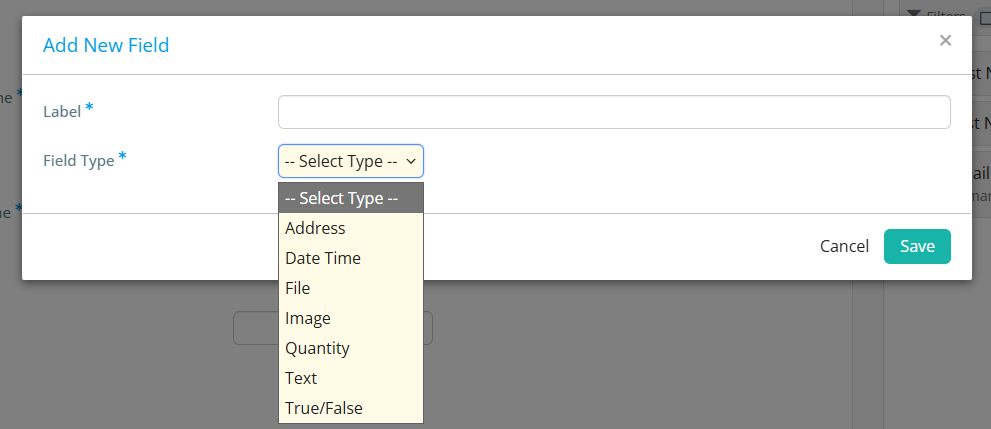
Click Add New Field.

-
A pop-up will appear. Enter a label, which is the field name users will see. Click into the Field Type drop-down to select from the following:
-
Address - Collects a full mailing address. Includes fields like street, city, state/province, postal code, and country
-
Date/Time - Allows users to input a date
-
File - Lets users upload a file (e.g., PDF, DOCX, images).
-
Image - Allows users to upload image files (e.g., PNG, JPG).
-
Quantity - A number field where users can enter or select a quantity.
-
Text - Accepts typed input. You can choose between:
-
Single Line: For short answers like names, job titles, or emails.
-
Multi-line and Rich text for longer responses such as comments, messages, or feedback.
-
True/False - Used for yes/no or agree/disagree responses
-
- Click Save. Your field will appear in the form preview. You can add as many fields as you need.
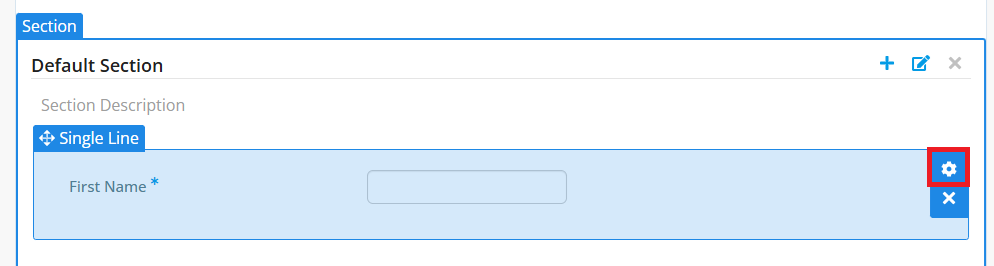
To edit an existing field:
-
Hover over the field in the left panel, then click the gear icon to open the field settings.
-
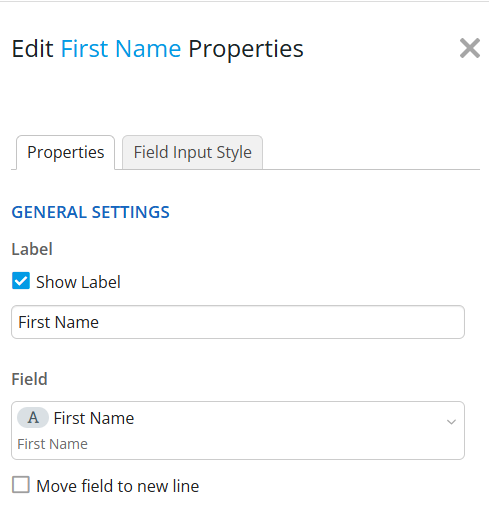
Edit the following options as necessary:
-
Show Label: Toggle the label on or off.
-
Move Field to New Line: Place the field below the label.
-
Make Field Required: Check this to require input.
-
You can enter a custom validation message or use the default.
-
Help Text: Display additional instructions below the field.
-
Tooltip: Show helpful info on hover.
-
Advanced UI Settings: Add custom CSS classes to the individual field wrapper.
-
-
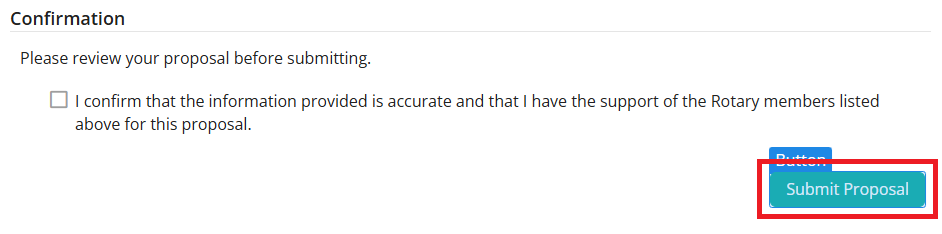
You can click on the form's Save button in the left-hand editing space to update its name to better suit the form's needs. In the example below, the Save button has been renamed to "Submit Proposal".
Setting Up the Workflow
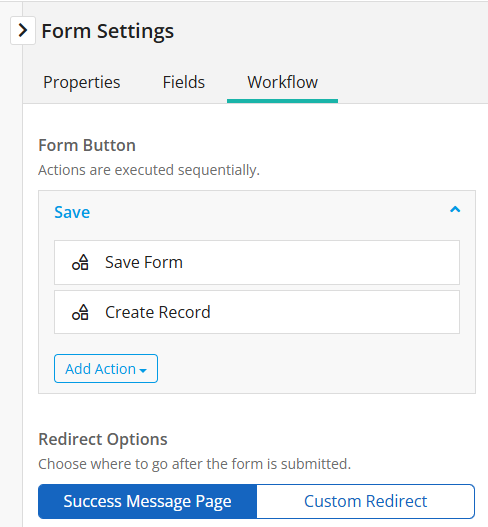
The Workflow tab in the Form Designer lets you define what happens after someone fills out and submits a form. You can automate actions, choose where users are taken next, and customize what buttons appear on the form.
-
Form Buttons: By default, every form includes a “Save” button. When clicked, the form is submitted and a record is created behind the scenes with the submitted information. You can also add additional buttons to trigger actions, such as:
-
Send Bulletin - To learn more about how to send bulletins, please read the support article: How do I create and send a Bulletin?
-
Send Email - To learn more about how to send emails, please read the support article: How do I compose and send an email?
-
-
Redirect Options: You can also specify what happens after someone submits the form.
-
Success Message (default): This option displays a custom success message on the screen.
-
Custom Redirect: Use this to redirect users to a specific URL, page, or built-in page (e.g., event listing or homepage).
-
Viewing the Live Form
Use the options in the top right-hand corner of the Form Designer for the following:

-
View Live Form (Website): Preview how it looks to members or public users.
-
View Live Form (Admin Area): View how admins see the form.
-
Save: Save your form changes.