
The Attendance module can be used to create meeting makeups for club members, to ensure they get full credit for their attendance.
To access Attendance, you must log in to your club website. At the top right of the screen, above the banner, you'll see the words Member Login. Click on this and enter your login details when prompted.
You have now been returned to your club homepage. Click on Member Area.
You are now on the homepage, where you will see a number of tabs. Click on the Attendance tab.
Next, click on the Meetings link.
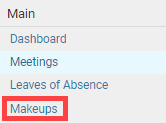
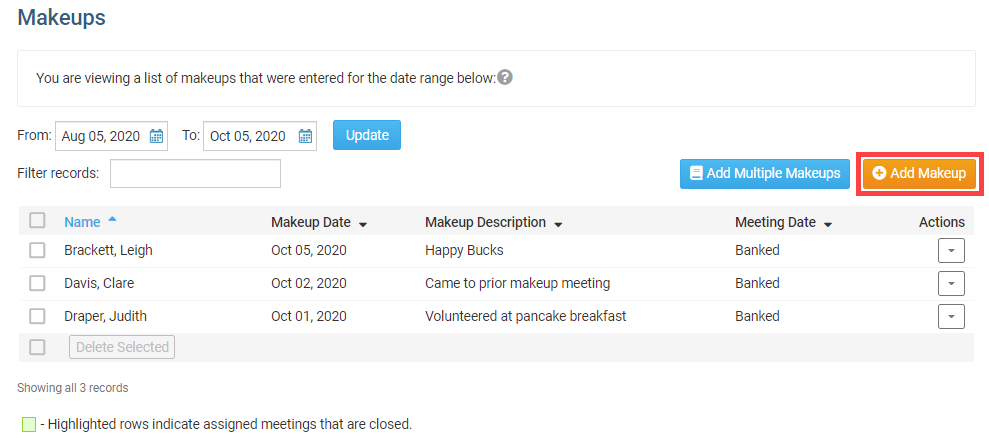
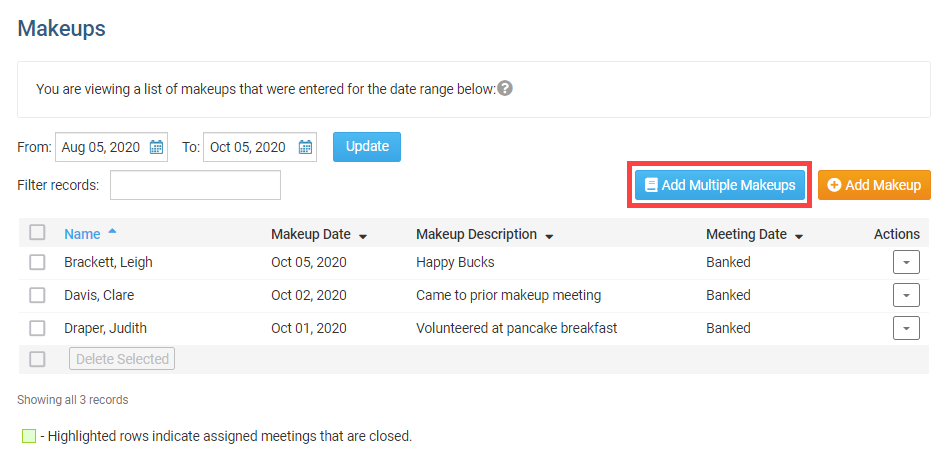
On the left side of the screen, under the Attendance heading, click on the Makeups link. This brings you to the Makeups screen, where you may view a list of existing makeups, if any.
Adding a Single Makeup
To add a single makeup for a single member, click on the Add Makeup button.
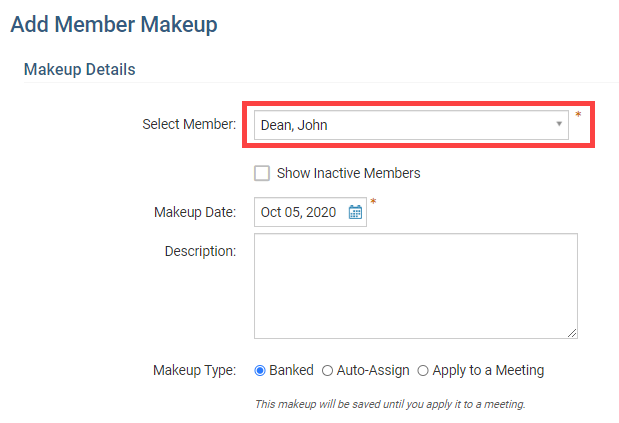
You are now be taken to the Add Member Makeup screen. Select an existing member from the dropdown field.
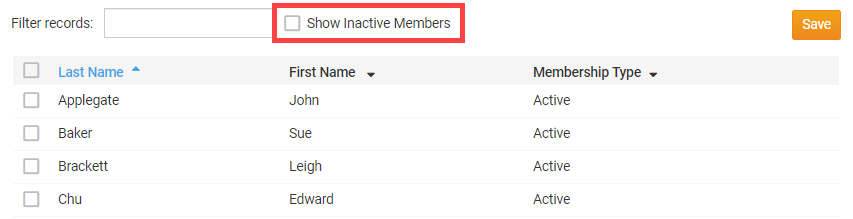
Note: Please click on the 'Show Inactive Members' checkbox if you need to indicate that an ex-member (terminated) have completed a makeup.
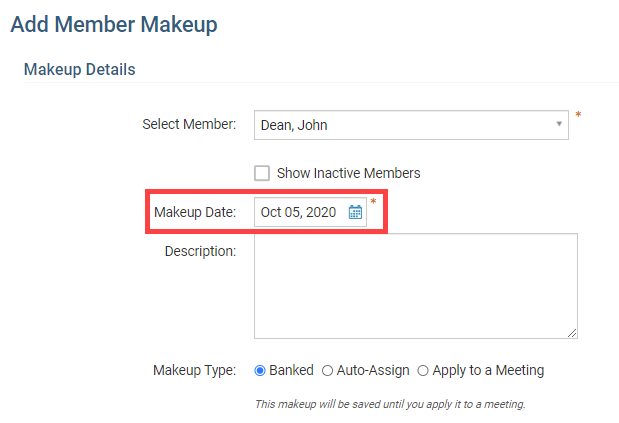
By default the Makeup Date will populate with current date. However, you can change this by clicking on the Calendar icon and changing the date. This date indicates which date the member performed the makeup.
If you wish, you may enter a Description of the makeup.

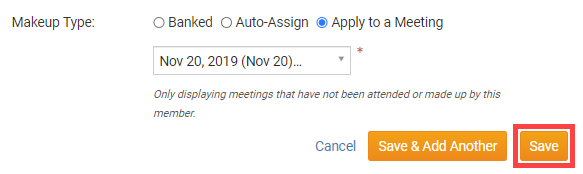
Next is the Makeup Type field. Here you have three options to choose from:
- Banked: Banking a makeup will save the makeup so the member can apply it later to a future meeting.
- Auto-Assign: Will automatically assign the makeup to the oldest meeting based on the Rotary International two week rule or the rule in the the attendance settings. If the makeup cannot be applied because the member attended the meetings within the attendance rule, it will be saved as a banked makeup instead.
- Apply to a Meeting: Gives you the option to select the meeting that you want the makeup to apply to. Our system allows you to apply makeups to meetings, even if the meeting is closed.

Once you have entered the makeup details, click Save to add the makeup and return to the previous screen. Click Save & Add Another if you wish to add another makeup for the member.
Assigning Multiple Makeups
It is also possible to add makeups for several members at once. Click on the Add Multiple Makeups button to do this.
By default the Makeup Date will populate with current date. However, you can change this by clicking on the Calendar icon and changing the date. This date indicates which date the members performed the makeup. You must select a single date for all the member makeups.
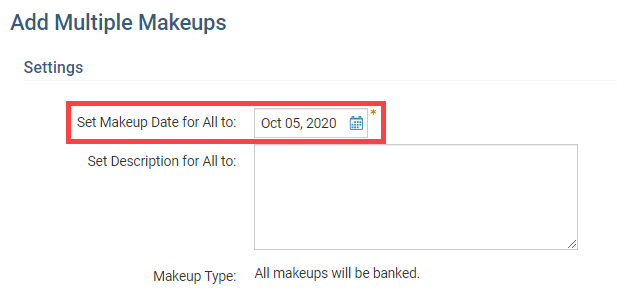
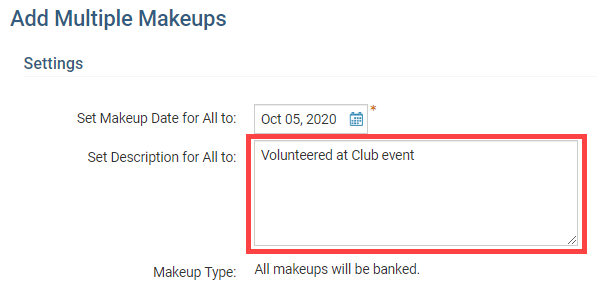
Next, you may enter a description to apply to all the new makeups.
Note: In the case of Multiple Makeups, all makeups will be banked.
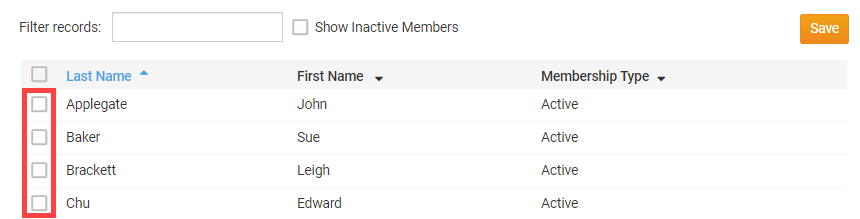
You will see a list of your active members. You may choose to include inactive members by clicking on the Show Inactive Members check box.
Next, select the members to whom you wish to apply the makeups by clicking on the check box to the left of their names.
When you're finished, click Save.
