
Cloud Events created within ClubRunner can be displayed on the website, sent by email, and shared on social media. Both members and non-members can register for events depending on the settings applied.
This article will show you how to set up tickets and products for a Cloud Event that has been created for your club.
For more options in setting up your Cloud Event, please see the support articles in the Related Content section in the top right-hand corner of this page.
-
To begin, log in to your account through your club homepage, then click on Member Area on the top right under your club banner. Alternatively, click here to go directly to the ClubRunner login page.
-
Click the arrow next to Events in the left-hand menu navigation, then click Cloud Events.
-
Click the Manage button on the event you wish to edit.
-
Click Setup in the top right-hand corner.

-
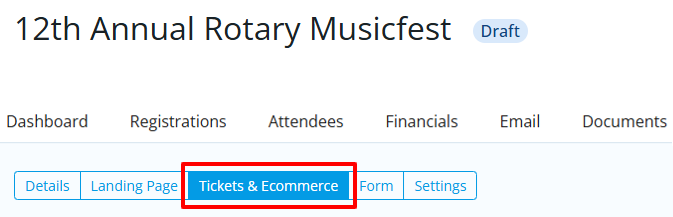
Click the Tickets & Ecommerce tab.
-
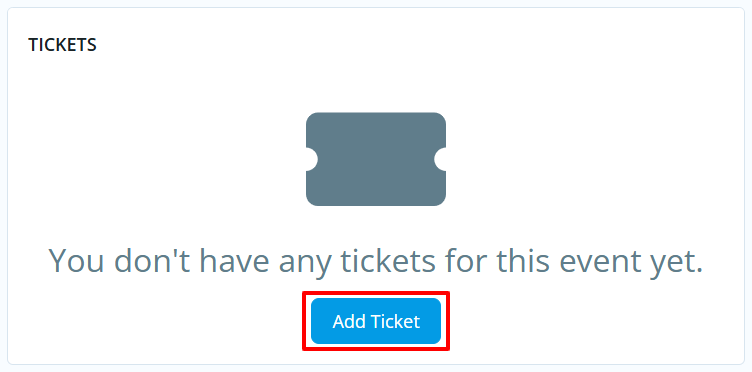
Tickets: Click on the Add Ticket button to open a dialog that will ask for the details of a new ticket for the event.
You'll be prompted to set the following details for the ticket:
-
Ticket Name - The name of the ticket.
-
Ticket Code - This helps track the finances within the credit card processor's reports.
-
Ticket Description - The description of the ticket.
-
Minimum Tickets - The minimum number of tickets which can be included in an order.
-
Maximum Tickets - The maximum number of tickets which can be included in an order.
-
Allow Public Registration - An option to allow non-members to be able to register for the event.
-
Default Price - The cost of the ticket.
-
Total Tickets Available - The total amount of tickets available.
-
Prices - This allows different pricing for the tickets based on membership type.
-
Ticket Availability - The date range for ticket sales.
-
Starts On - The date when people can start to purchase tickets (start of day).
-
Ends On - The date when ticket sales will stop (end of day).
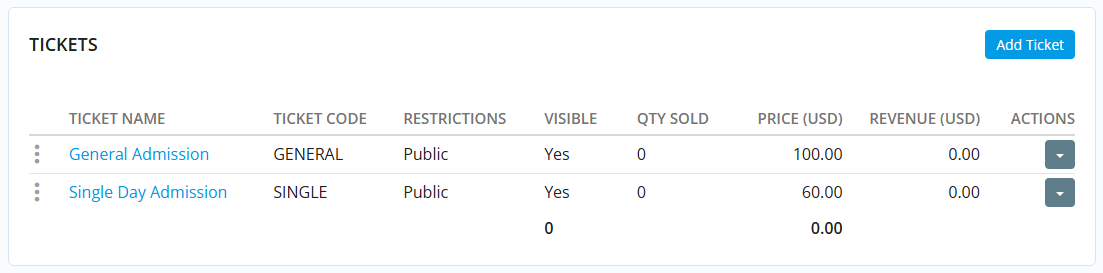
Once you've entered all of the details for the ticket and saved it, you'll see it displayed in the list of tickets for the event. You can add additional tickets and edit existing ones as needed.
-
-
Products: This allows you to add additional products that can be sold for the event. Click on the Add Product button in the top right-hand corner of that section to open a dialog that will ask for details about the new product.
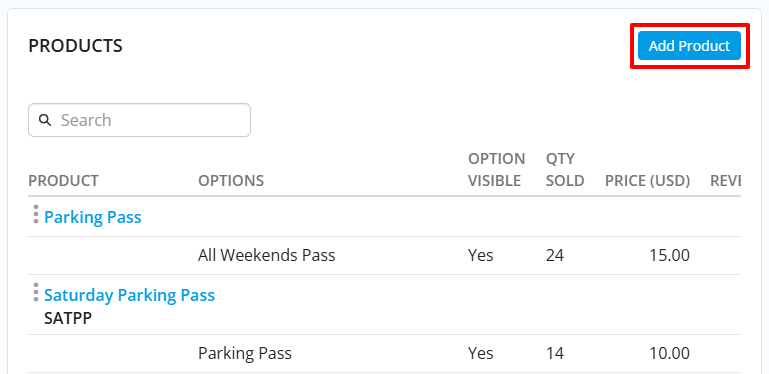
You'll be prompted to set the following details for the product, click the Save button in the bottom right of the dialog when finished:
-
Name - The name of the product.
-
Code - This helps track the finances within the credit card processor's reports.
-
Image - An image of the product. Click on load from image library to upload a new image or select an existing image within the Image Library.
-
Description - A description of the product.
-
Minimum Products - The minimum number of products which can be selected.
-
Maximum Products - The maximum number of products which can be selected.
-
Options - Allows customers to select between different options/variations of the same product.
- Three Dots - Click and hold to be able to drag options and change their order.
-
Name - Name of the product.
-
Code - The code of the product.
-
Price - Cost of the product.
-
Quantity - The total number of products available. Once this limit is reached, product sales will close for this product.
-
Arrow - By clicking the arrow, it displays more options.
-
Minimum - The minimum number that can be selected.
-
Maximum - The maximum number that can be selected.
-
Prices - This allows different product pricing based on membership type.
-
Eye icon - This allows you to hide the product option from the event registration process.
-
Trash Can icon - This deletes the product option.
-
Add Option - Allows you to add another product option.
- Conditional by Ticket - This sets the product to be purchasable only if a specific ticket is purchased alongside it.
-
-
Donations: This allows your event to accept donations. Click the Edit button under that section to open a dialog with the donation settings.
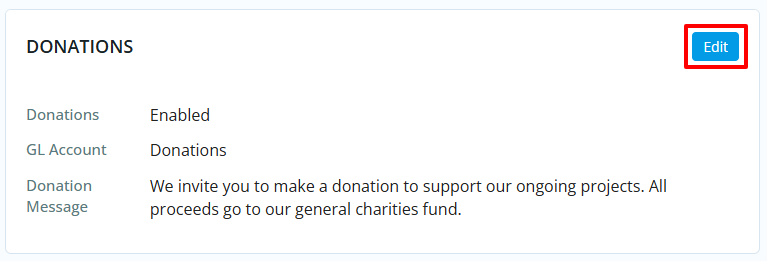
Allow donations? - Allows you to enable or disable donations.
GL Account - A drop down that allows you to select which GL Account receives the donated funds.
Donation Message - A text area to add a custom message to share more about the donation.
-
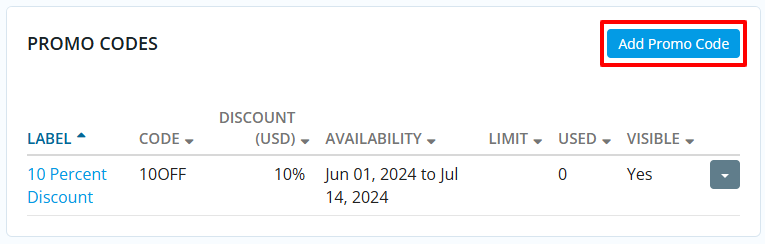
Promo Codes: This allows you to create promotion codes to give discounts for the event. Click Add Promo Code under that section to open a dialog for adding a promo code.
-
Name - The name of the promo code.
-
Code - The code the registrant will use.
-
Discount - Set the discount rate for the promo code.
-
Fixed Amount - How much money the registrant would get off of their event registration fee.
-
Percentage Amount - The percent that the registrant would get off of their event registration fee.
-
-
Limit - How many times the promo code can be used. Leave blank for unlimited uses.
-
Active from - The date of when the promo code can start. Can be blank to start right away.
-
Expires on - The date of when the promo code can no longer to entered. Can be blank for no end date.
-
Usage - Choose when this promo code will be allowed for use on orders.
-
Apply to registration total - Applies the promo discount to the whole registration total.
-
Apply to the total of selected ticket(s) - Applies the promo discount to the selected tickets.
-
-
-
If you have other changes to make to this Cloud Event, please see the articles linked at the top of this page.