Using the Dues and Billing function of ClubRunner, you can create new bills and invoices, and track payments made by your members.
To create a new bill, you must go to your club homepage and log in. Then, click on Member Area on the top right.
Along the top of the screen you will see several tabs. Click on Organization.
Next, click Dues and Billing.
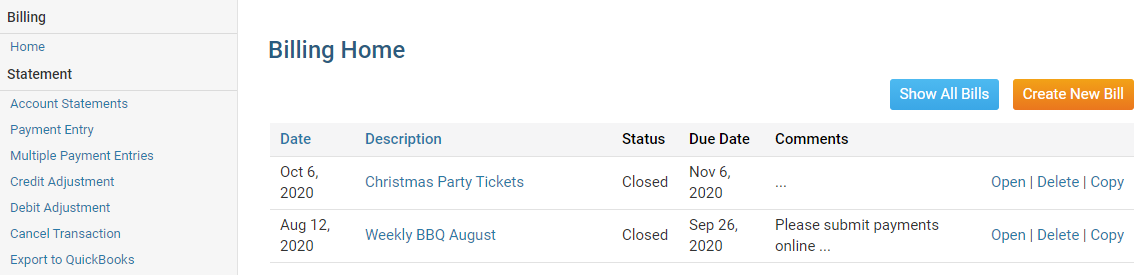
You are now on the Billing Home page. Here, you can view and edit the details of current billings and member invoices. You can also view and create new bills.
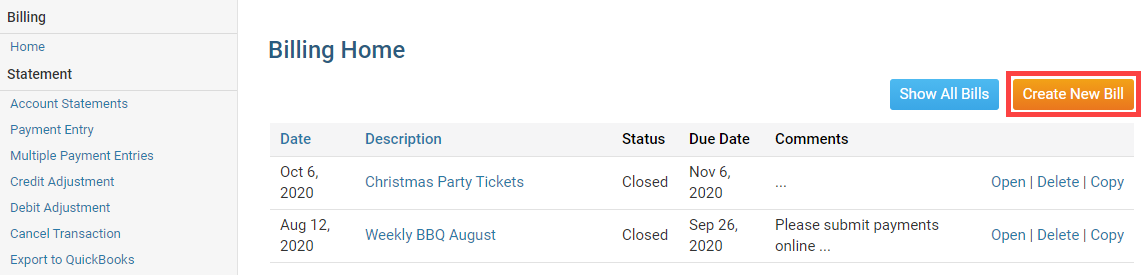
To make a new bill, click on the Create New Bill link at the top right of the Billing Home field.
You can now use the fields provided to enter the details of your new bill. Give the bill a distinctive title in the field marked Description.
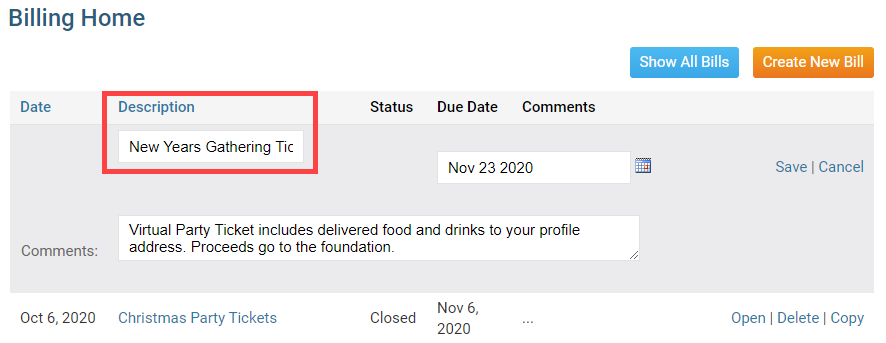
Next, use the calendar icon under the Due Date heading to set the date on which the bill falls due.
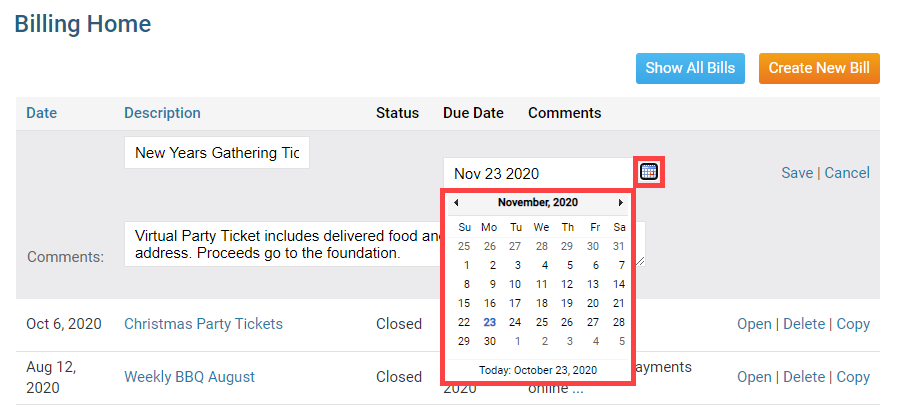
You now have the option to enter some comments about nature of the bill in the Comments field.
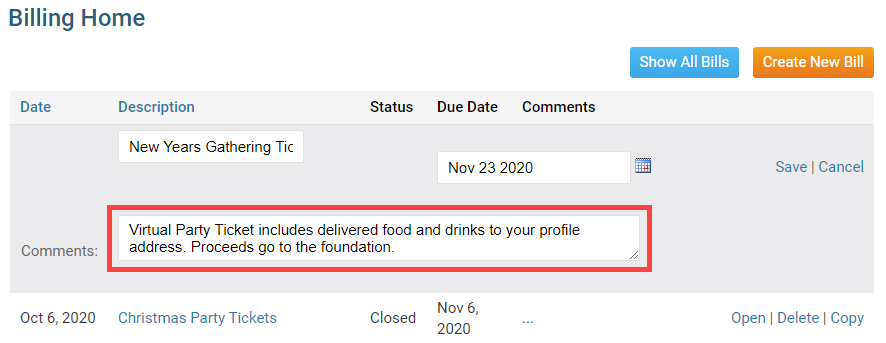
Click Save to create the bill, or Cancel to discard it.

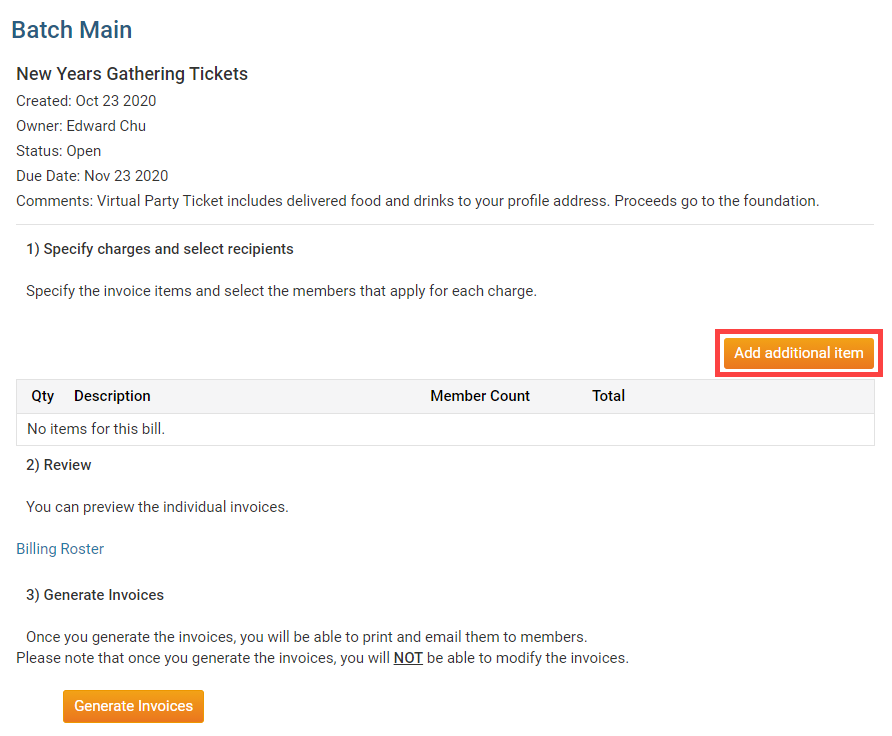
After you click Save, it takes you to the Batch Main page. The Add additional item link lets you start adding charges. Click on Add additional item to create a charge.
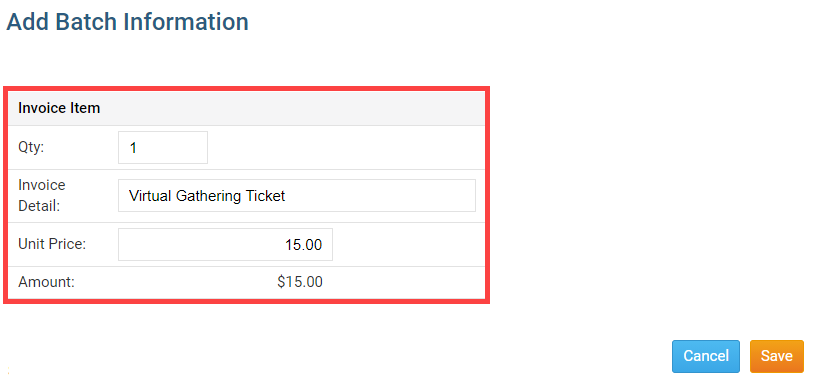
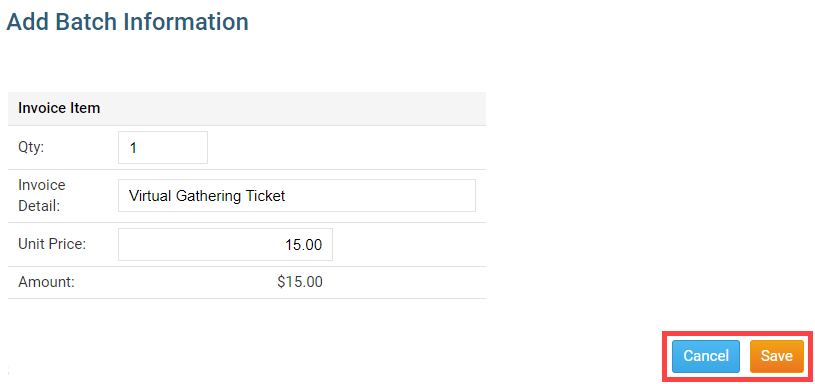
On the Add Batch Information page, you can add an invoice item to the bill. Use the fields provided to set the details and price of the invoice item.
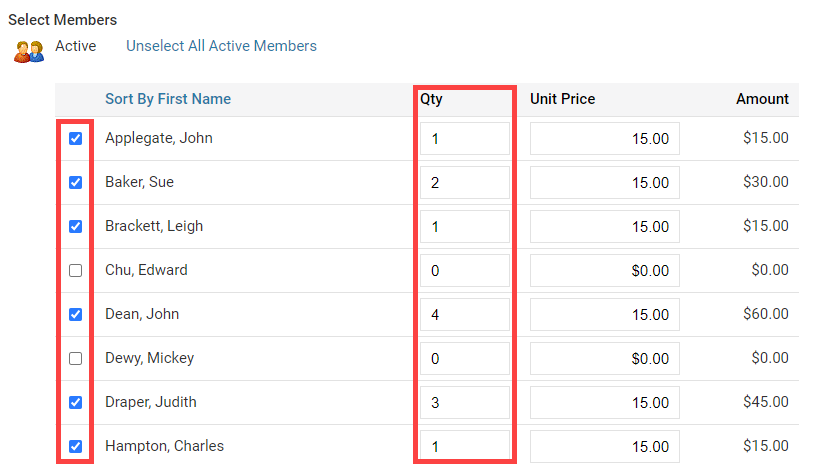
Now, scroll down. Under the header Select Members, you may select those members to whom you wish to bill. By default, all active members are selected. You can use the check boxes next to each member's name to select specific members. You may use the QTY field to enter the number of items each member is to be invoiced for.
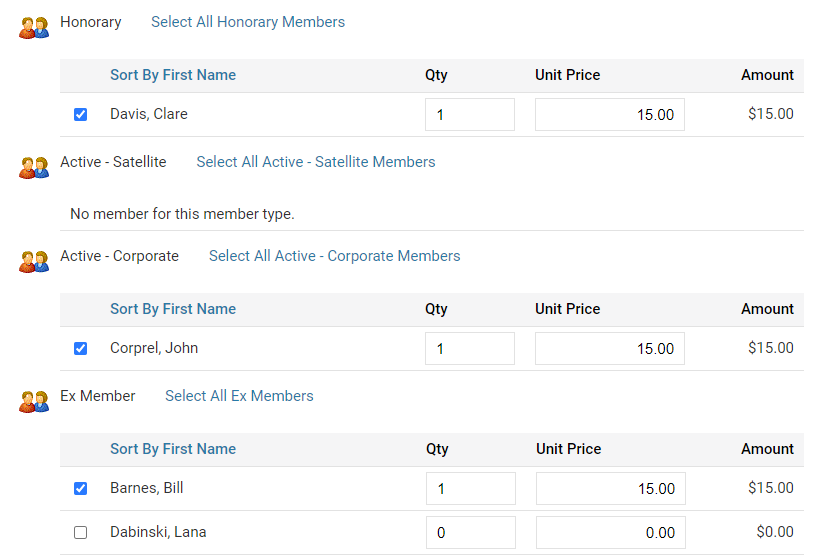
After selecting active members, you may also choose to invoice Ex-Members, additional Active Members types and Honorary Members, if you have any listed in your database.
When you have completed entering your information, click Save near the top or bottom. If you wish to discard the invoice items, click Cancel.
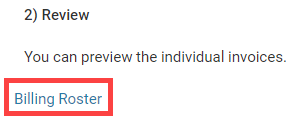
You are now returned to the Batch Main page, where you can view details about your new bill and invoice items. You can view the batch summary by clicking on Billing Roster.
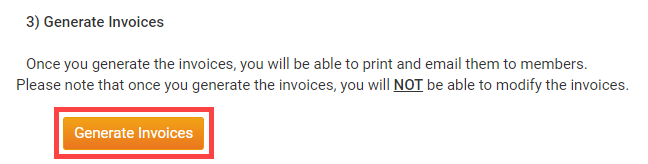
When you have completed creating the invoice click on the Generate Invoices button to be able to print and email the invoices.
Note: Once you click on the Generate Invoices button you will NOT be able to modify the invoices.
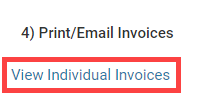
To email the invoices click View individual Invoices.
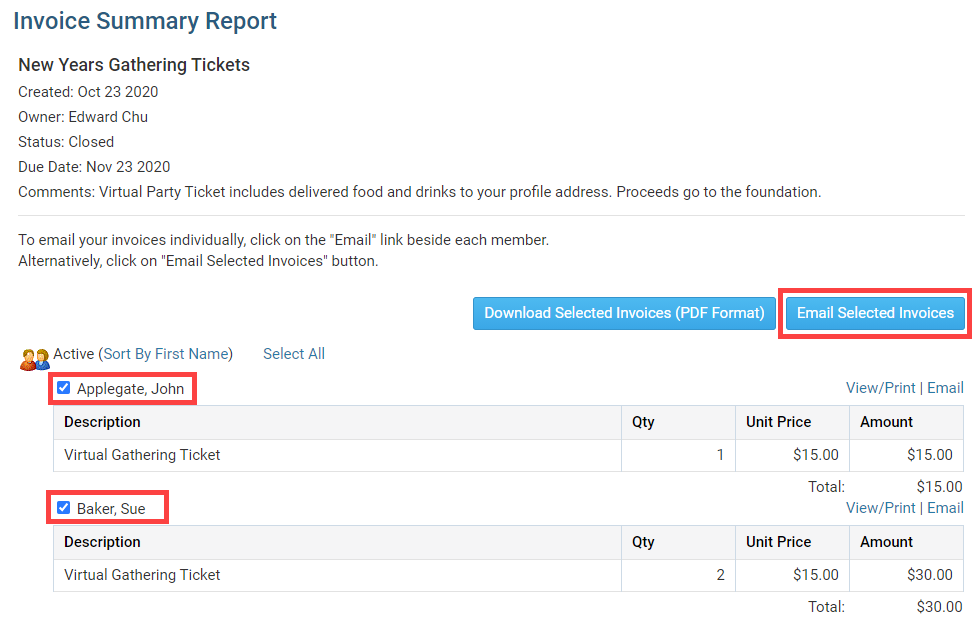
You are now viewing an Invoice Summary Report. This report lists all members who could receive the invoice. The checkmark box beside the name of each member will be emailed the invoice. If you do not want to send the invoice to a member click on the checkmark beside the member's name. Click Email Selected Invoices to send the invoices to the members.
Note: If the member has their work address set as preferred address in their member profile, it will display the name of the member, the company name and work address on the invoice. To learn more read the Member Profile article.
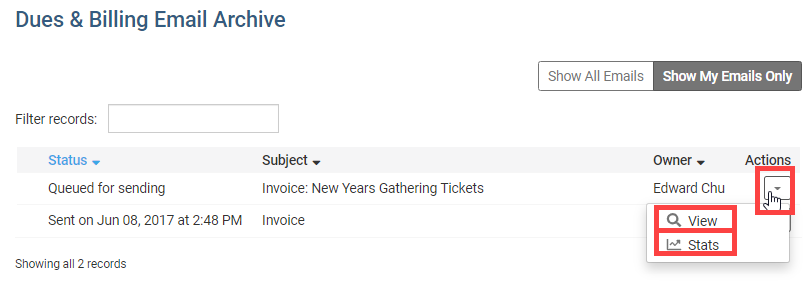
This will take you in the Email Archive. You can click on View to view the invoice that was sent. Or you can click on Stats to see the status of the emailed invoice to make sure the member received it. It may take several minutes to an hour to update the stats. To learn more please read the Email Stats article and to go step 6.
To get back into the Dues & Billing Main, click on Back to Dues and Billing at the top of the left menu.