
One of the most fundamental ways to generate content on your website is to create a Story. A ClubRunner Story is very much like a news article. You have a title, a "Story Brief" which can be thought of as the "byline" or summary, and the "Story Content" which is the main content of the story.
To create a story, you must first log into the homepage by clicking Member Login near the top right.
After you login by entering your information, click on Member Area near the top right.
Click Website on the menu bar, near the top. Then click on Website Content, on the menu bar directly below.
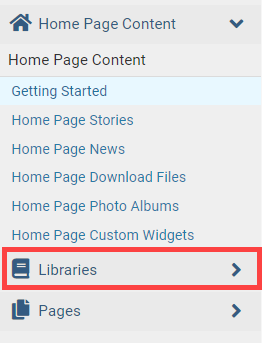
On the left side of the screen, click Libraries.
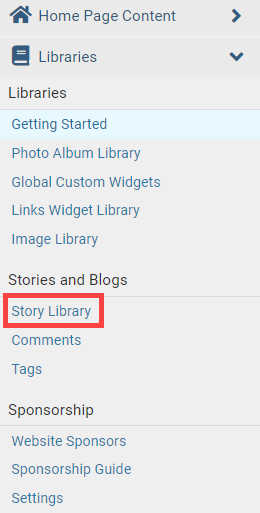
Next, click on Story Library.
This will take you to the Story Library. This is where you can find and edit all the stories on the website. Click the orange Create New Story button to create a new story.
Note: To learn more about the story library please read the article called Story Library in ClubRunner.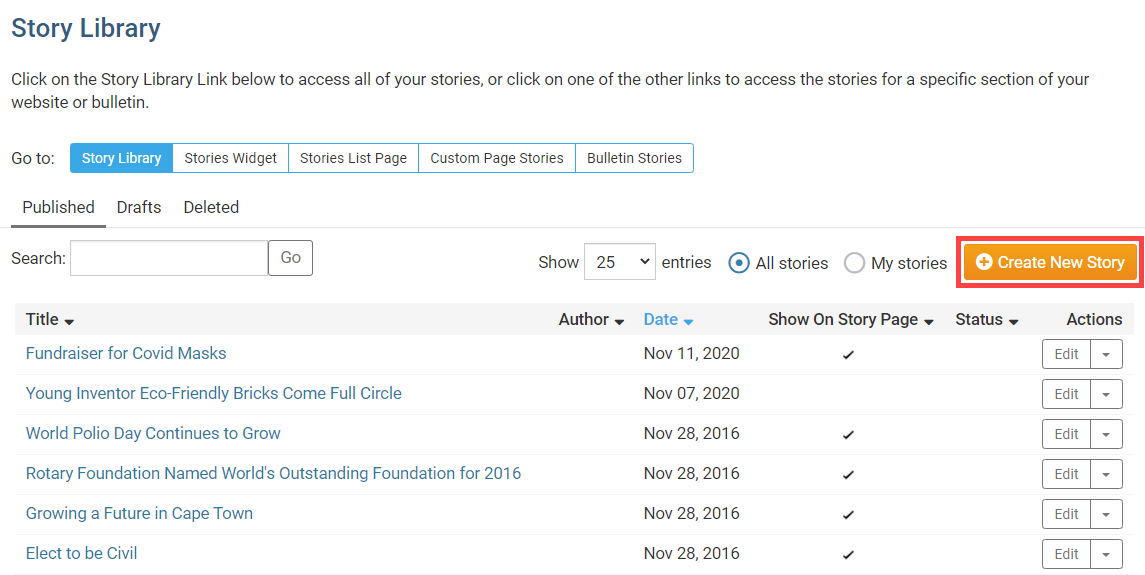
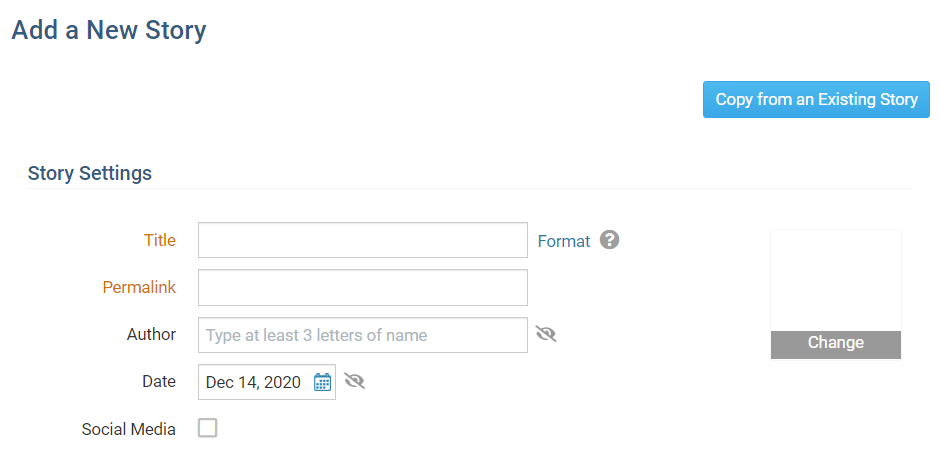
You are now on the Create Story page. This page allows you to create a story.
- Copy from an Existing Story - This allows you to copy a story from the story library.
- Title - This field is for the title of your story. This field is required.
- Permalink - This is used as a URL link for the story being created. Normally this field is ignored.
- Author - This field defines the writer of the story.
- Date - This field tells you when the story was written.
- Display Author - This allow you to select if you wish to display the author. If the checkbox is unchecked it will not display the author.
- Display Date - This allow you to select if you wish to display the date of the story. If the checkbox is unchecked it will not display the author.
- Display Social Media Share Bar - This allows you to turn on the Social Media Share Bar. This bar allows a person to share the story on social media, like Facebook, Twitter, and more.
- Change (Thumbnail) - This allows you to add a thumbnail image which will display to the left of the story.
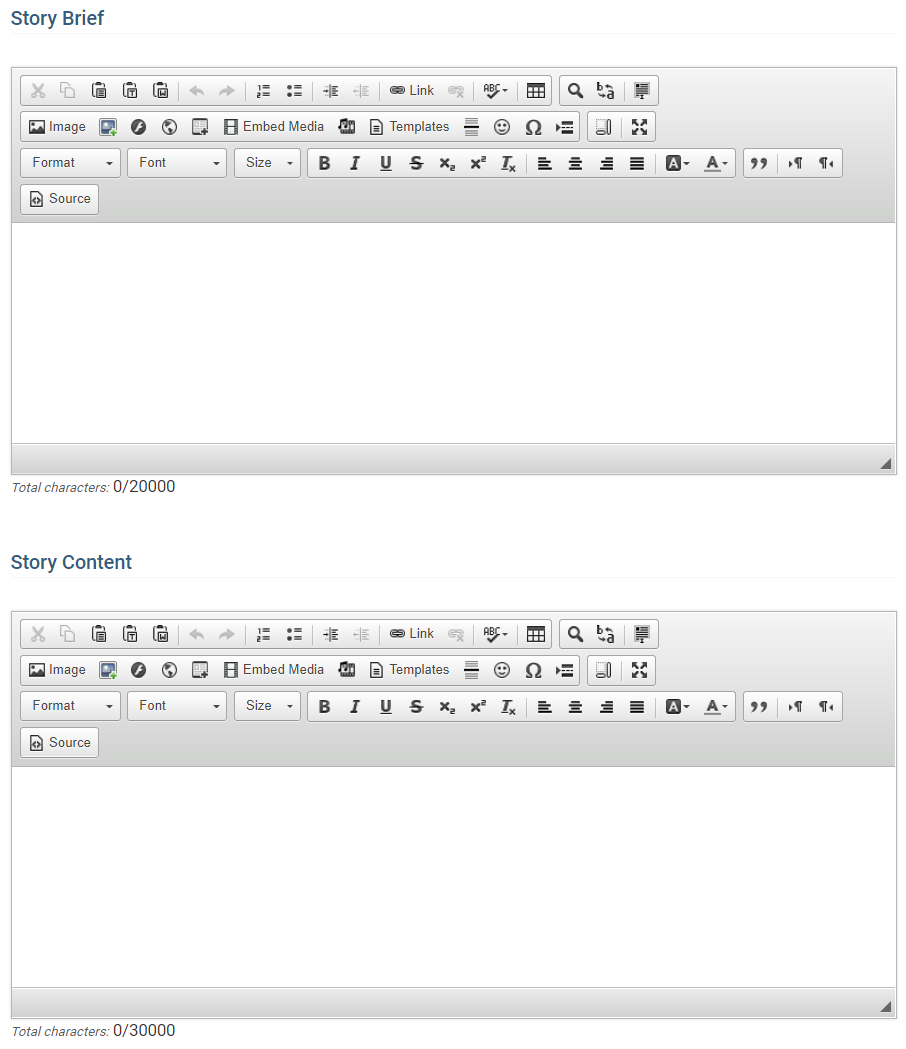
There are now two sections: Story Brief & Story Content.
- Story Brief: If the story is less then two paragraphs and has an image or two you can choose to place all of the content in this area. If your story is longer or has lots of pictures, we recommend placing the first few sentences or the first paragraph of the story in the Story Brief area with an image or two, and add the rest of the content in the next section called Story Content.
- Story Content: This section is used to display the rest of the story's content if the story was large. If this section has content, then a Read More... link will be displayed on the website at the bottom of the story. If a person clicks on the link it takes them to a page which has the story brief and story content displayed. On the bulletin, this section will be displayed under the content of the story brief. This area is optional. You do not have to place any content in this section.
In this area there is a tool bar called the Online Editor. To learn more about it please read the article titled Explain The Online Editor/Tool Bar in Stories and Widgets.
The Online Editor tool bar is used for story creation and editing.
The Online Editor toolbar appears at the top of both the Story Brief and Story Content. The toolbar is a collection of shortcuts to help you with the common tasks of editing a story.
Here are some of the commonly used buttons in the toolbar:

- Paste: Regular paste.
- Paste as Plain Text: Remove all formatting and images from what you're pasting.
- Paste from Word: Use this option to paste from MS Word. At times MS Word includes extra code which could cause display issues with the story. To learn more about this feature please read the article titled: Why Shouldn't I Paste from Word?
- Add a Link: Link externally to another website or link internally to the many elements found in ClubRunner (another story, an event, a photo gallery, etc).
- Insert image from Image Library: This accesses the ClubRunner Image gallery, where you will find images that have already been uploaded or you could upload.
- Insert image from your computer: Click this button to access your computer's folders right away, to upload a new image to ClubRunner and place it in the Story.
- Embed Media: This button allows you to embed all sorts of media, like YouTube Videos.
- Source: Every story in ClubRunner is actually an HTML page. Click this button to reveal or hide the HTML/source code behind the page.
- Maximize/Unmaximize the window: If you are planning on writing a longer story, this maximizes the story window to allow nearly full screen editing.
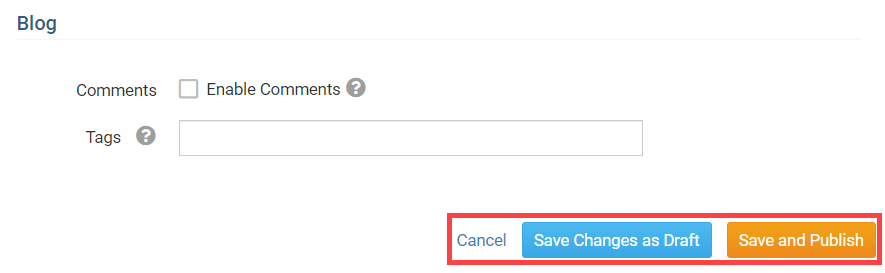
Note: To learn more abut the online editor please read the article titled Online Editor/Tool Bar.Blog. This allows you to enable comments on stories. Only members can post comments.
If you enabled comments a new check mark box will appear called Close Comments. This locks the comments so no new comments can be added.
Tags - You can enter tags in the story so it can be searched easier. After you type in the tag, hit enter to save it. To enter in more than one tag, hit enter after each tag you enter.

Once you are done there are a few options located at the bottom right of the page.
- Save and Publish - This will save and publish the story and take you to step 10.
- Save Changes as Draft - This will save the story as a draft so you would be able to complete it later. The story will not appear on the website or bulletin until it gets published. The draft of the story can be found in the Drafts tab in the Story Library.
- Cancel - This will exit out the story with out saving it.
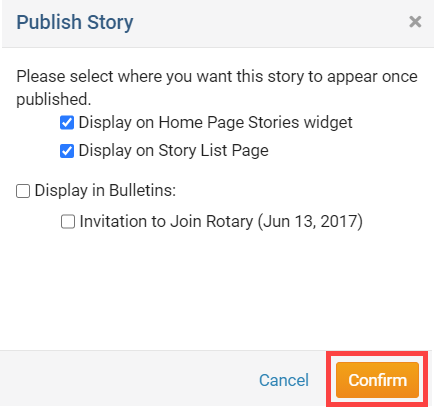
After you click Save and Publish a box will appear asking where you would like the story to be displayed.
Display on Home Pages Stories widget - This will place the story at the top of your stories widget on your home page.
Display on Story List Page - This will play the story at the top of the stories built in page.
Display in Bulletins - You can choose which active bulletin you would like this story to be displayed in.
Click Confirm to save the choice.
The story will now display were you selected it to be displayed.